I decided to dress the loom using the front to back method of Deborah Chandler in her excellent book “Learning to Weave”.
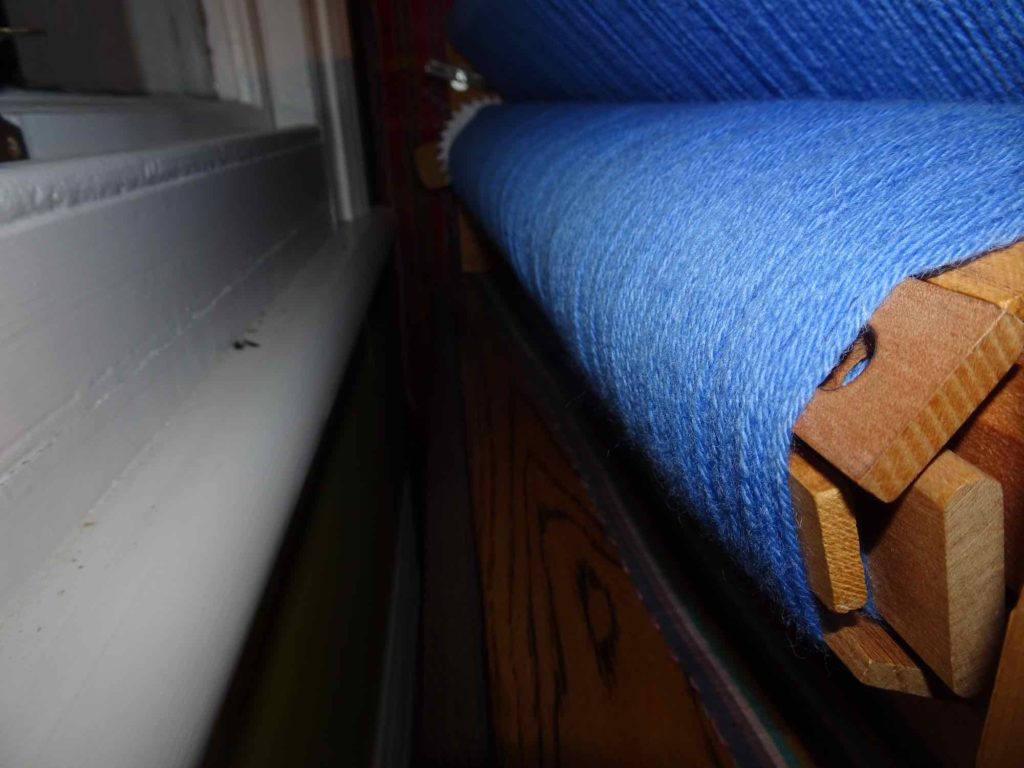
I changed the reed to the 8dpi reed in preparation for sleying. It turns out that there are only 189 slots on the reed, and I have 192 ends!!! Rather than throw away 3 ends, I’ve put them outside the reed – between the reed and the beater frame (you can see them on the photo showing the warp wound onto the front beam).
Next, I turned the loom around so that I was facing the back and threaded the heddles. I decided to thread the heddles using the pattern on p188 in Anne Dixon’s book, “The handweaver’s pattern directory” (I know! I changed my mind on which pattern to weave… Hopefully I will have enough yarn…).
I moved all of the heddles to the left. Then I realised that I wouldn’t need all of the heddles on the shafts, but that I would need the entire width of the shaft. So I calculated the number of heddles required on each shaft. The warping pattern repeats after 22 threads (shafts 1 & 2 have 7 threads, while shafts 3 & 4 have only 4 threads for each pattern repetition). That means 8.7 repetitions of the pattern to use 192 warp threads. So, shafts 1 & 2 need 61 heddles while shafts 3 & 4 need only 35. I took the castle apart and removed the excess heddles – the ones that I removed were threaded on strings so that they would be easy to replace when required.
Now I was ready to thread the heddles. I did this over 3 sessions. As in my previous projects, I made a google form with buttons so that I could keep track of where I was up to in the threading pattern. Once they were all threaded, I spread the heddles evenly across the shafts.
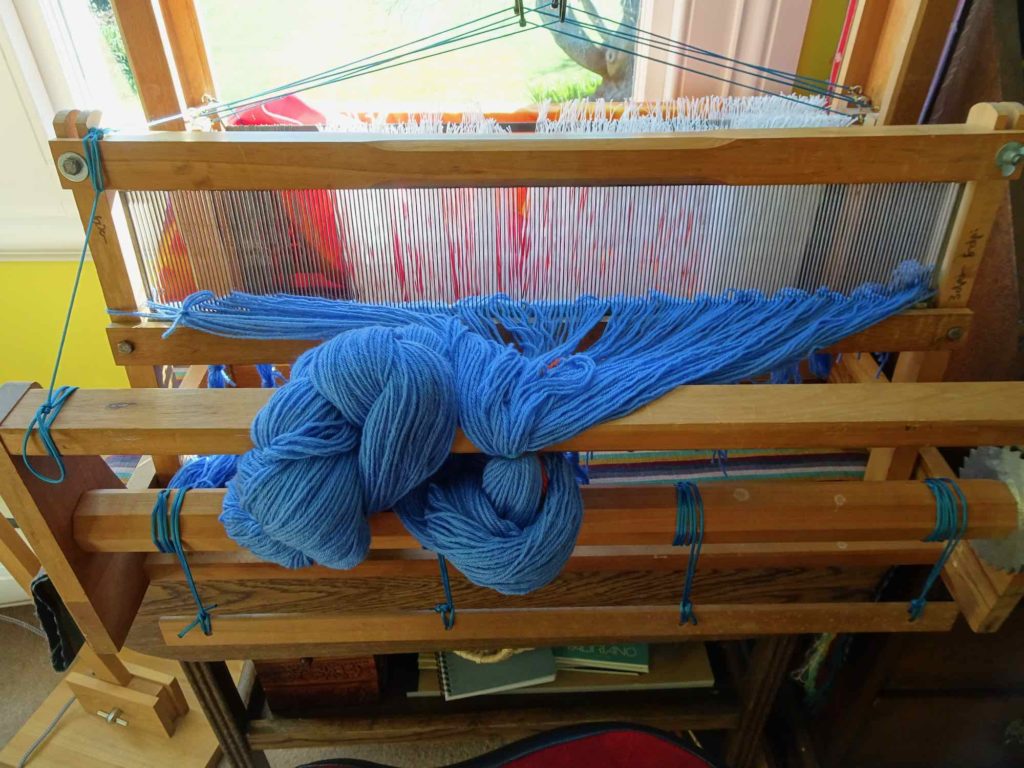
The next step in loom dressing was to tie the warp ends onto the rod of the back beam. I used the overhand knot method on p47 of “Learning to weave” and starting at each end of the rod, alternating sides, worked my way into the centre.
I used the guide thread from the warping mill to cut 1 more warp thread – this will not be woven, but will be used as a measuring thread. I folded this thread in half and marked the centre with permanent marker. I measured 8cm in each direction from the centre and made another mark – this will show me where to end the first piece of fabric and where to begin the second. I also marked 150, 160, 170 & 180cm from the centre point.
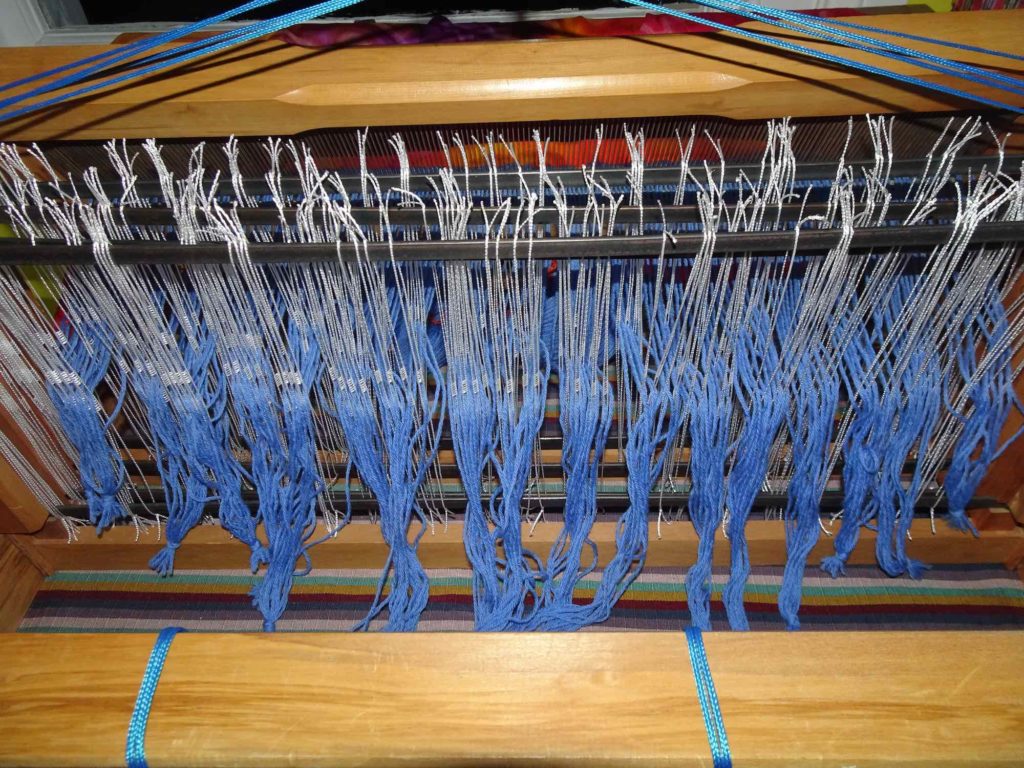
I turned the loom around again and wound the warp and measuring thread onto the back beam as described on pp46-51 of “Learning to weave”.
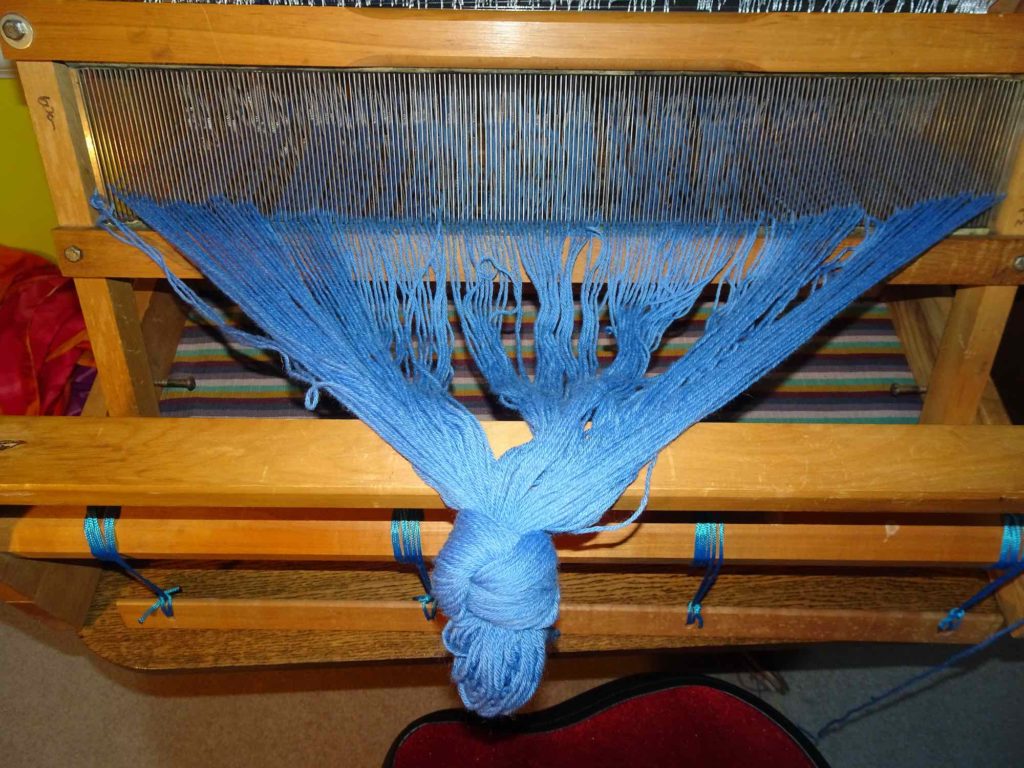
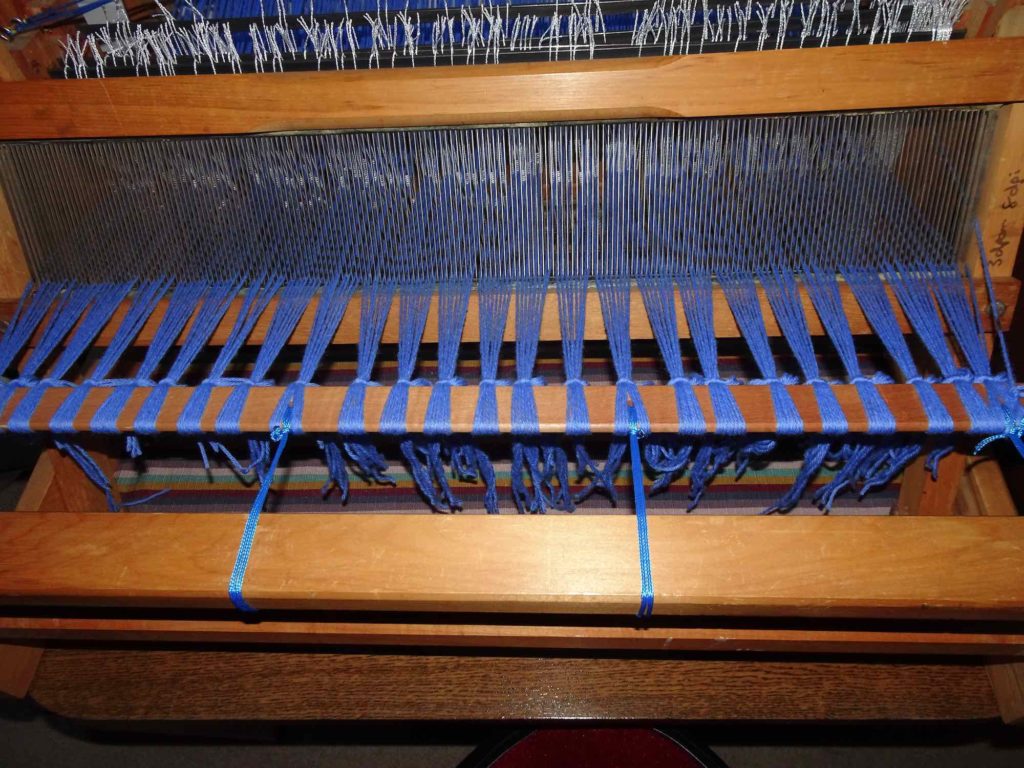
Finally, I untied the knot and cut the warp ends at the front end of the loom. For some reason, the ends at the left of the loom were shorter than all of the others – these determined how far I was able to wind the back beam before tying the warps onto the rod of the front beam. I tied the threads onto the rod using a surgeon’s knot, working in bundles of 8 threads. I started at the centre and then worked my way into the centre from each side. I adjusted the tension of warp threads so that they are even. Finally, I tied the measuring warp thread onto the rod – it can be seen at the right side of the reed.