Several years ago, I purchased a black wool jacket. Anyone who knows me will wonder what I was doing buying a BLACK jacket, but it wasn’t expensive and it is very comfortable. However, I don’t wear it very often simply because it IS black. So I decided to “fix” it by sewing panels of hand dyed, hand woven ikat silk velvet from Uzbekistan to parts of the outside of the jacket.
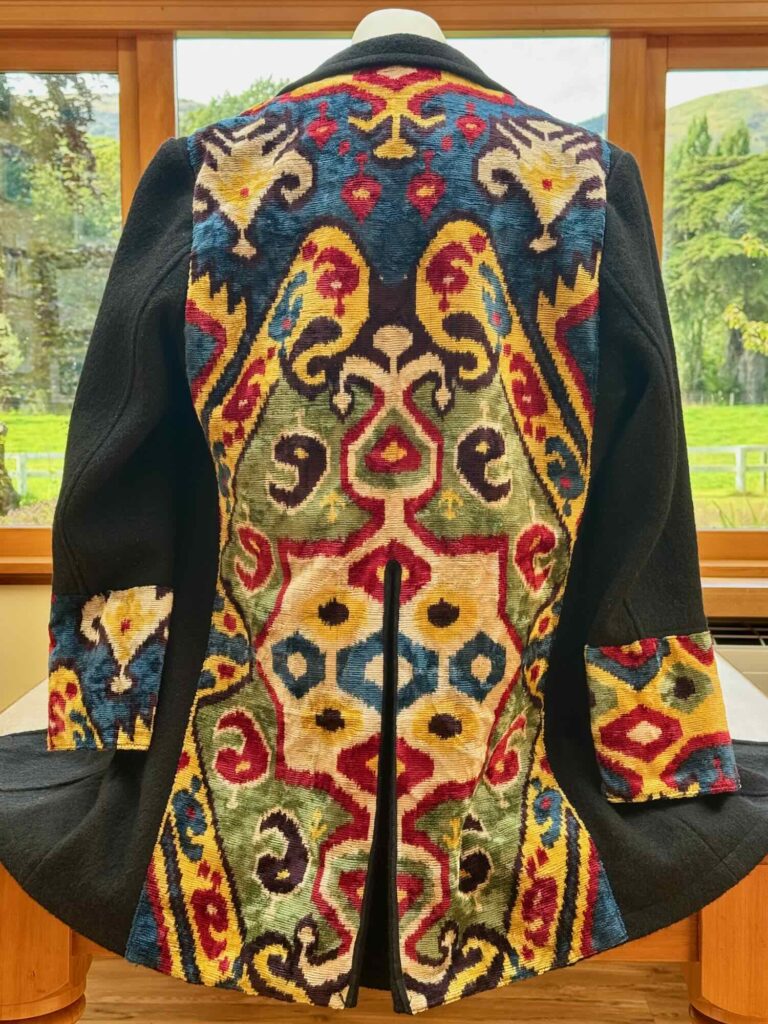
This fabric was very narrow, but a single width was sufficient to cover the back of the jacket. I hemmed each length of fabric with my sewing machine and then hand stitched the fabric to the jacket to ensure it sat nicely. There is a split at the base of the back, so after I had sewn the top and sides of the back panel onto the jacket, I cut the fabric at the split and machine sewed bias binding to the split edges. I then hand stitched the split and bottom of the velvet panel in place.
I also decided to cover the cuffs of the sleeves – this gave me a chance to lengthen the sleeves slightly. Again, I machine stitched the raw fabric edges and then hand sewed the fabric in place. Once it was attached, I covered the lower edge with bias binding.
UPDATE
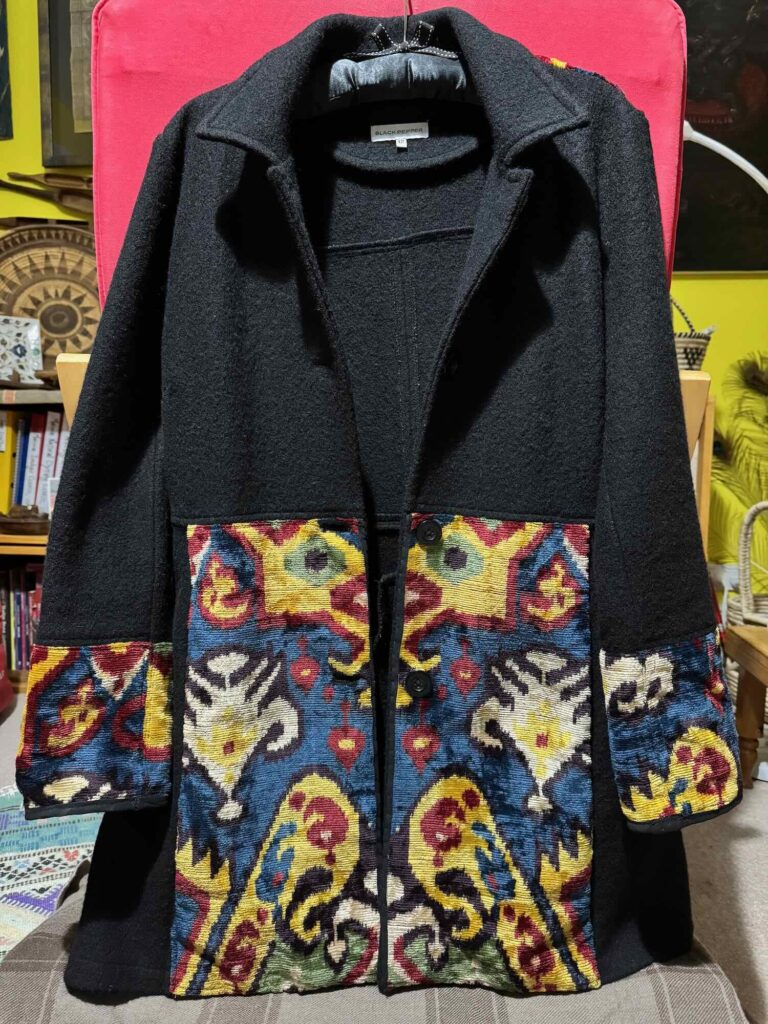
After wearing the jacket, I decided that I really wanted some of the gorgeous velvet on the front as well as on the back. Again, a single width was sufficient. I used the sewing machine to hem the cut edges at the top & bottom of the velvet and then cut it in half, this newly cut edge was covered with bias binding. The jacket front has buttons and button holes, so before hand stitching the panels into place, I removed the buttons. Once the panels were attached on all four sides, I used the sewing machine to create the buttonholes and replaced the buttons.