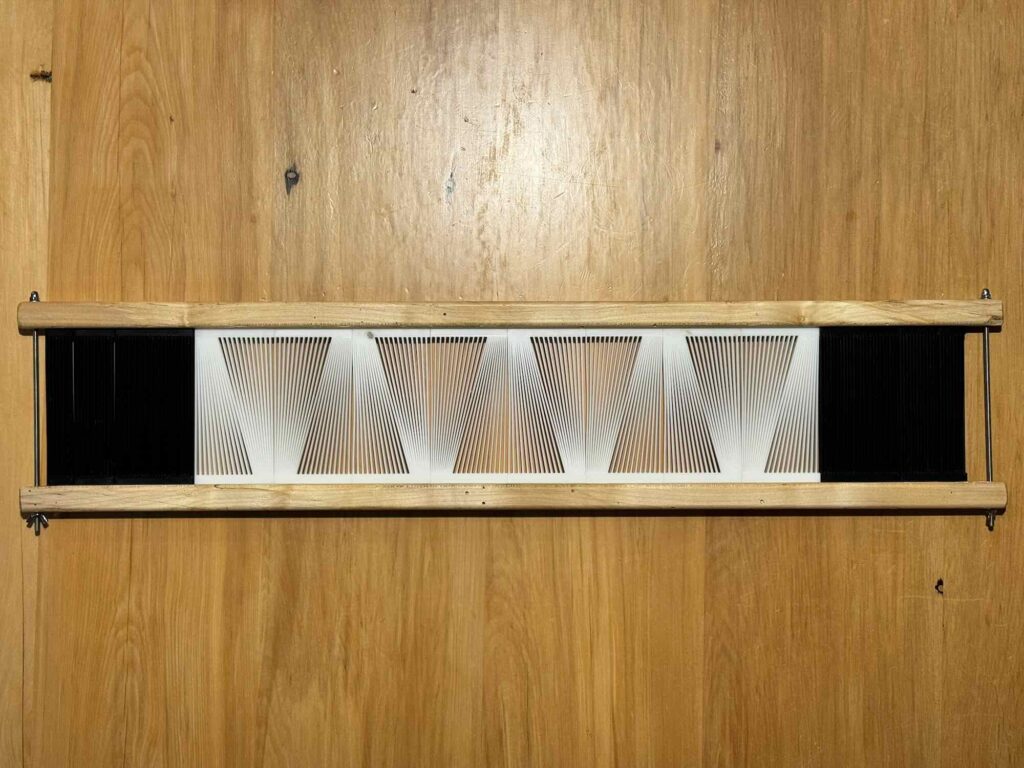
While I’m enjoying the challenges of working with the fan reed, I’ve been thinking about the possibilities opened up by having a sectional fan reed ie a reed where I can have sections of fan reed and sections of straight reed in a single reed and be able to alter the positions of the sections between warps.
I am a member of the Complex Weavers Ondulé Study Group and have talked to people there who are experimenting with a sectional reed that uses 3D printed sections. So I decided to investigate this option further.
I found files for printing 40/10 fan sections and straights on “Thingiverse” (posted by Maliz, https://www.thingiverse.com/thing:6501235). There are 4 .stl files – fan section (has 2 x 1/2 fans), and 3 sizes of straight sections.
She wrote a blogpost on 25th February 2024 (“News from the fan comb” https://strick17.blogspot.com/2024/02/neues-vom-facherkamm.html) describing part of the creation process.
A fellow member of the Complex Weavers Ondulé Study Group told me that her husband printed these pieces with PETG plastic and a 0.04mm nozzle. Using this nozzle, a fan section took about 45 minutes to print. However, they thought that the pieces were a little rough, so he re-printed them with a 0.02mm nozzle; this increased the print time to about 1.5 hours. They also extended the height of the pieces in order to get a larger shed when weaving.
My husband told me that I could try getting the files printed at our local library. They have Prusa i3 MK3 printers, and use a 0.04mm nozzle and PLA plastic. There is a $1 fee per file and a charge of 20c/gram of filament.
PLA is derived from corn starch and is recyclable and biodegradable but not home compostable. It has a relatively low melting point and pieces printed with it will deform at about 50-60°C eg in a full sun in a car.
I made an appointment with the person in charge of the 3D printers at the library and we talked about the function of the pieces. He suggested that he print two fan sections and one straight section to see how the pieces came out. We decided to use 100% infill – this makes the pieces more solid and also heavier, so the price would be higher.
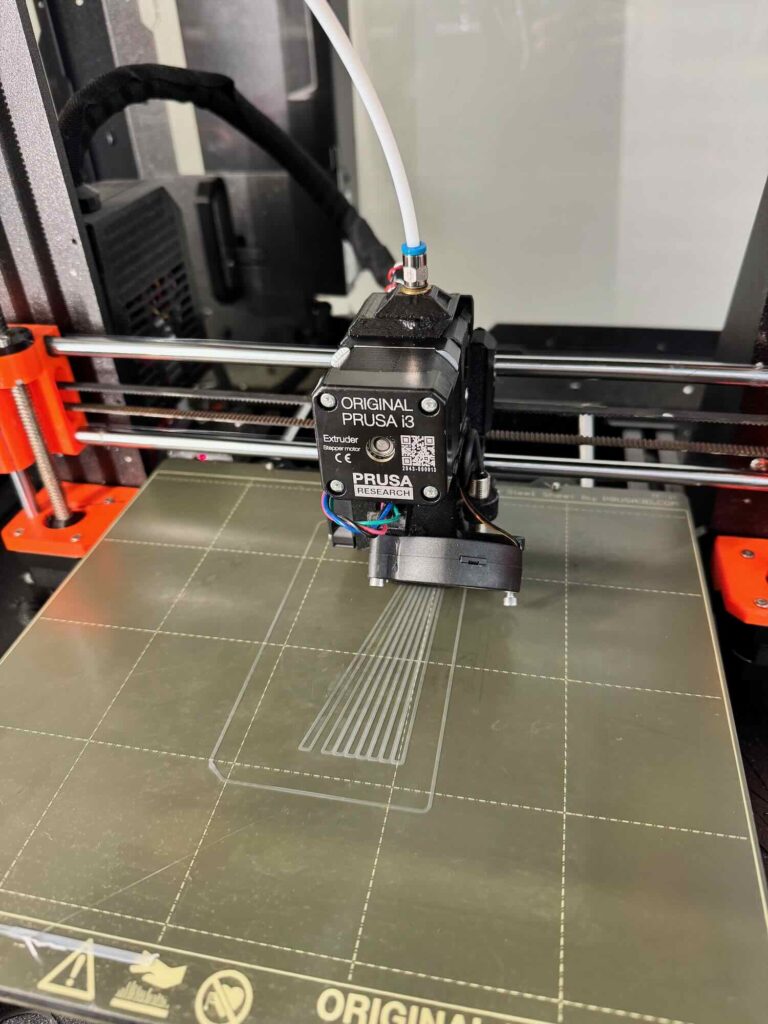

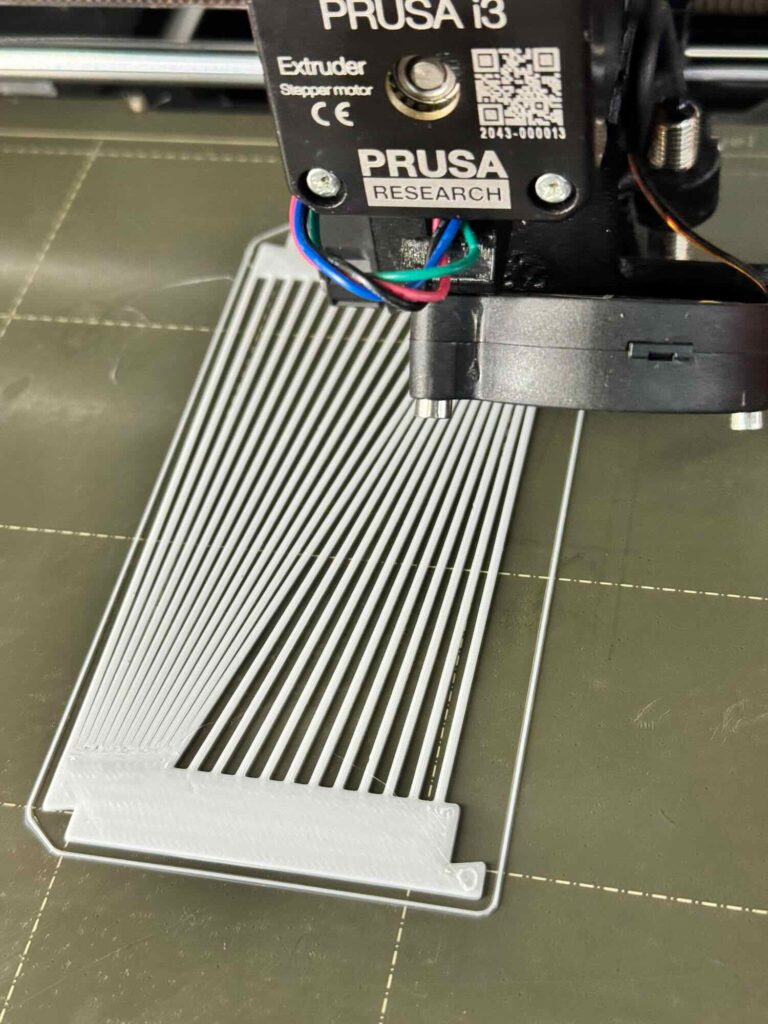
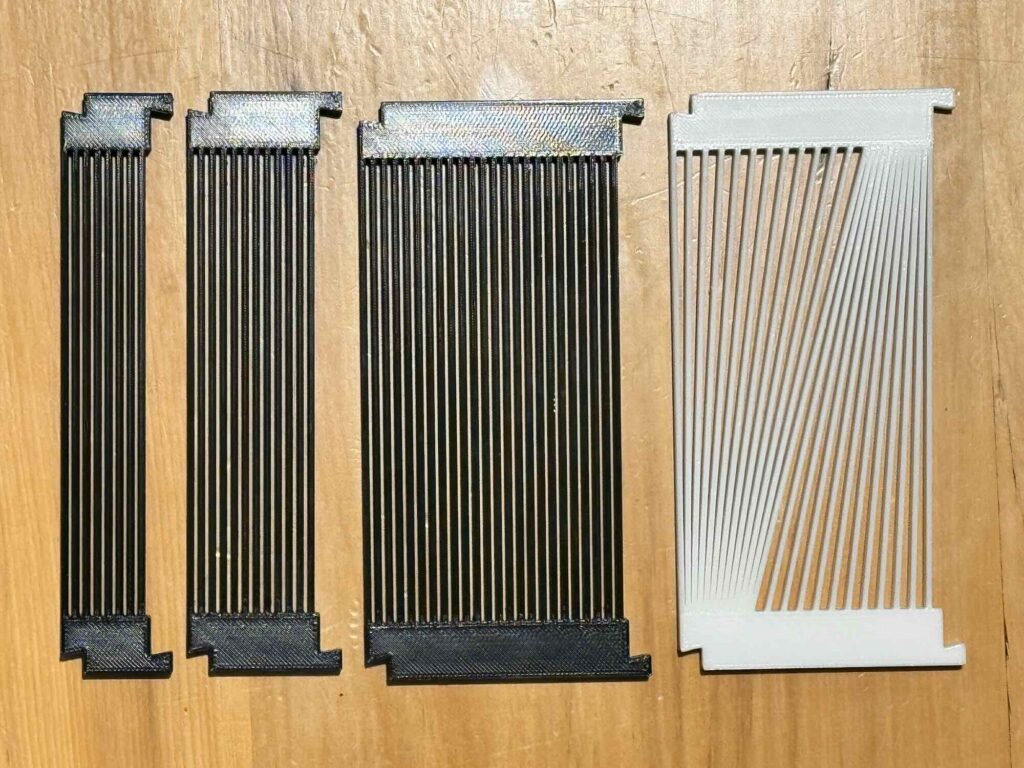
Two days later I returned and picked up the three pieces. We were both very pleased with how they had turned out and decided to go ahead and print six more fan sections and five straight sections – giving me a total of eight fan sections (12 slots/half fan ie 24 slots/fan) and two of each of the three sizes of straight sections (24 slot, 12 slot & 8 slot).
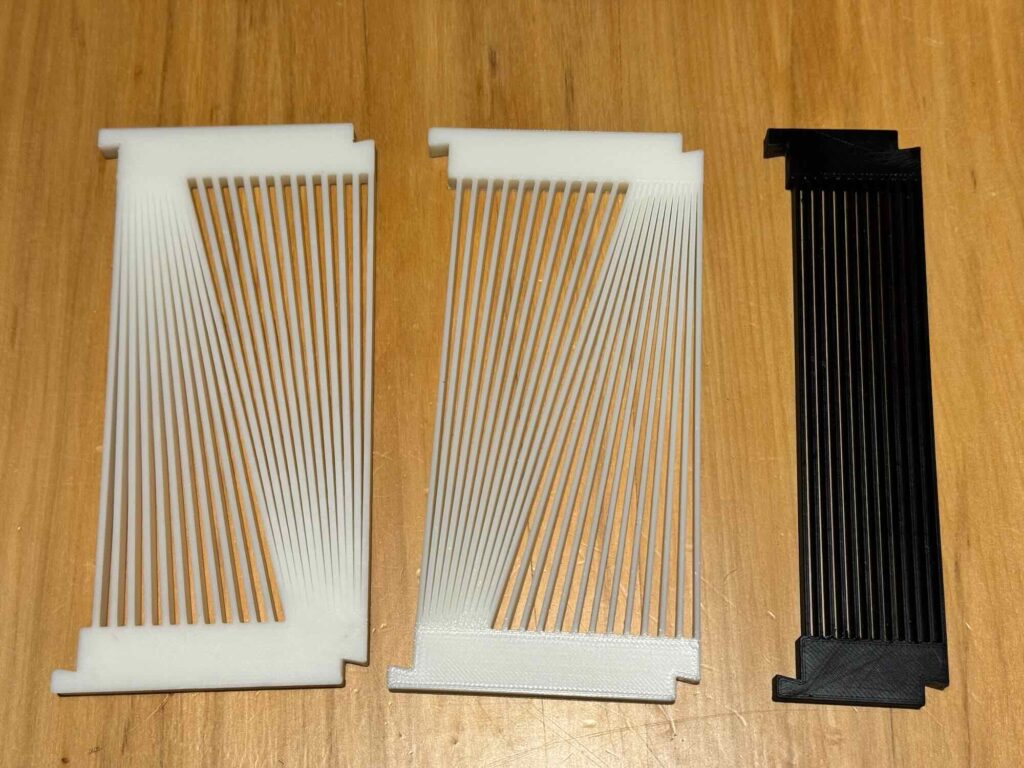
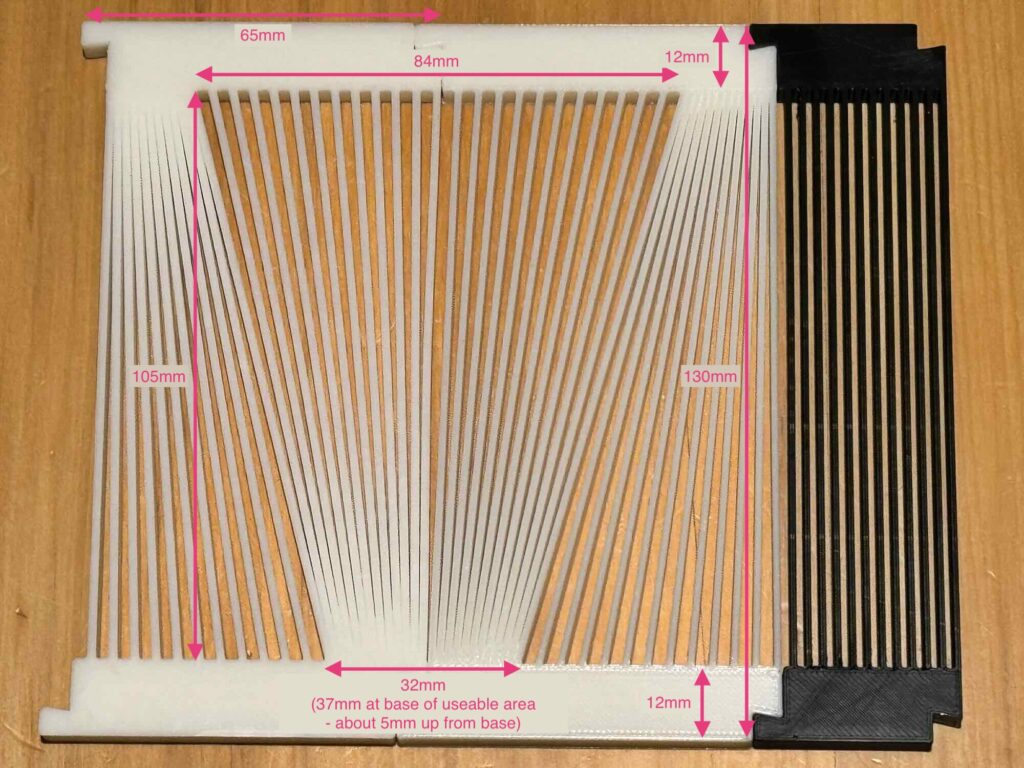
I found that the pieces needed a little trimming (craft knife) and sanding (240 grit sandpaper) in order to lock together easily in any orientation. I also did a little trimming and sanding at the base of the bars on the straight section in order to remove a few plastic hairs. The additional pieces took a further three working days to complete and needed a little sanding and trimming as with the first pieces.
There are 24 dents in a fan, the centre of a fan measures ~6cm, this means in 10cm there are 40 dents (24slots/[6cm/10cm]) ie this is a 40/10 reed (when measured at the centre of the reed).
Husband drew up plans and then made me a wooden frame to hold the reed segments.
My current fan reed is 62cm wide overall with a 60cm weaving width. I think that up 75cm overall width will still be comfortable to use – I grasp the sides to pull the reed forwards for beating. All of the reed sections together will be about 70cm wide.

In order to hold the top and bottom bars of the frame together, I bought 1m threaded rod (M4, 316 stainless steel), 2x dome nuts (M4 316 stainless steel), 2x wing nuts (M4 316 stainless steel) and 4x washers (4x9x1.0, 316 stainless, light flat washers).
Once I had all of the pieces, I assembled the reed. It looks great and I can’t wait to start to weave with it!
| Item | Cost |
|---|---|
| Printing of first 3 pieces | $17 |
| Printing of another 11 pieces | $60 |
| Threaded rod, nuts & washers | $14 |
| Total cost | $91 |