Once I had completed a round of coloured bands (red, red/yellow, yellow, yellow/green, green, green/blue, blue, blue/red), I wove some spots into the fabric using 5/2 cotton supplementary weft threads. After a few of the 5/2 spots, I switched to 10/2 cotton to see how that went. Once I had woven all of the spots I wanted to do, I wove in the loose cotton ends.
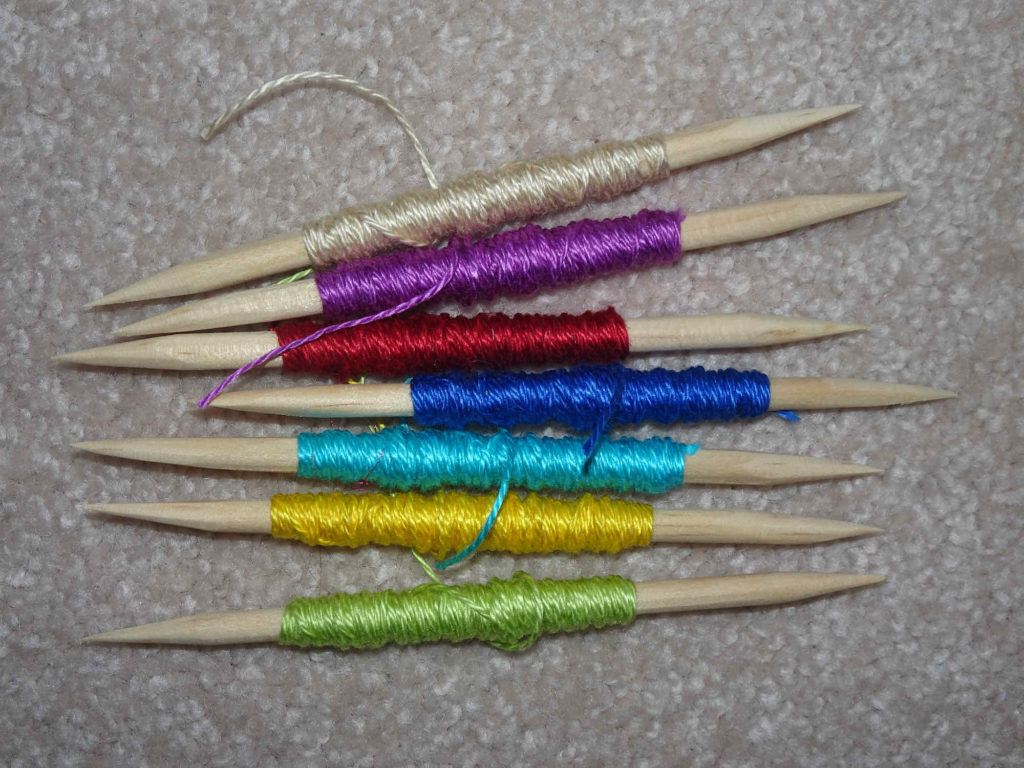
10/2 cotton on bobbins, ready for use 
Supplementary weft spot being woven 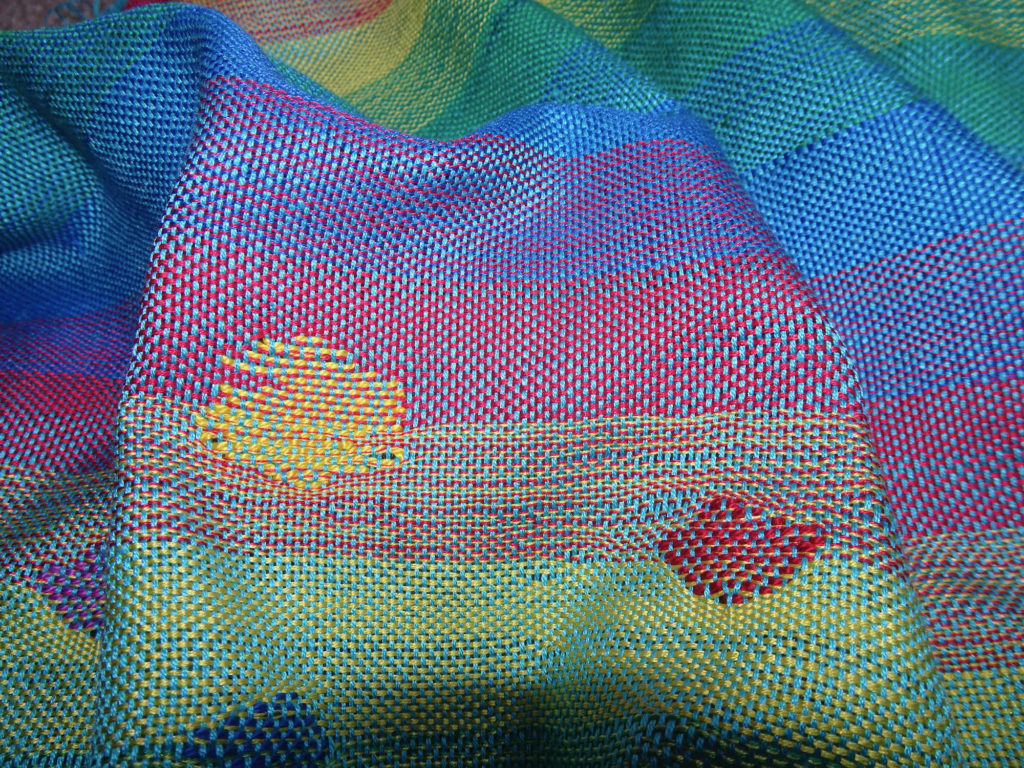
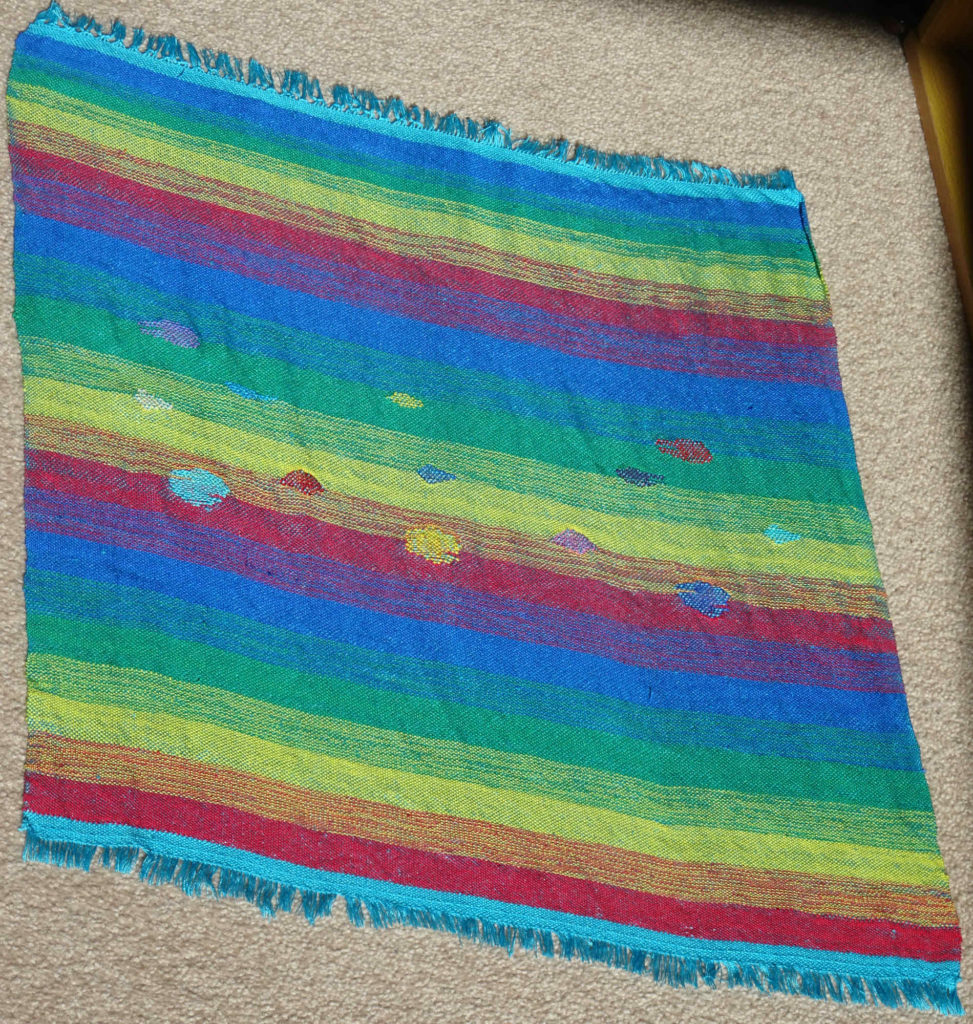
Completed fabric with spots
I continued to weave the coloured bands until I could go no further – they became thinner toward the end so that I could end on a double blue band. Toward the end, I was pressing the “down shafts” down a little further in order to increase the shed space.
After weaving a strip of warp blue to finish, I hem-stitched the end of the fabric using 2 double threads per stitch.
Then came the moment to remove the fabric from the loom! I cut the back warps from the back apron rod and tied some knots using the warp threads. I started out knotting 4 hem-stitch bundles into a reef knot – I decided that this was too bulky. Next I tried 2 hem-stitch bundles per knot and decided that this would take too long. So I decided to leave the ends unknotted and simply have a fringe.
I unwound the fabric from the front roller and untied the warp from the front apron rod before removing the header yarn.
The fabric measured 52-52.5cm long and 47-47.5cm wide.
After washing in cold water on a delicate cycle using wool wash detergent, I dried it flat.
Finally I trimmed the fringes to about 2cm using a strip of packing tape to hold the ends flat.
The final dimensions are 51-51.5cm x 46-46.5cm.

I’m very pleased that I stopped knotting, as the knots are too bulky on the silk. A twisted fringe would probably be OK.
The colours are beautiful – vibrant, bright and best of all, the fabric is iridescent (as I had hoped it would be)! I have created a pice of shot silk! Unfortunately, it is really difficult to photograph the iridescence. You can see it a little in the photos below. I’m not too sure about the supplementary weft spots though.

