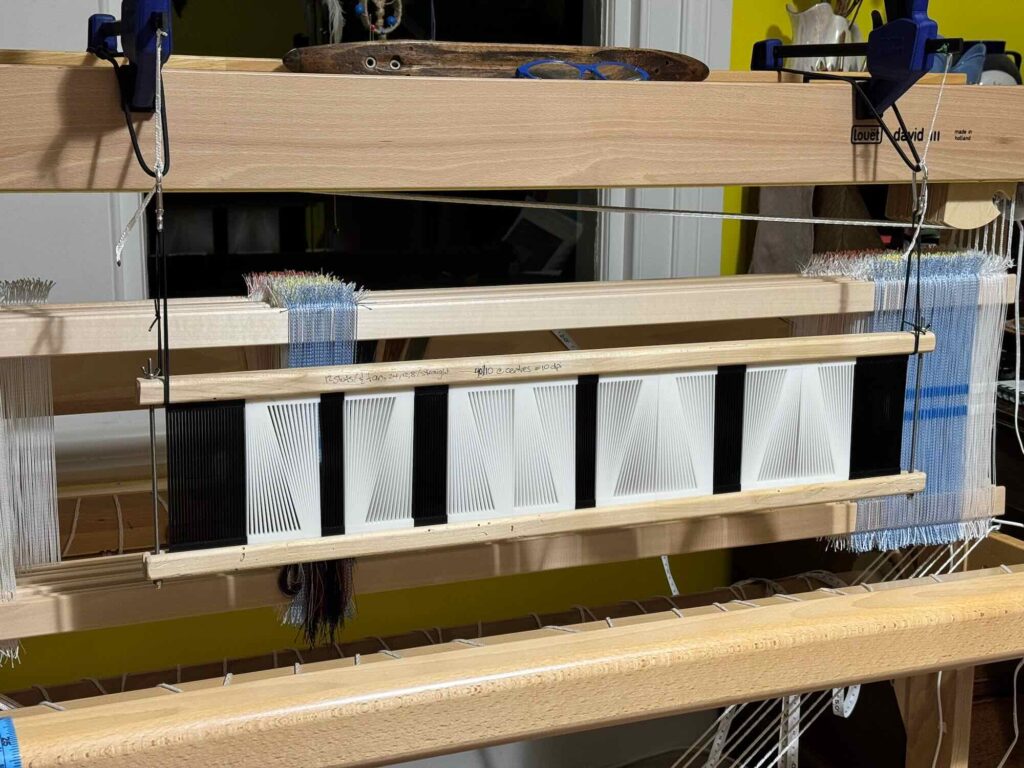
Now that I have a second fan reed, I need to alter the way that the fan reeds are attached to the loom so that I am able to swap easily between them.
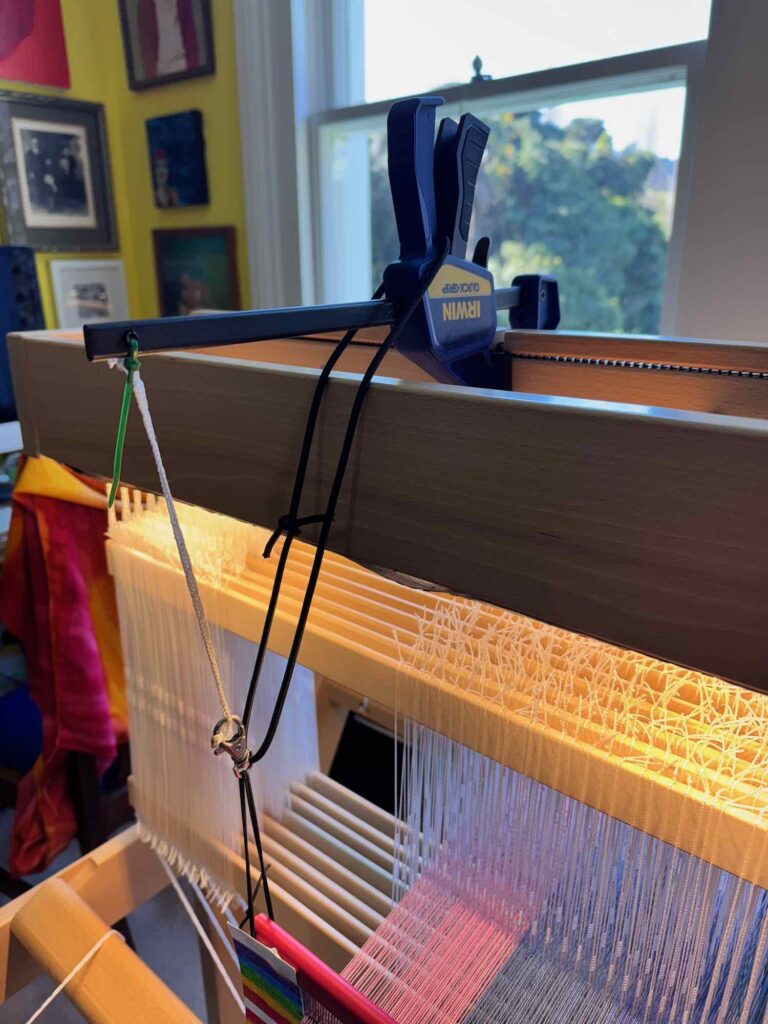
The 18dpi stainless steel fan reed was attached to the loom as shown in Image 1. The thin hat elastic (allows the reed to be moved vertically) & thicker bungy cord (pulls the reed back toward the castle) were tied to the fixed loop of a lanyard clip, with the opening part of the clip attached to a length of texsolv cord (allows the neutral position of the reed to be easily adjusted).
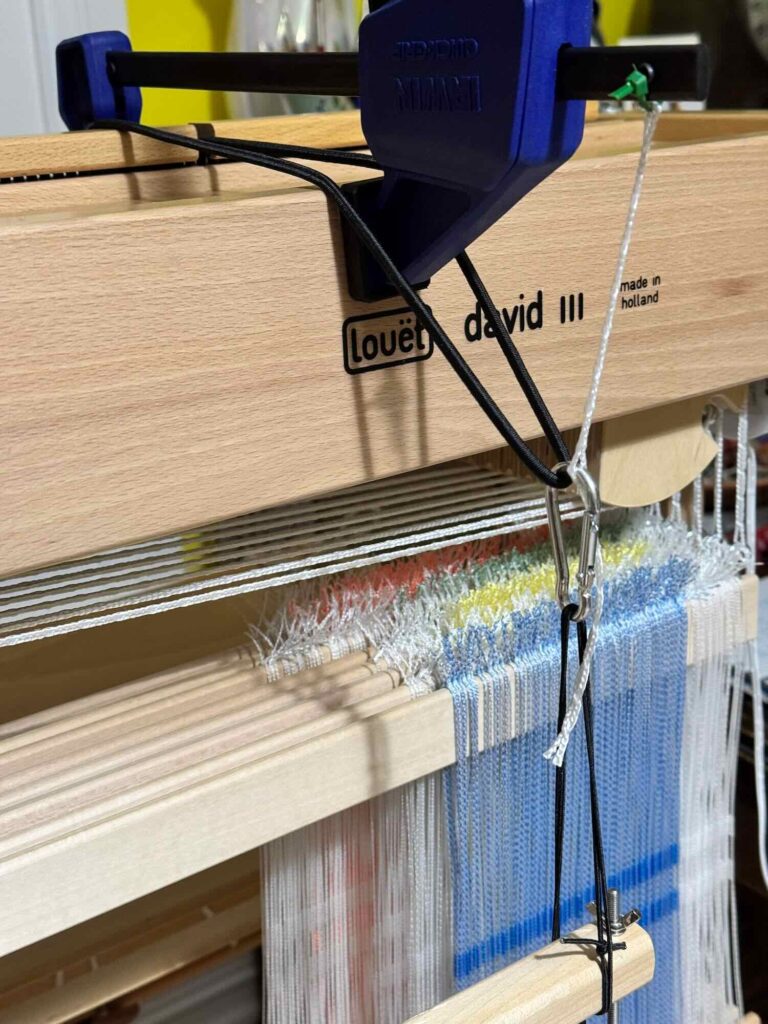
This attachment method allowed me to weave very successfully with the reed (Warps 50 & 52). However, it does not allow me to easily switch reeds. So after a little rummaging through drawers, I found two carabiner clips of the same size. I then untied the thin elastic and thick elastic and removed the lanyard clip. The elastics were retied and attached to the new carabiner clip (Image 2). I tied new pieces of elastic to the wooden frame of the 3D printed reed. The thin elastic loops will stay tied to each of the reeds.
Now when I want to switch the fan reeds, I simply unclip the thin elastic loops of the first reed from the carabiners and clip those of the 2nd reed into place.
While weaving Warp 52, I discovered that if I attach the clamps to the loom castle in a slightly different way, I get to keep the shelf on top of the castle while I work (compare clamp position in Images 1 & 2).
The coloured “vertical position indicator” cards are easily moved from reed to reed as they are blu-tacked into place.