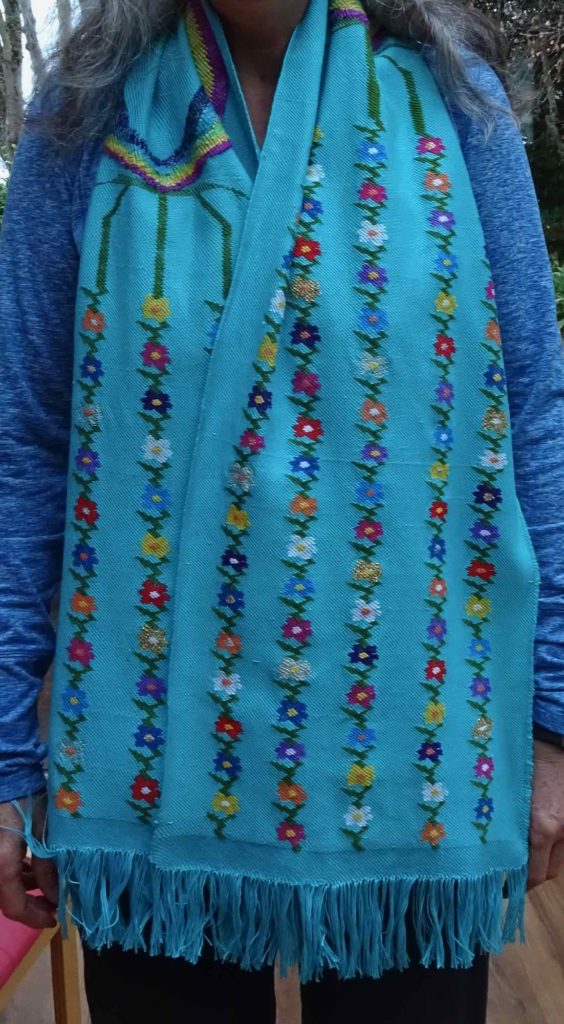
This project was inspired by the work of the Kani weavers I saw in Srinagar, Kashmir – this can be seen in an earlier post.
I started this project on the 26th of March 2019. It’s now the 14th of July and I’ve woven a total of 4cm, which has 3cm of 1/3 twill and 1cm of pattern – that’s a total of 12 rows of pattern! To be fair, I only started the weaving itself on the 22nd of June and the pattern on the 6th of July. So I decided that I should start writing about this project now, as it will take months to complete this project! I will update this post as required.
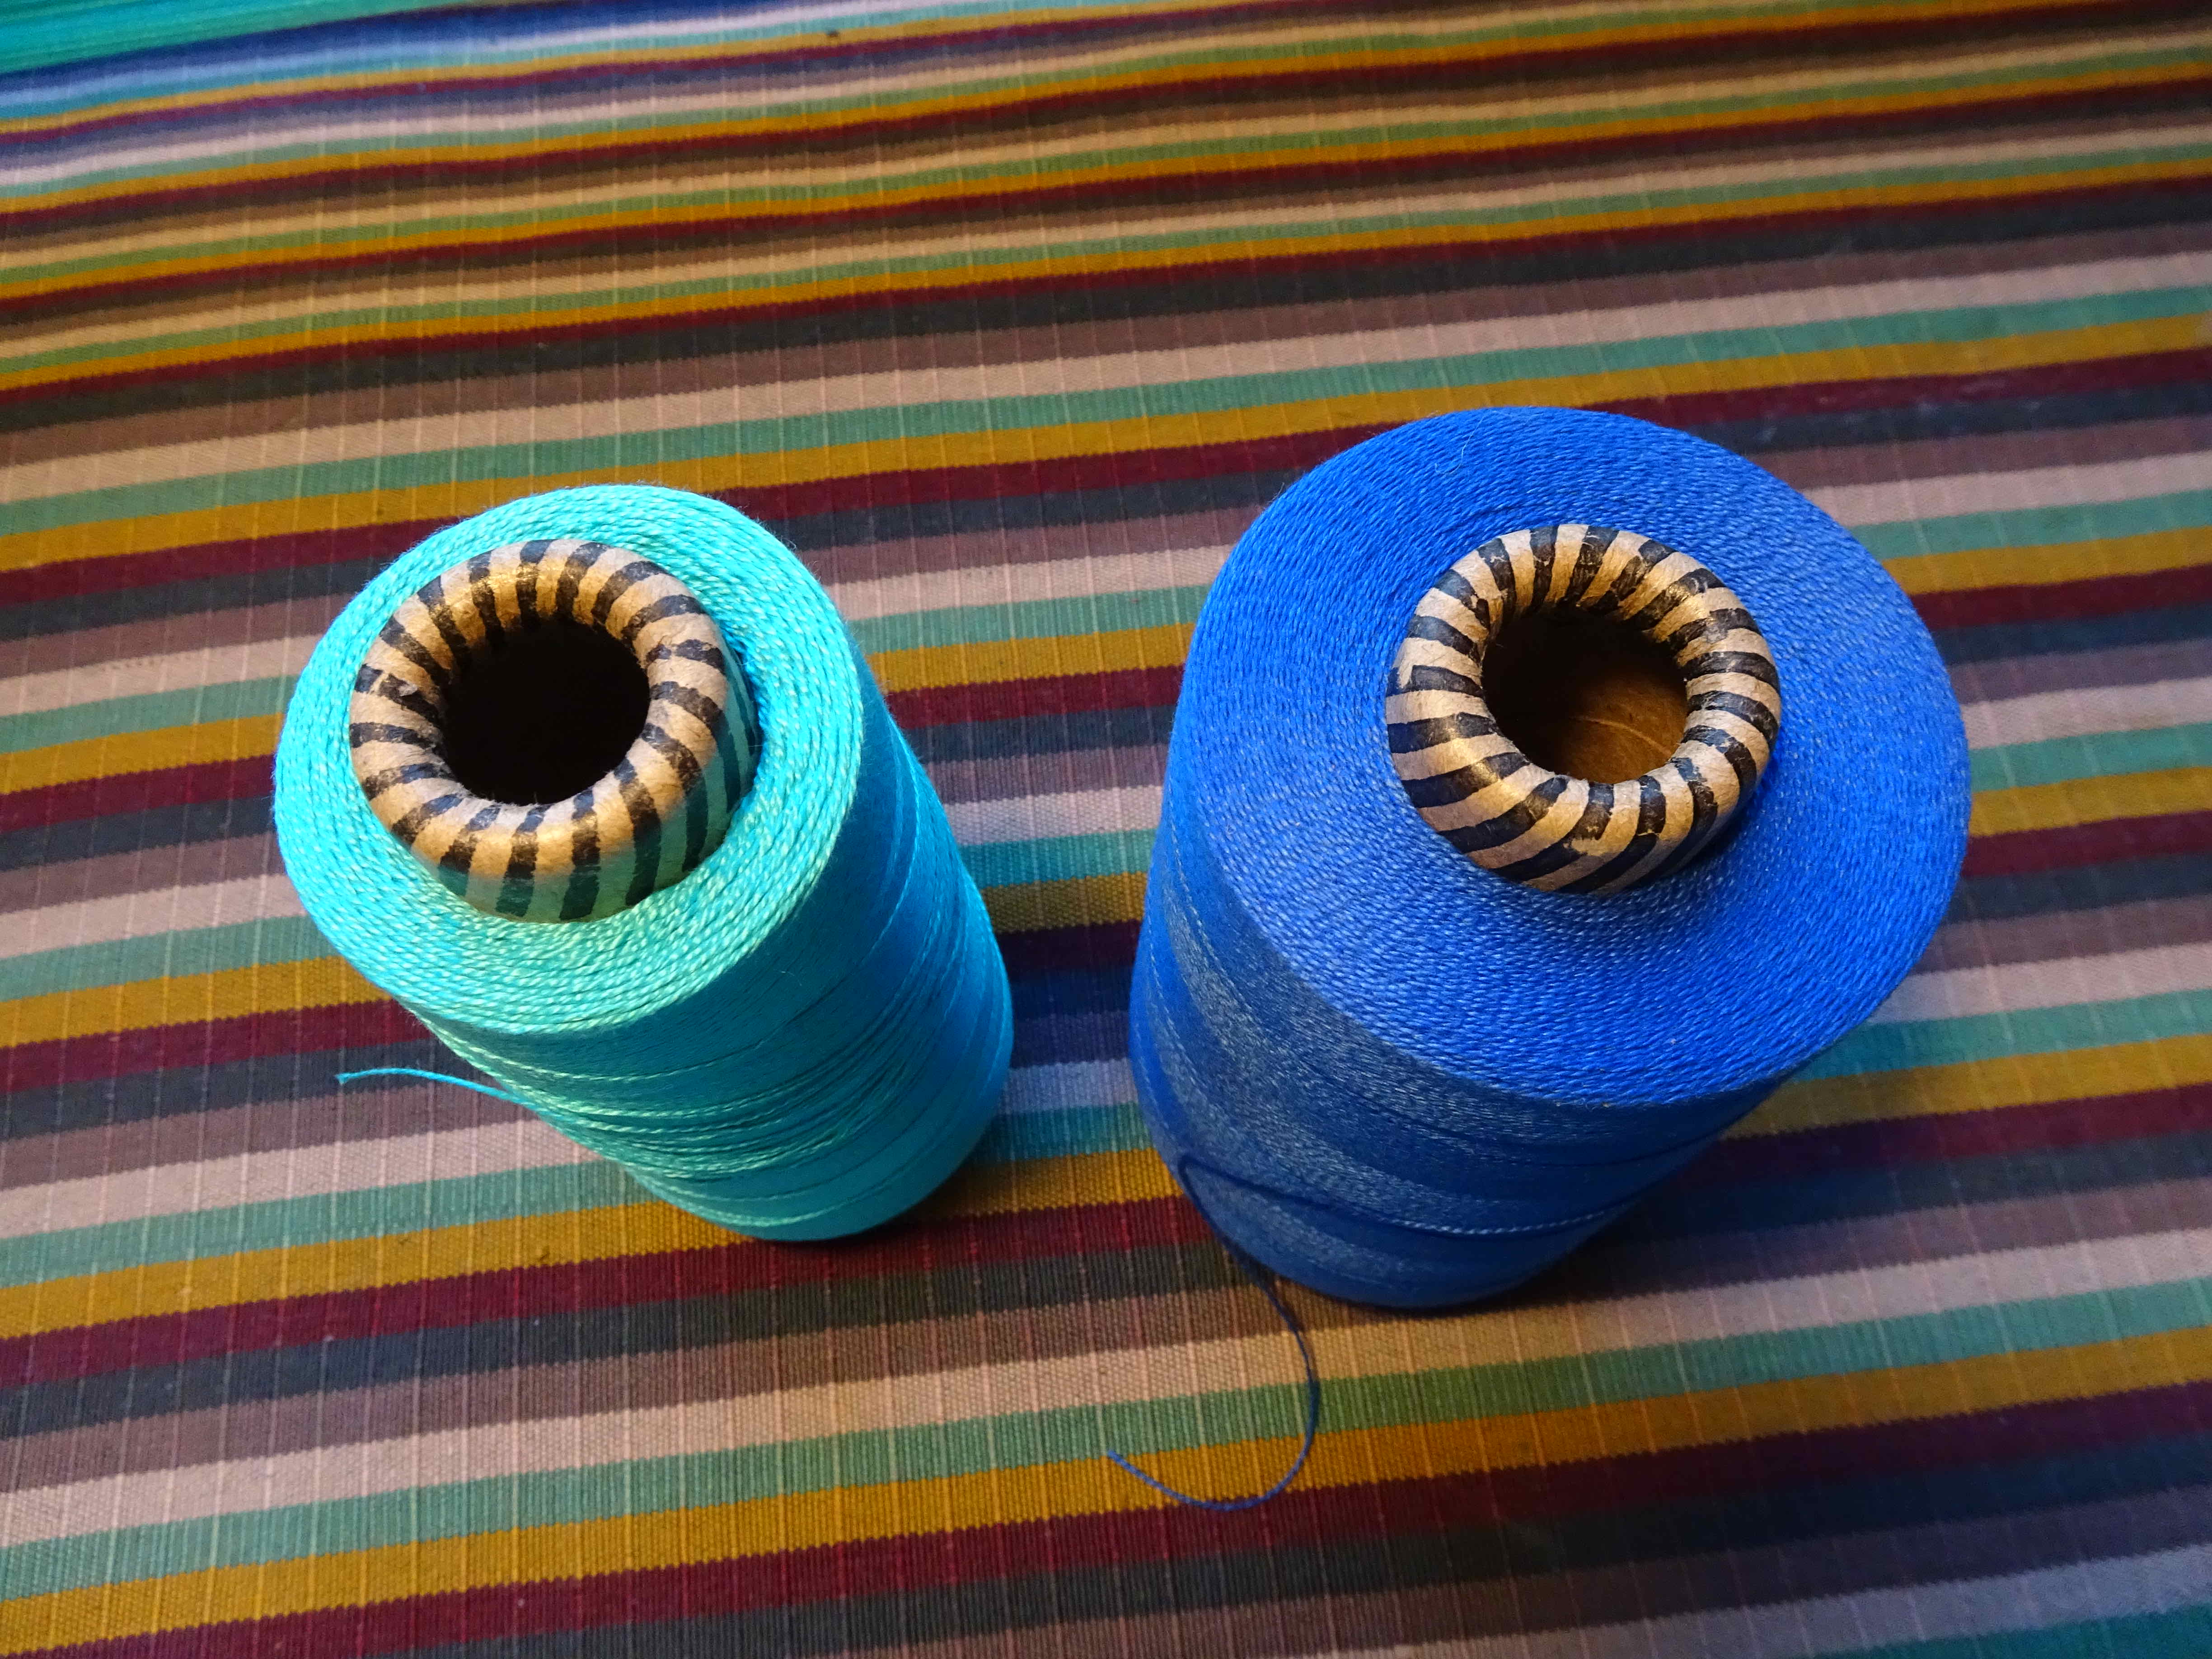
For this project I am using Ashford mercerised cotton Ne 10/2. The warp is Scuba blue (44). The weft is Honeysuckle pink (42), Celosia orange (50), Freesia yellow (54), Cedar green (22), Dazzling blue (46) and Bleached white (01).
Before starting work with any thread, I added 120 heddles to each shaft, this gives me 248 heddles per shaft, a total of 992. I then drew up my pattern by photographing a flower on the machine woven kani shawl I bought in India and drawing out a similar pattern on graph paper.
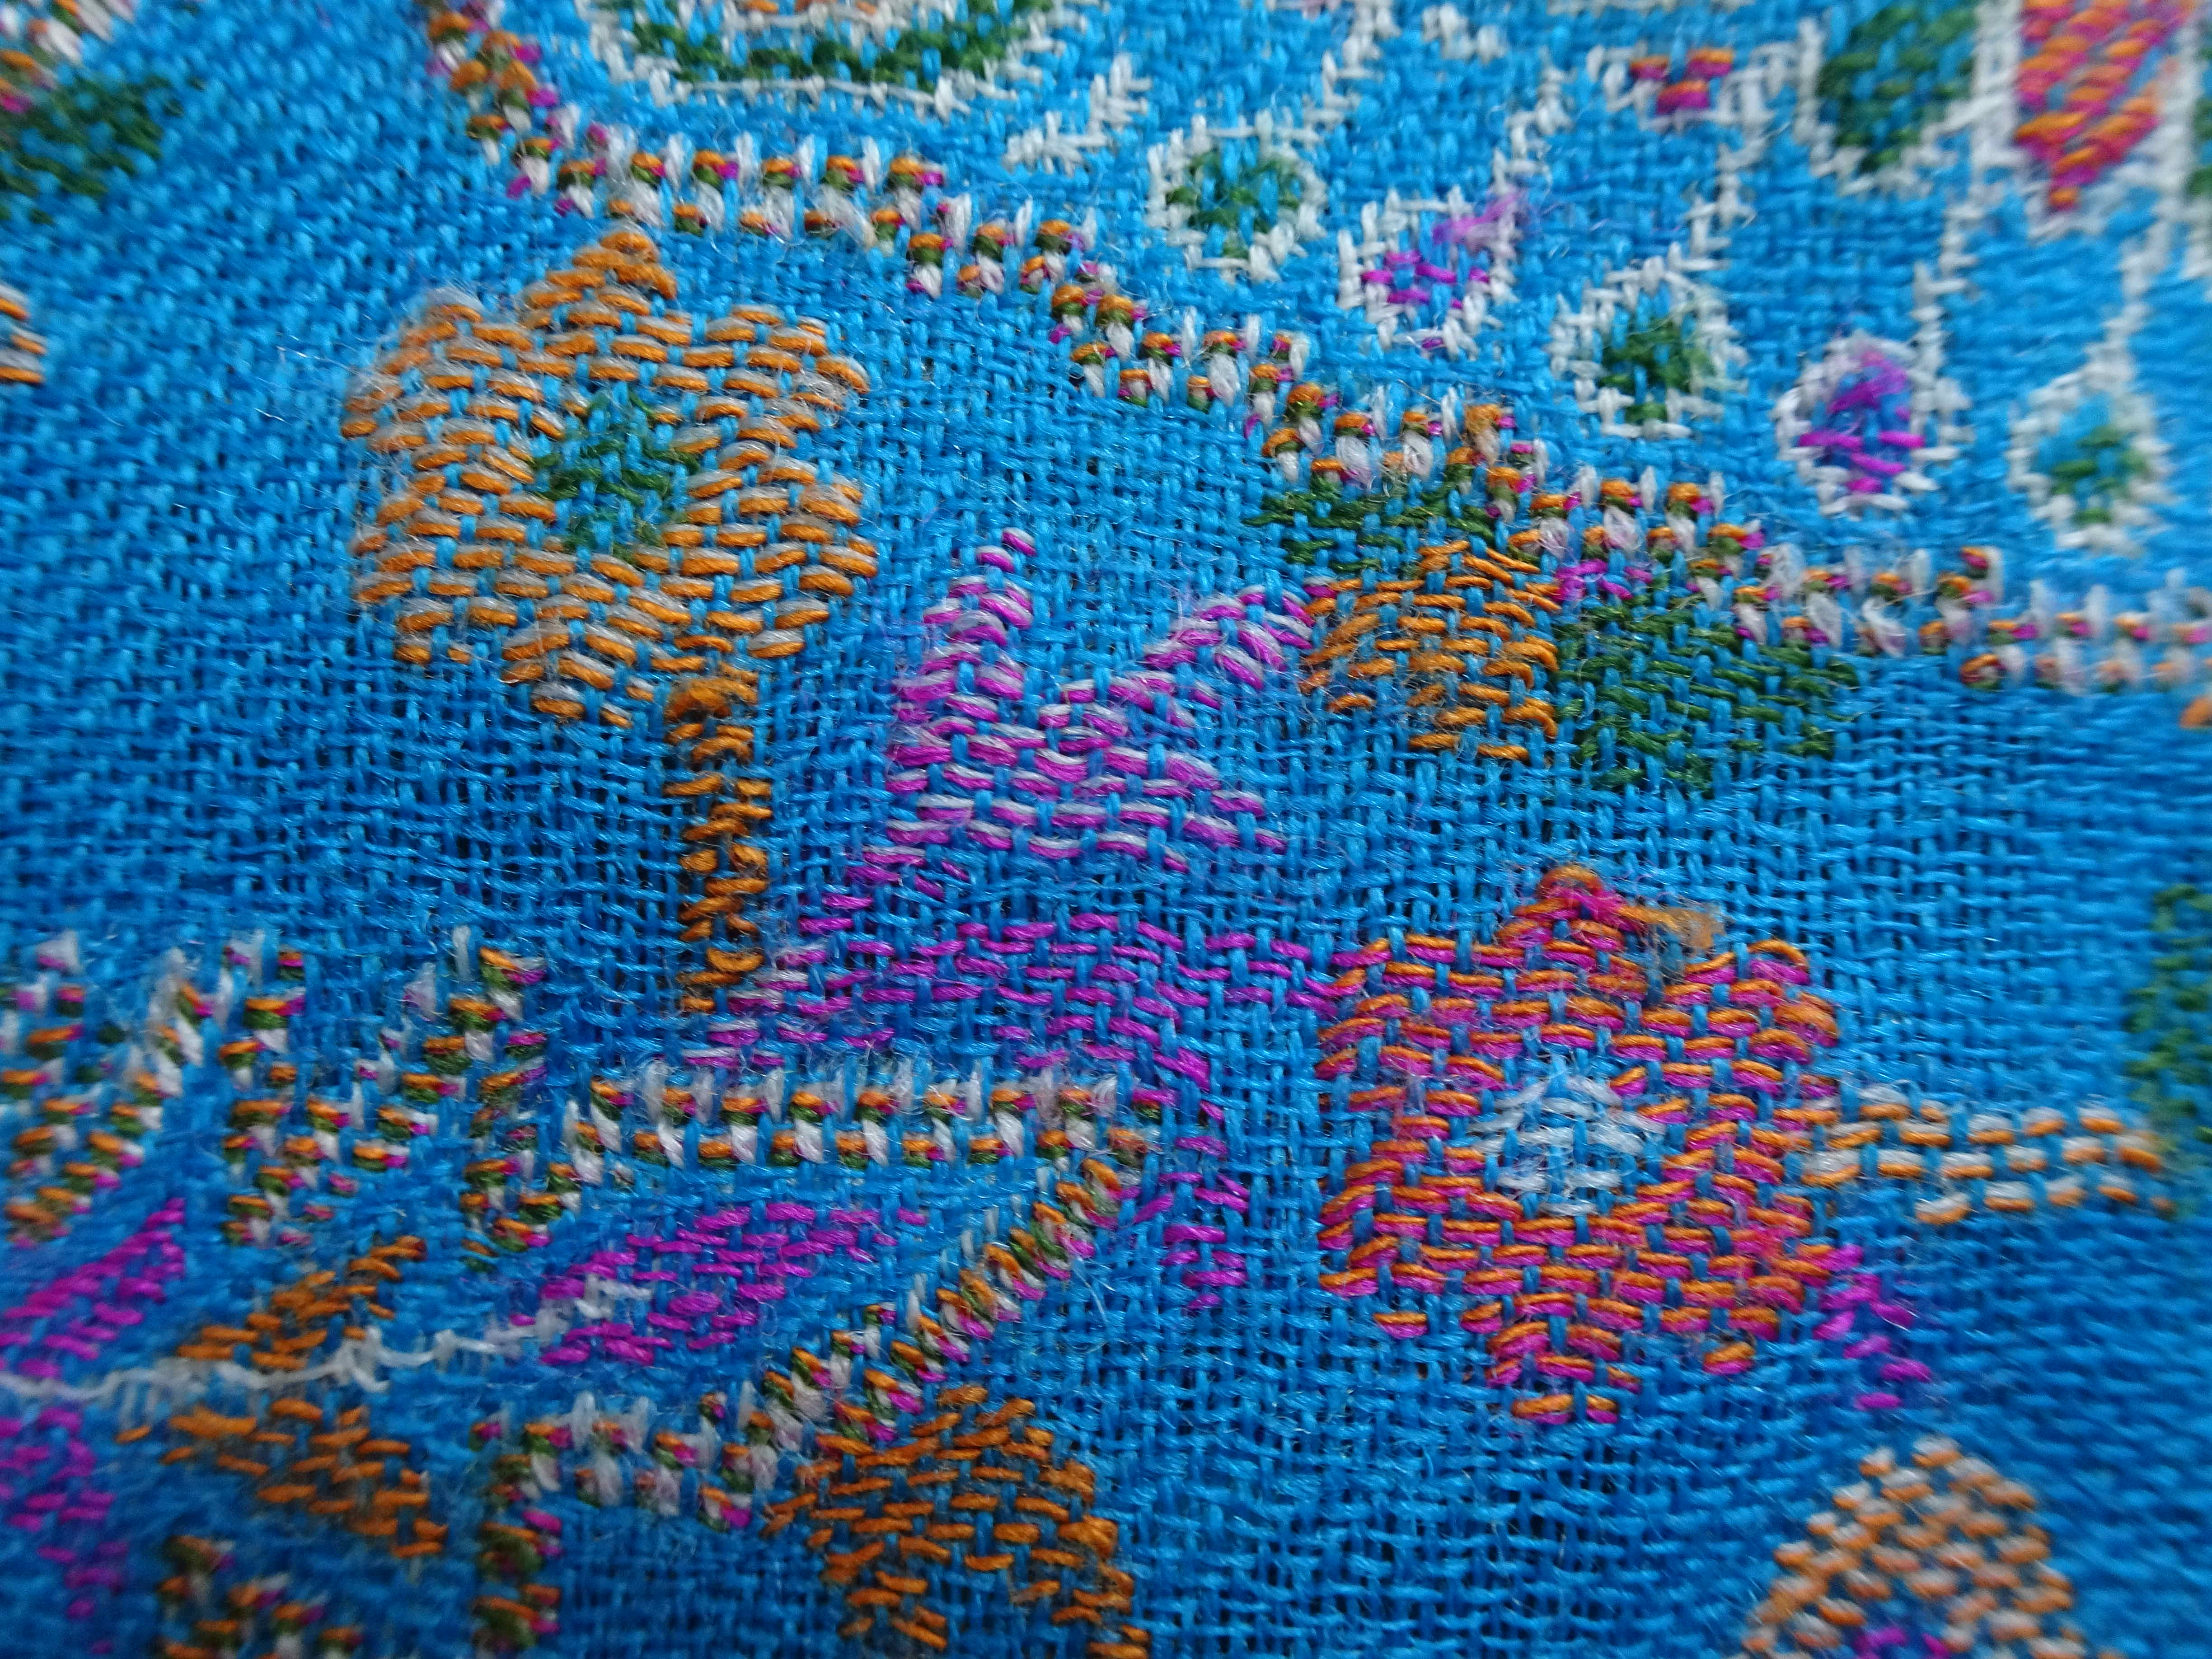
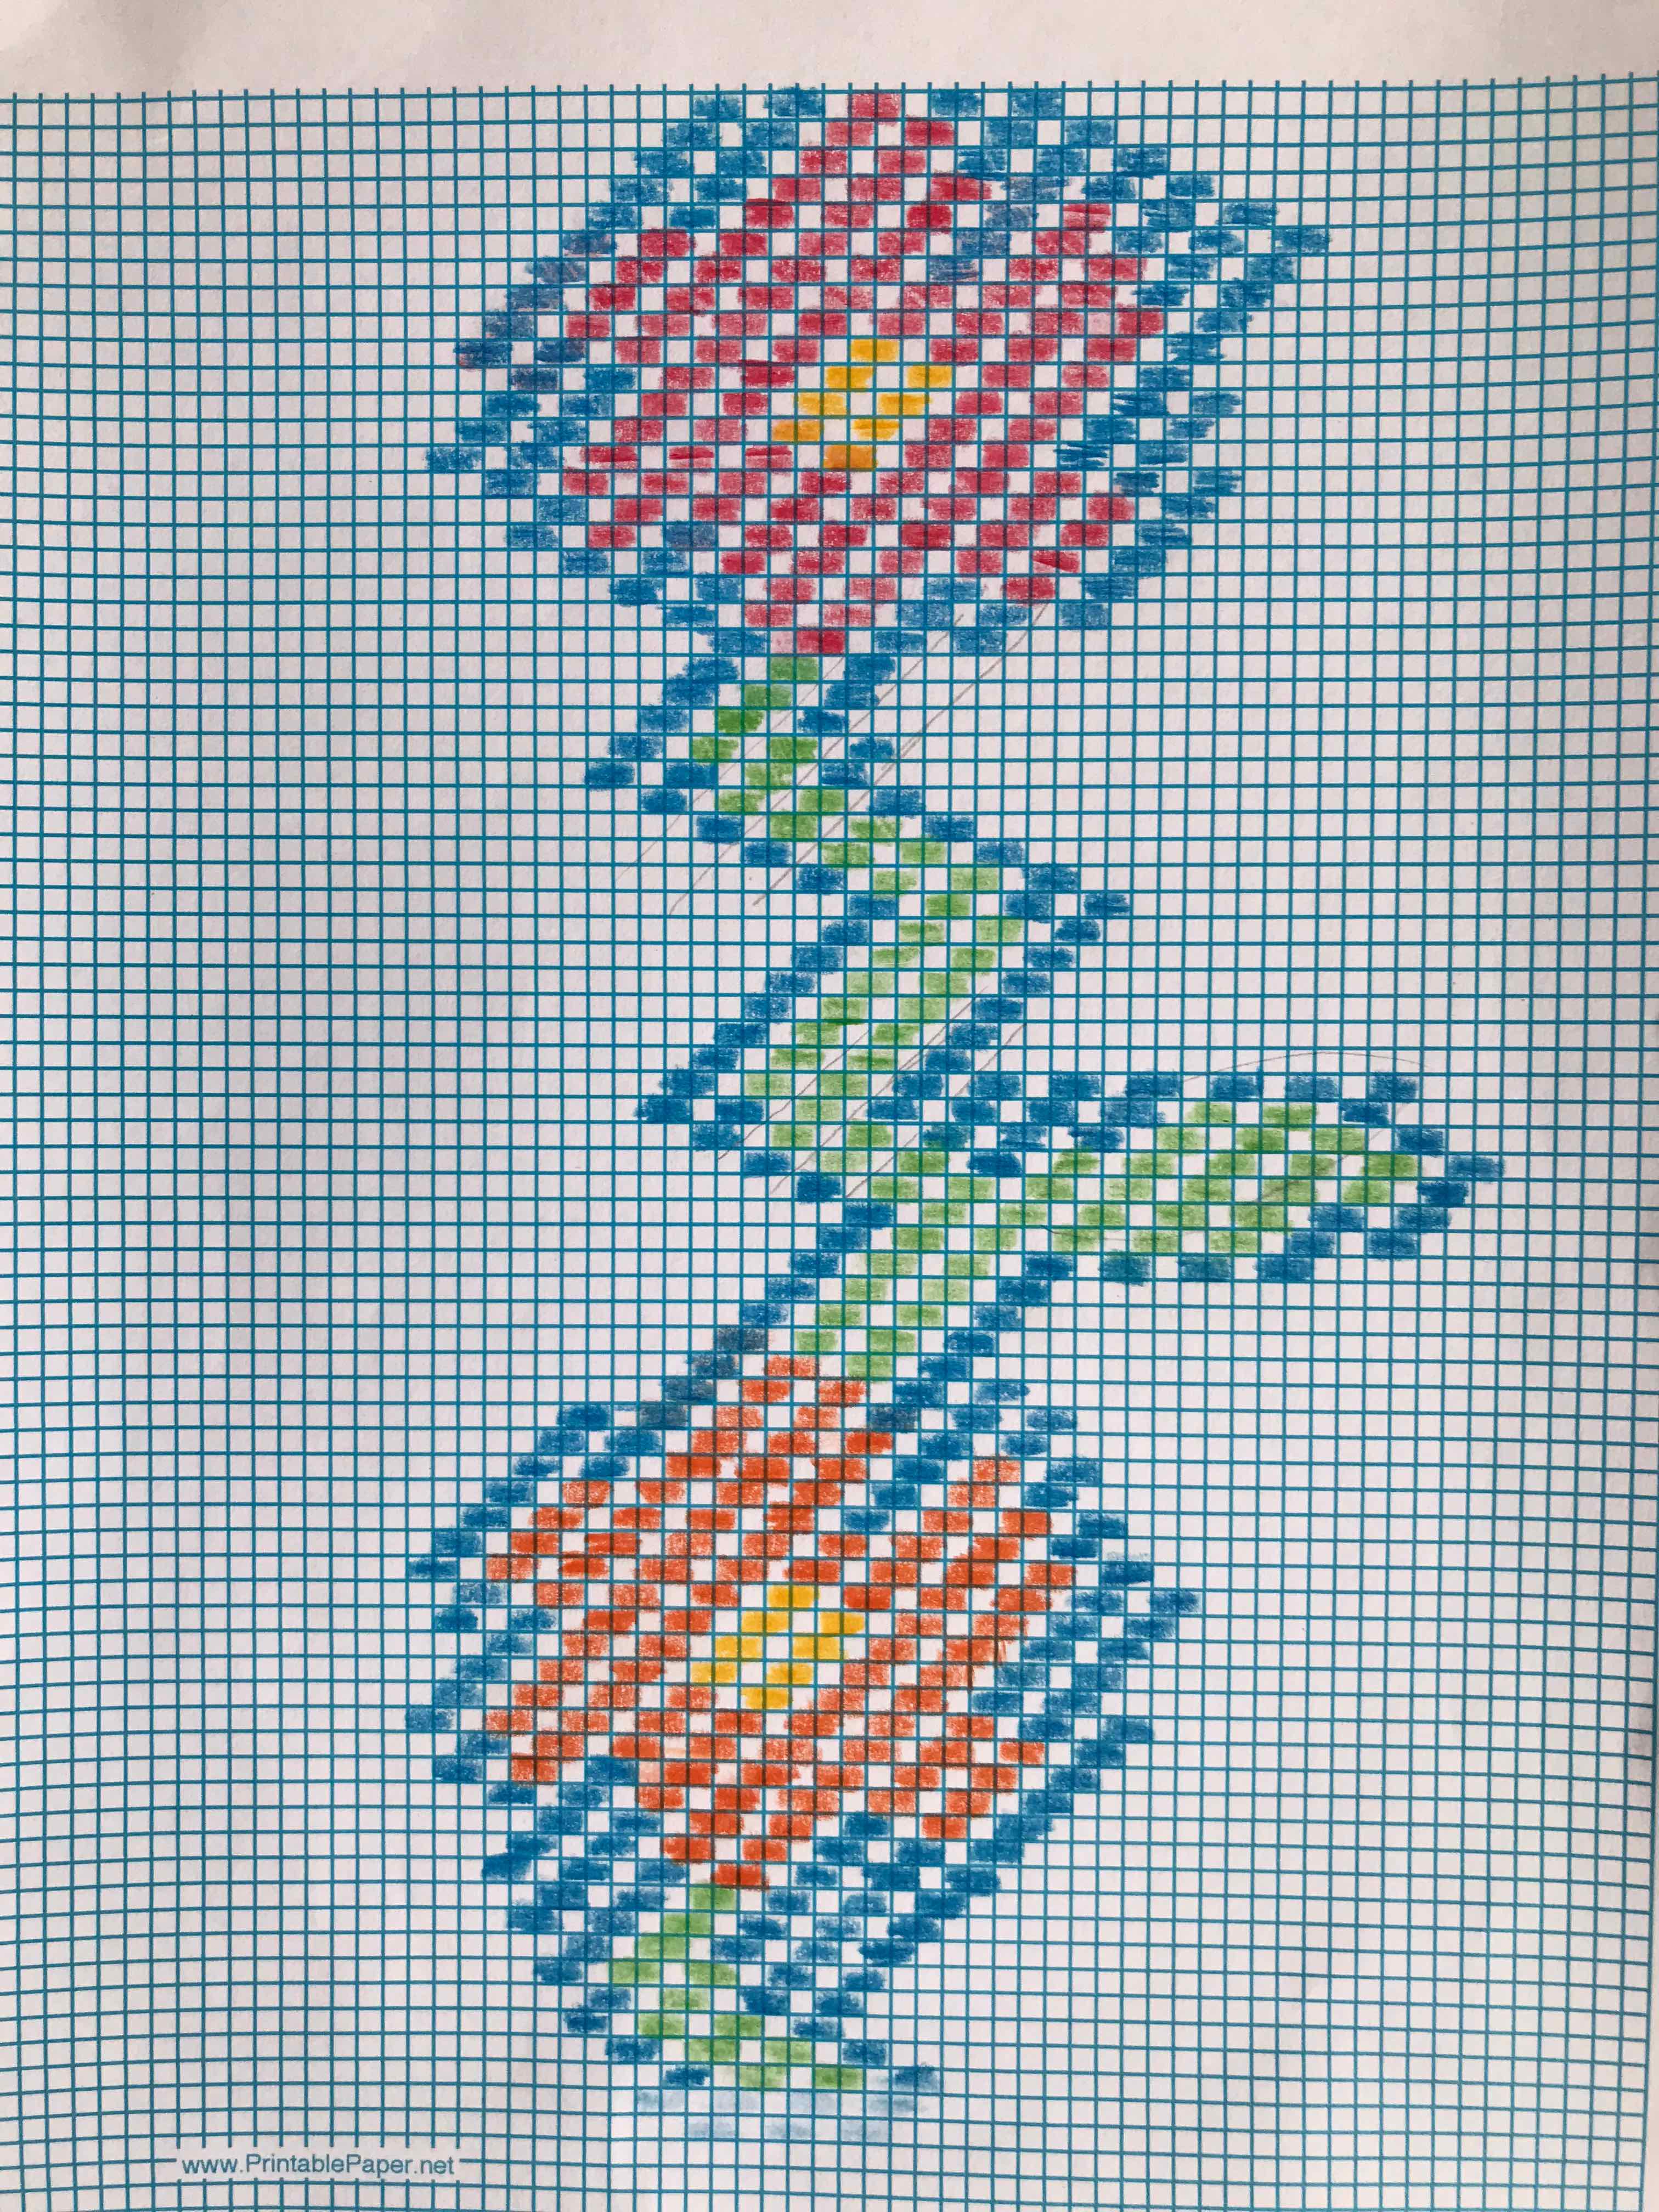
I decided to thread the loom using the weaving draft on page 29 of “The handweaver’s pattern directory” by Anne Dixon. This is a straight draft. I began by using the 3rd lifting pattern (lifting each shaft individually in turn) to give a 1/3 twill – this changed before beginning the pattern to a 3/1 twill (lifting 3 shafts at a time – the exact opposite of 1/3 twill). The reasons for this will be discussed later.
I threaded the loom with 420 threads of the Scuba blue colour. Each was 250cm long. The sett is 30 epi using a 10 dpi reed, this means 3 threads per dent. This will give me a scarf about 30cm finished width.
12 -21 May – Wound the threads on to the warping mill – I counted 42 bundles each with 10 threads.
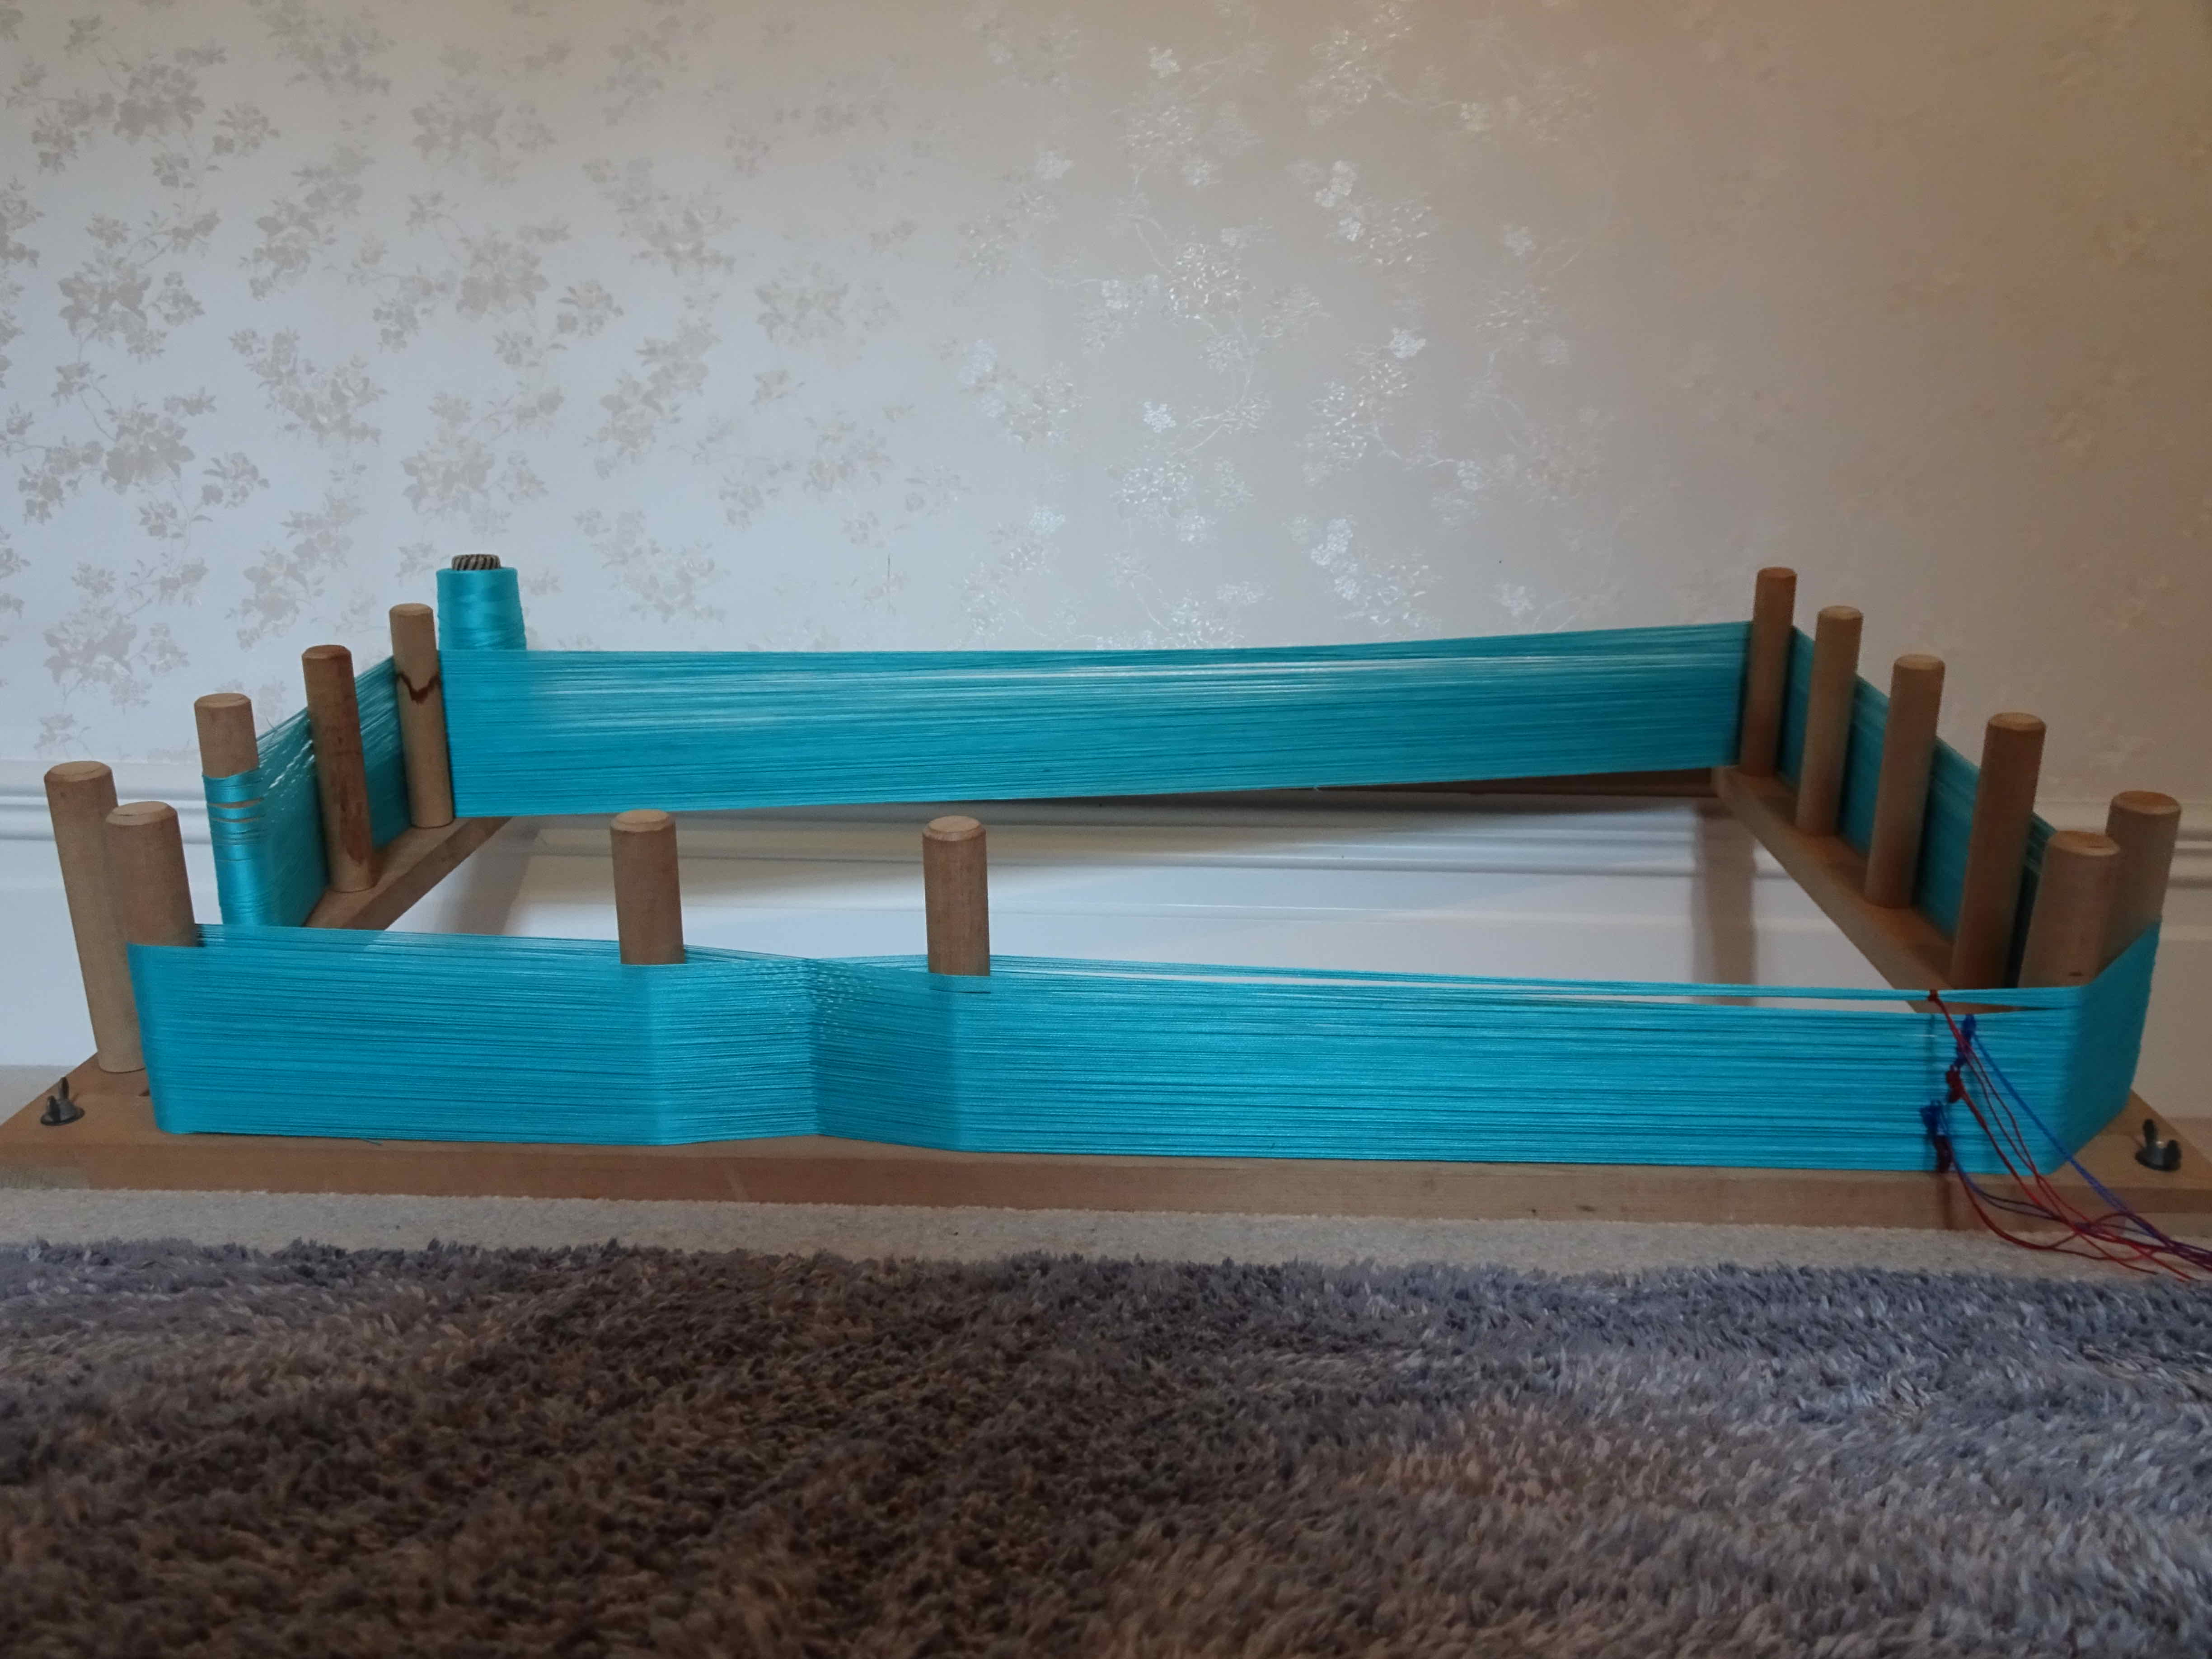
I have been reading “Learning to weave” by Deborah Chandler – an excellent book. I decided to thread the loom from front to back (described on pp26-55), as opposed to the back-to-front method used in previous projects.
1-4 June – sleyed the reed, using lease sticks to keep the cross and threading 3 threads per dent at the same time. Retied threads into bundles of 12 for ease of working.
5-6 June – Altered the shaft tie-ups (as described in the previous post) from a centre lift to lifting from each end of the shaft. This means that I can thread heddles from right to left as opposed to working from the centre out to each side.
9-18 June – Threaded the heddles, working in bundles of 12 threads ie 4 reed slots at a time. When I came to the end, I found that I was 3 threads short! Somewhere, I had missed them. As I spread the heddles evenly across the shafts, I found the missing threads (in the centre of the warp thread bundle) and threaded them through the final heddles. This resulted in a bit of a tangle which should come out when winding the warp onto the back beam.
18-19 June – Wound the warp onto the back beam. As I wound it, I used my fingers to comb tangles out of the threads, this included “moving” the 3 missed threads to their new positions in the warp thread order.
20-21 June – Tied the warp threads to the front apron beam and checked the threading of heddles by lifting each shaft individually and checking that 3 threads from each bundle of 12 came up and also looked for a clean shed. there was a problem with the far left bundle of threads, that’s the one I added the 3 missing threads. I corrected the problem. I did like threading the loom from front to back.
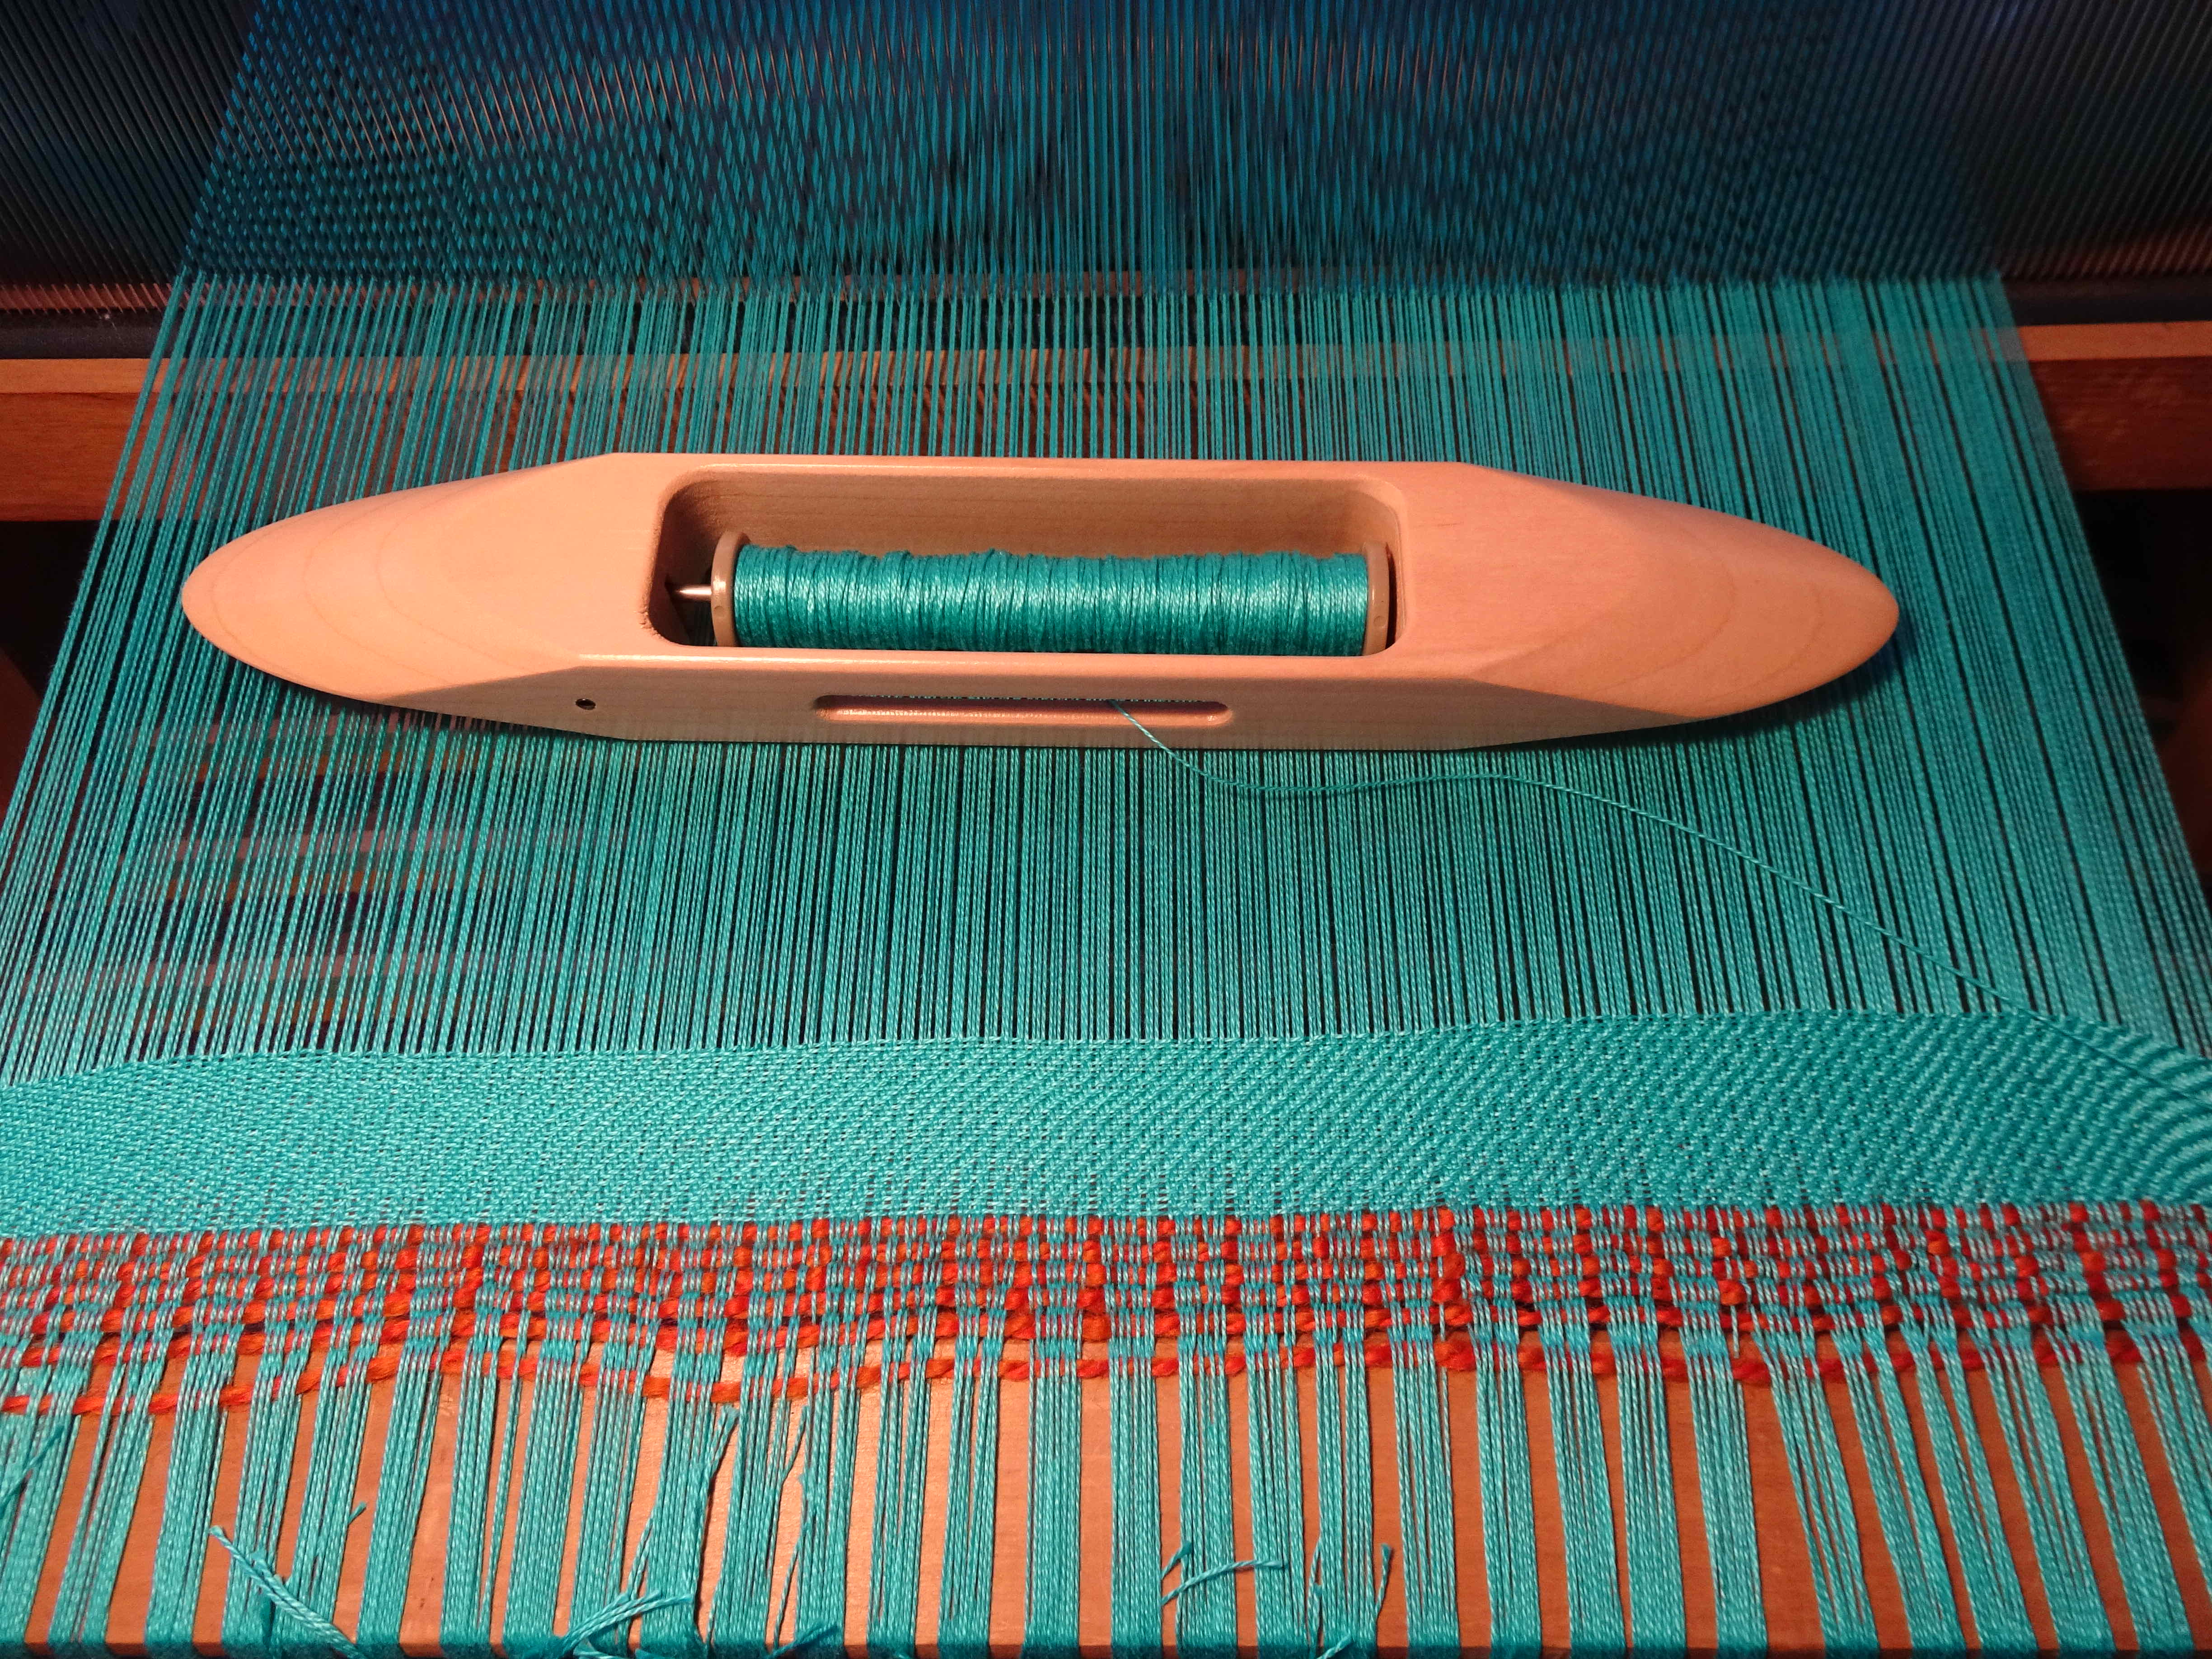
22 June – Wove the header using 2 sets of 3 weft passes to get the warp threads spread evenly. I wound Scuba blue onto the bobbin of the Ashford boat shuttle I purchased and wove 3cm of 1/3 twill.
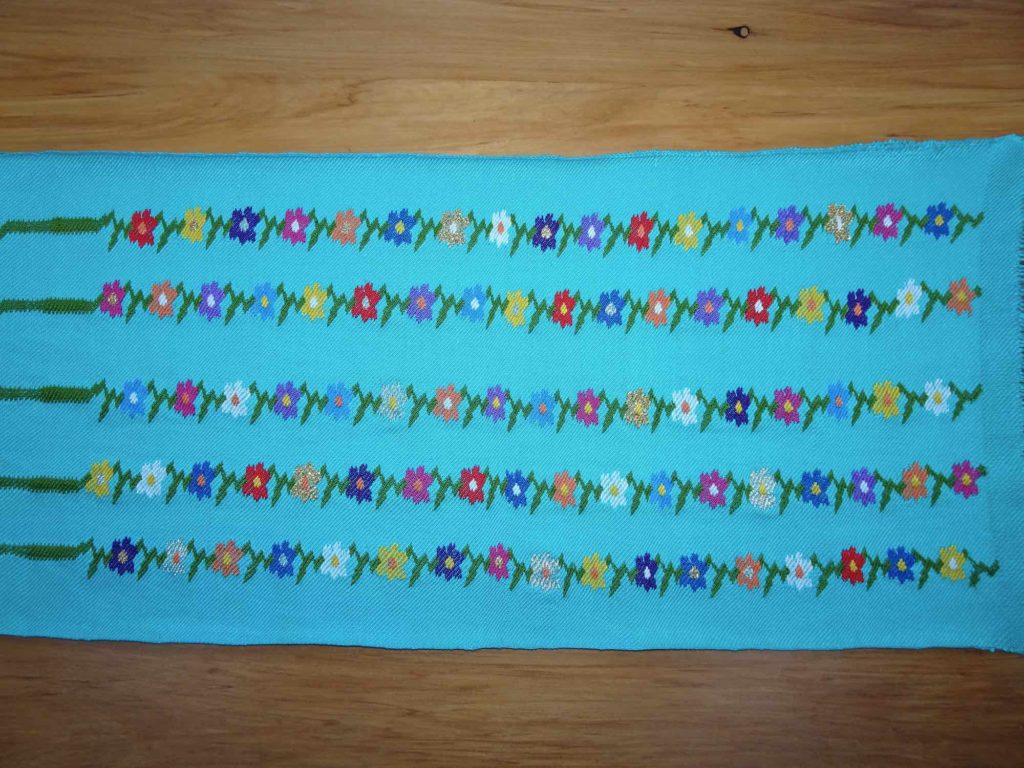
23 June – Decided to weave 5 columns of flowers in a staggered pattern. Calculated that each flower is 36 threads wide and decided that across the width of the warp threads I would do 48 plain threads, 36 pattern, 36 plain, 36 pattern, 36 plain, 36 pattern, 36 plain, 36 pattern, 36 plain, 36 pattern, 48 plain. I tied threads on the reed at the appropriate places so I would know where to begin each column of pattern.
29-30 June – Wound stick bobbins with weft thread colours. The sticks were made for me by my son, Ben.
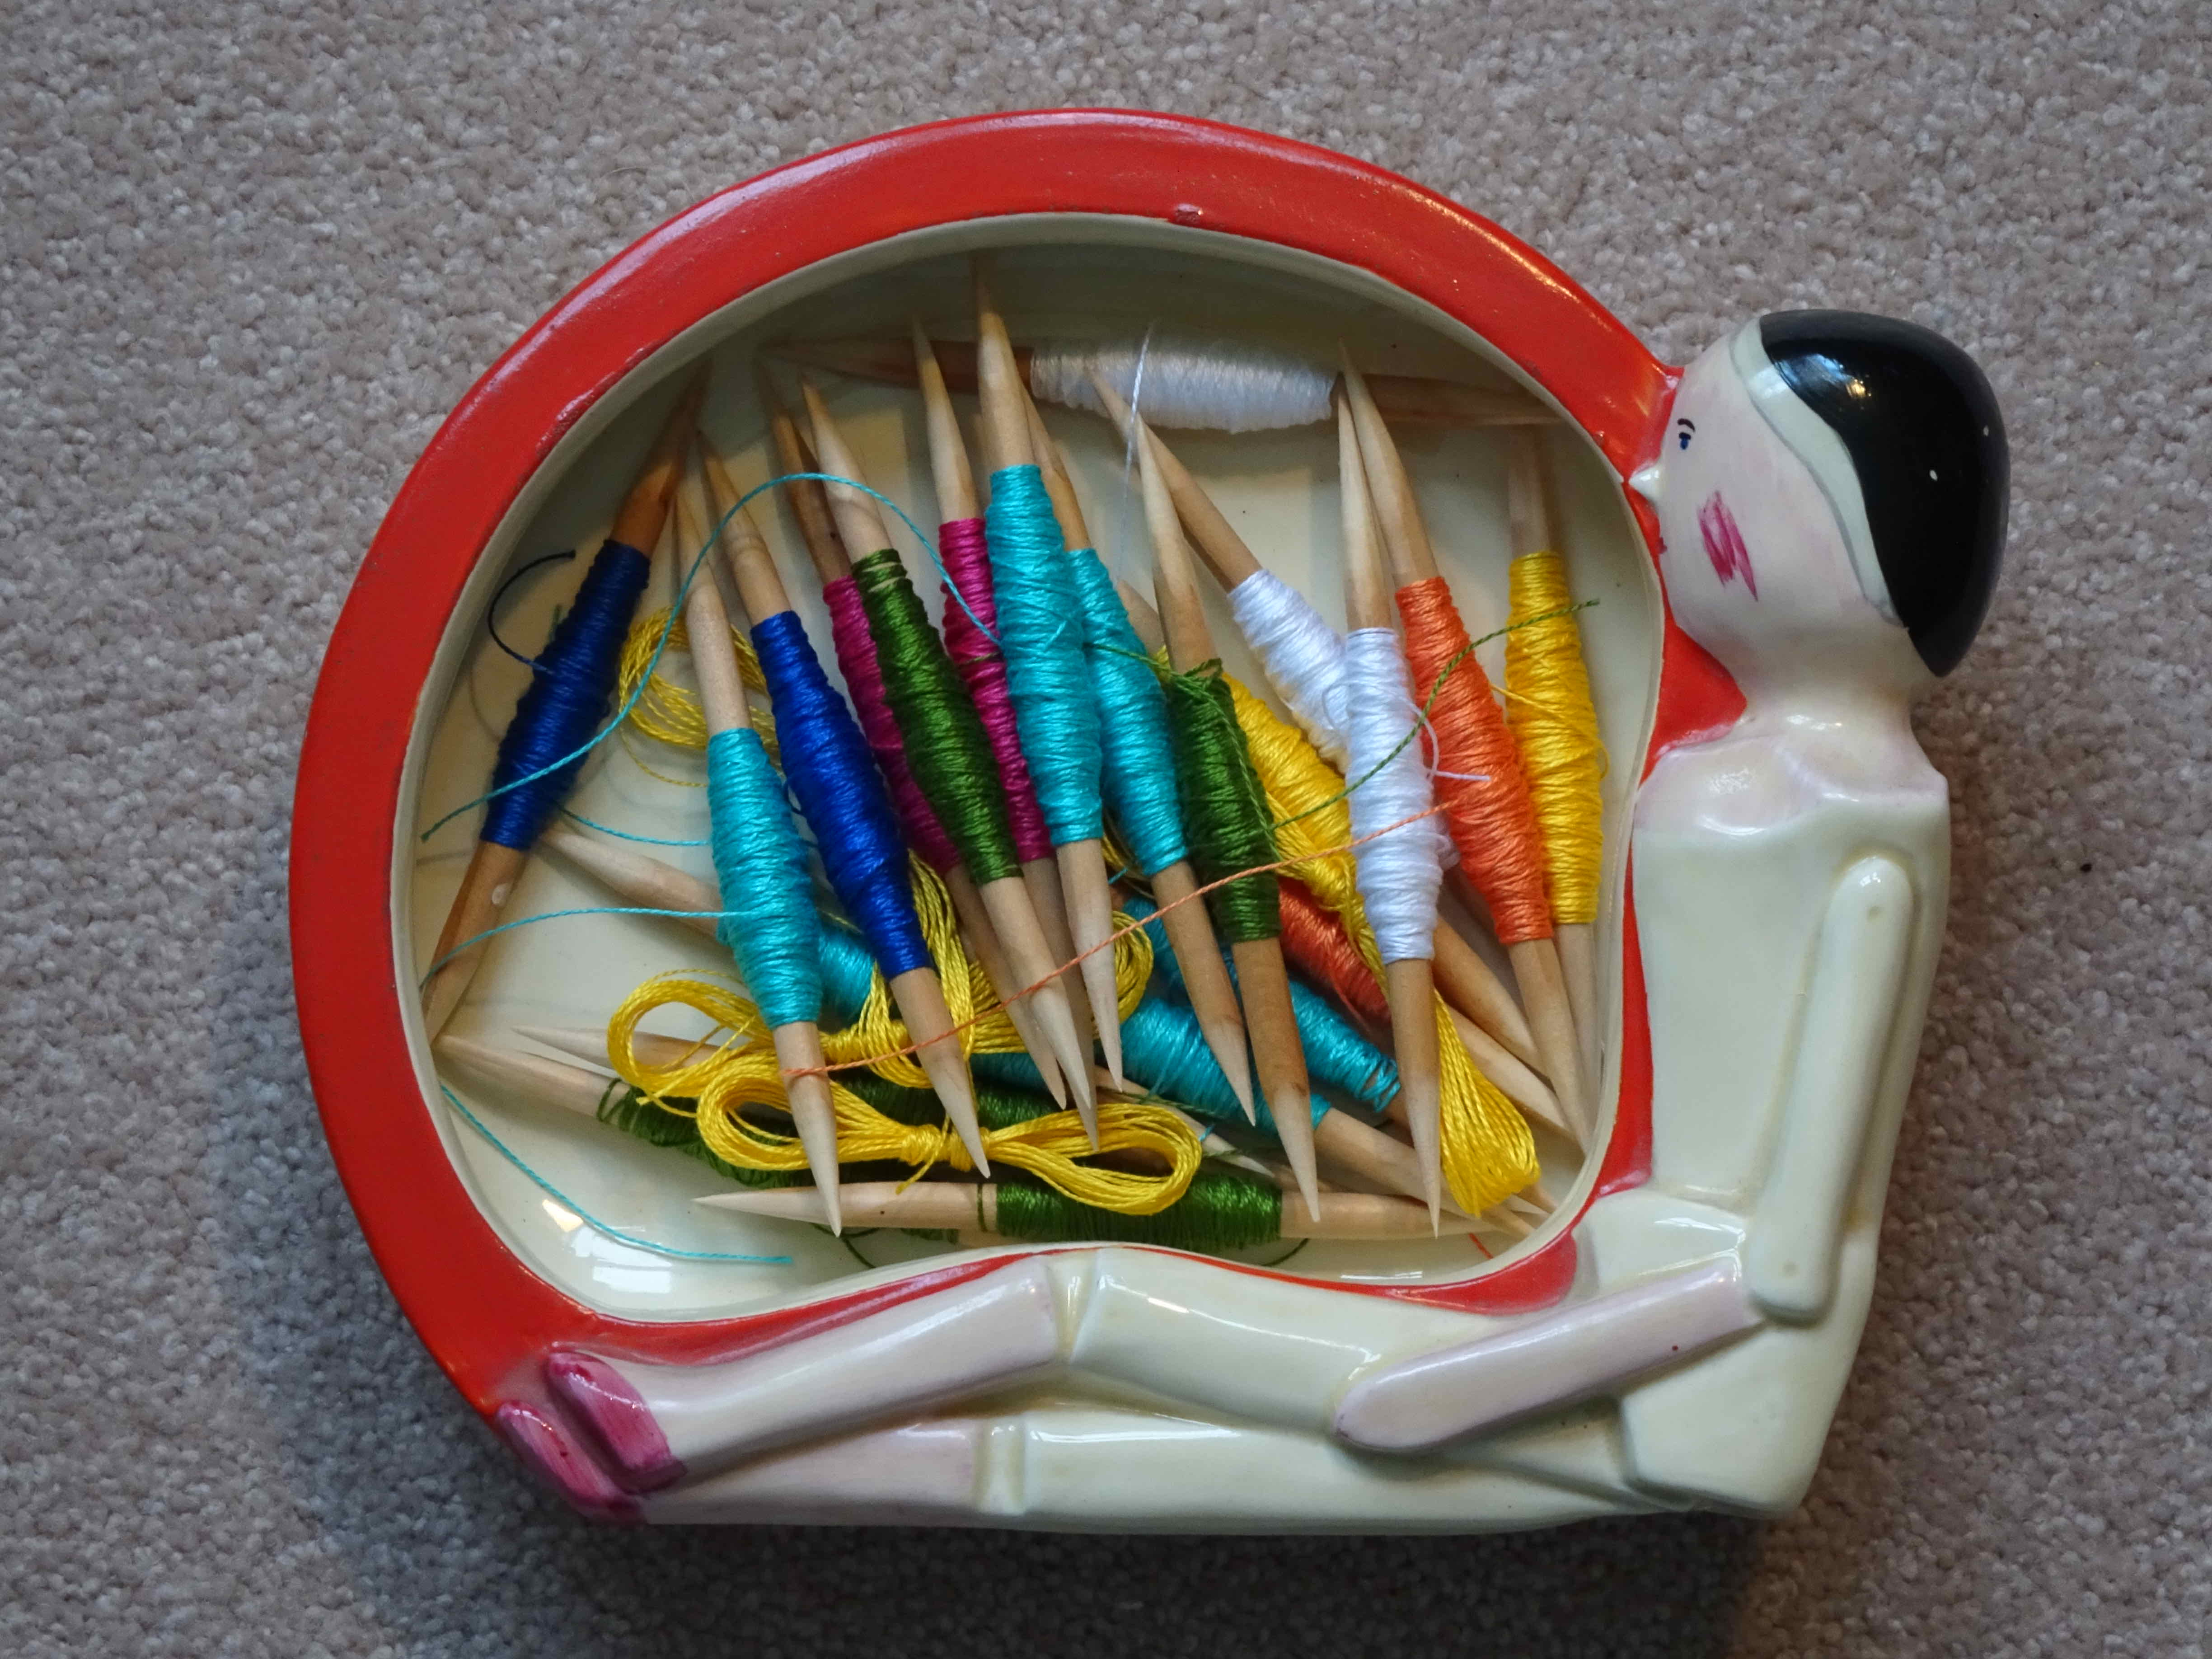
6 July – Wove a single row of pattern using stick bobbins. This single row taught me many things!
1) How NOT to change colours
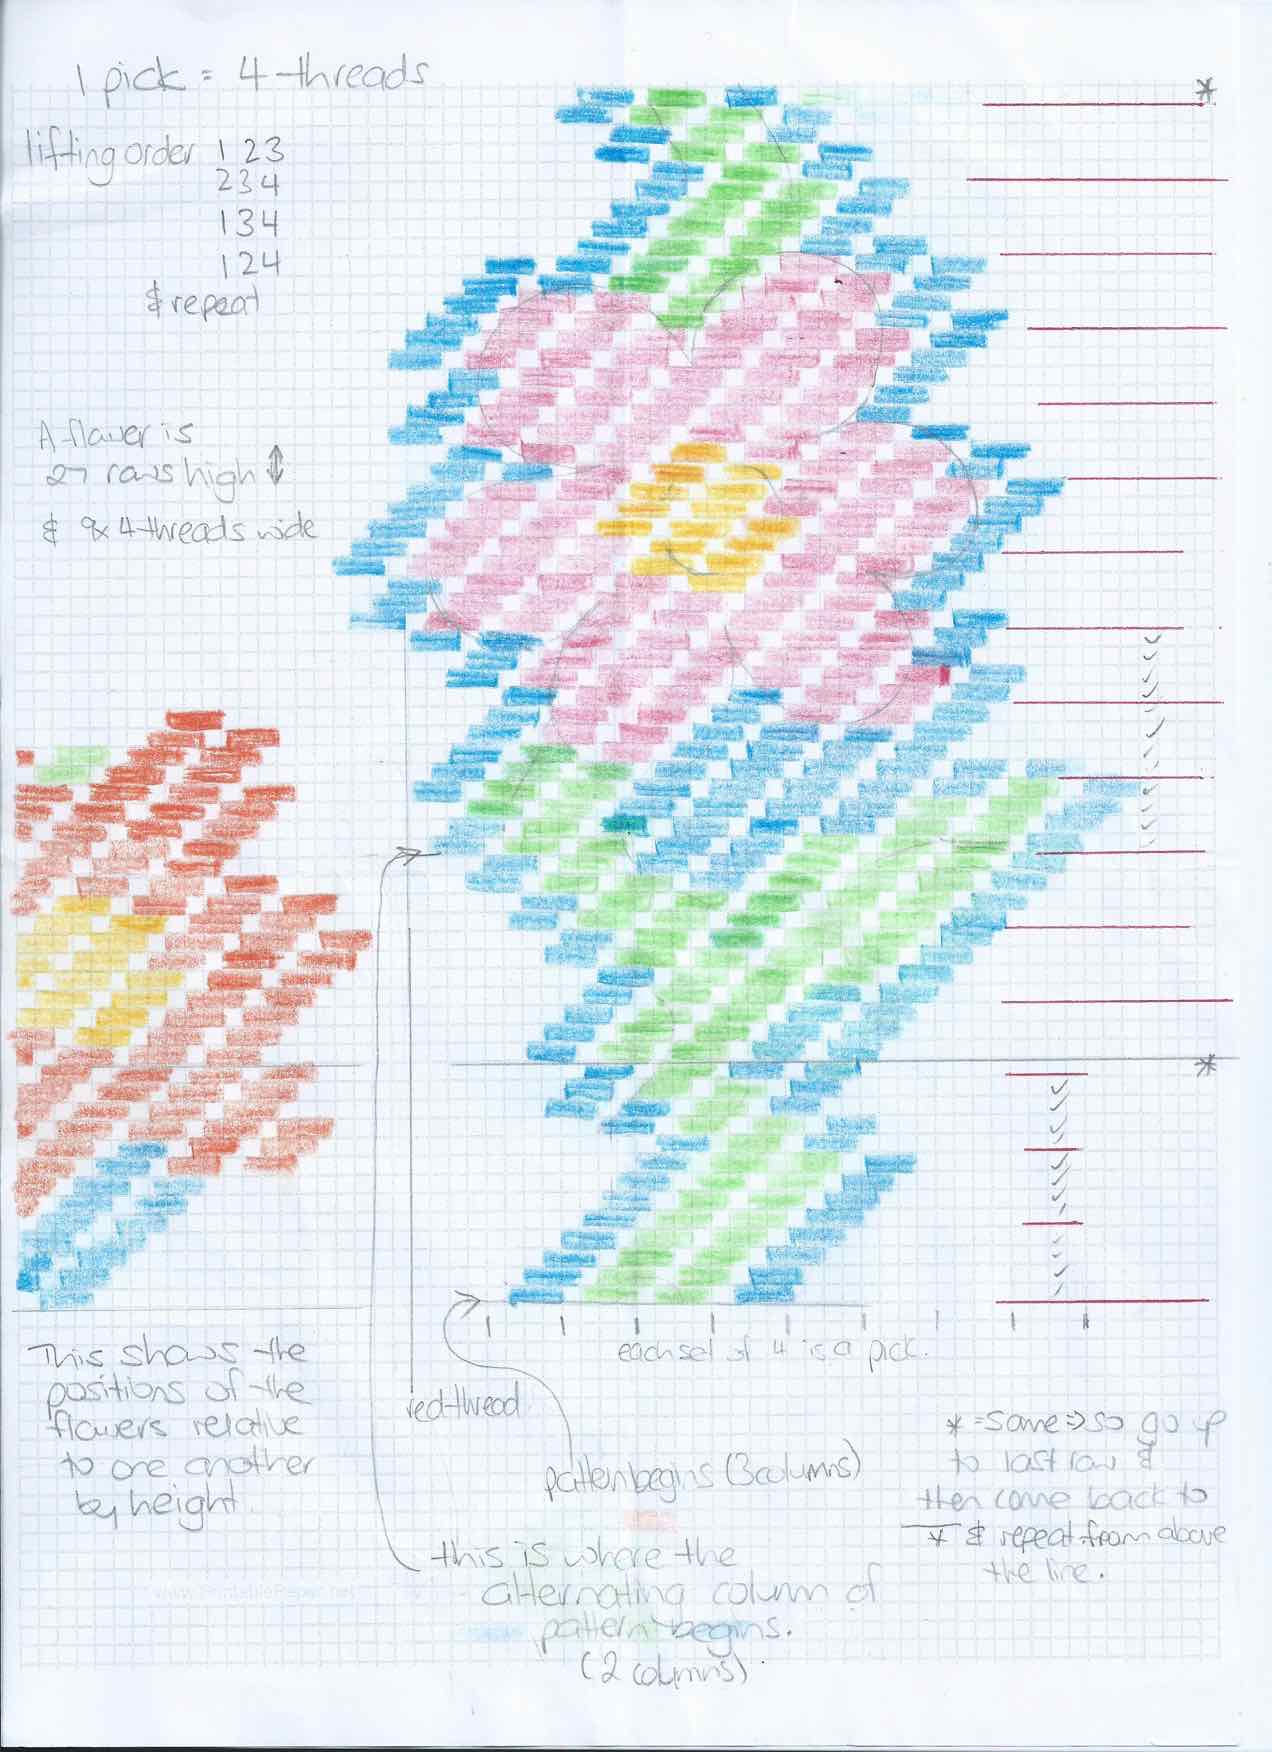
2) My pattern draft is all wrong – I have drawn it using groups of 3 threads when I am lifting with groups of 4 threads. I need to redraw the pattern….
3) I realised that the weft threads are going under 1 thread and over 3 threads on the side that I am working on, this will have the crossovers between colours and so should be the back of the finished fabric. This means that the side of the fabric that will be the front has only 1 thread of colour for every 4 warp threads. I need to change the lifting sequence to reverse the front and back of the fabric – I need to be working on the side that has 1 thread of colour for every 4 warp threads. So I will use the lifting pattern at the bottom of p29 of the Anne Dixon pattern book – I’ll be doing a 3/1 twill instead of a 1/3 twill.
8 July – Redrew my pattern to use sets of 4 threads instead of sets of 3 threads. There are still 36 threads to a width of pattern, so my earlier calculations still work!
12 July – Undid the previous row of weaving and started again using the updated pattern. Wove 4 rows – 1 of each lifting order. I will work in stages of 4 rows to make it easier to remember where I’m up to. I have decided to carry the background colour across other colours when they are only 2-3 groups wide in order to minimise the number of bobbins I am working with. I looked at the front of the 4 rows I have completed by placing a mirror under the work. They look correct. Time will tell….
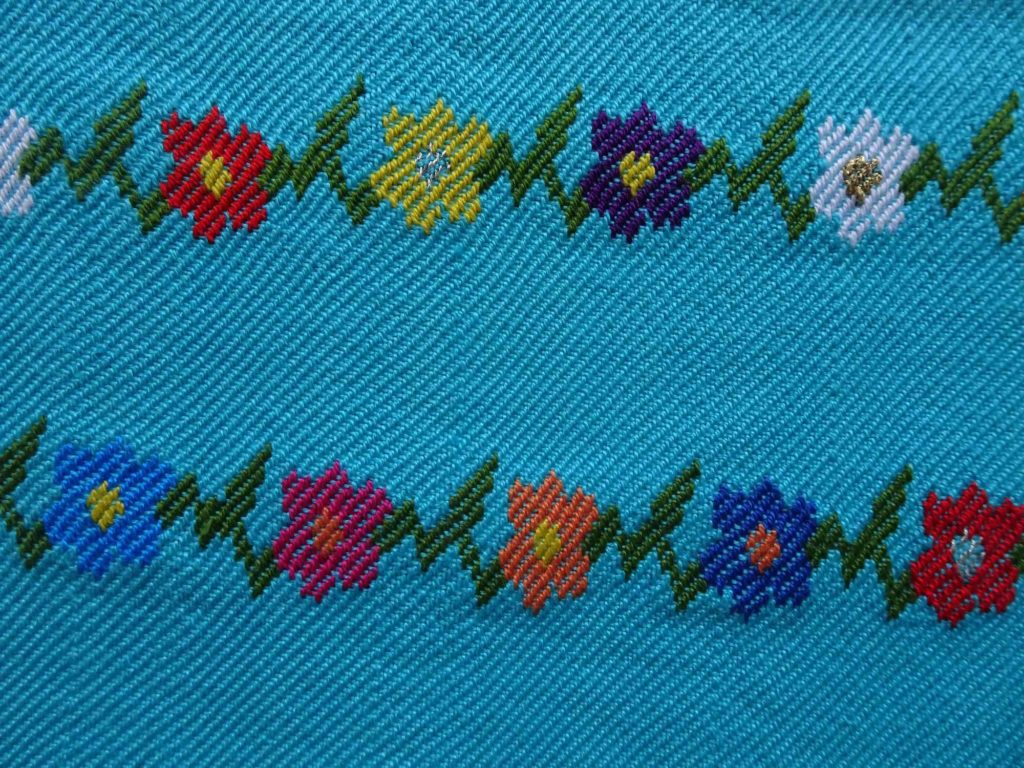
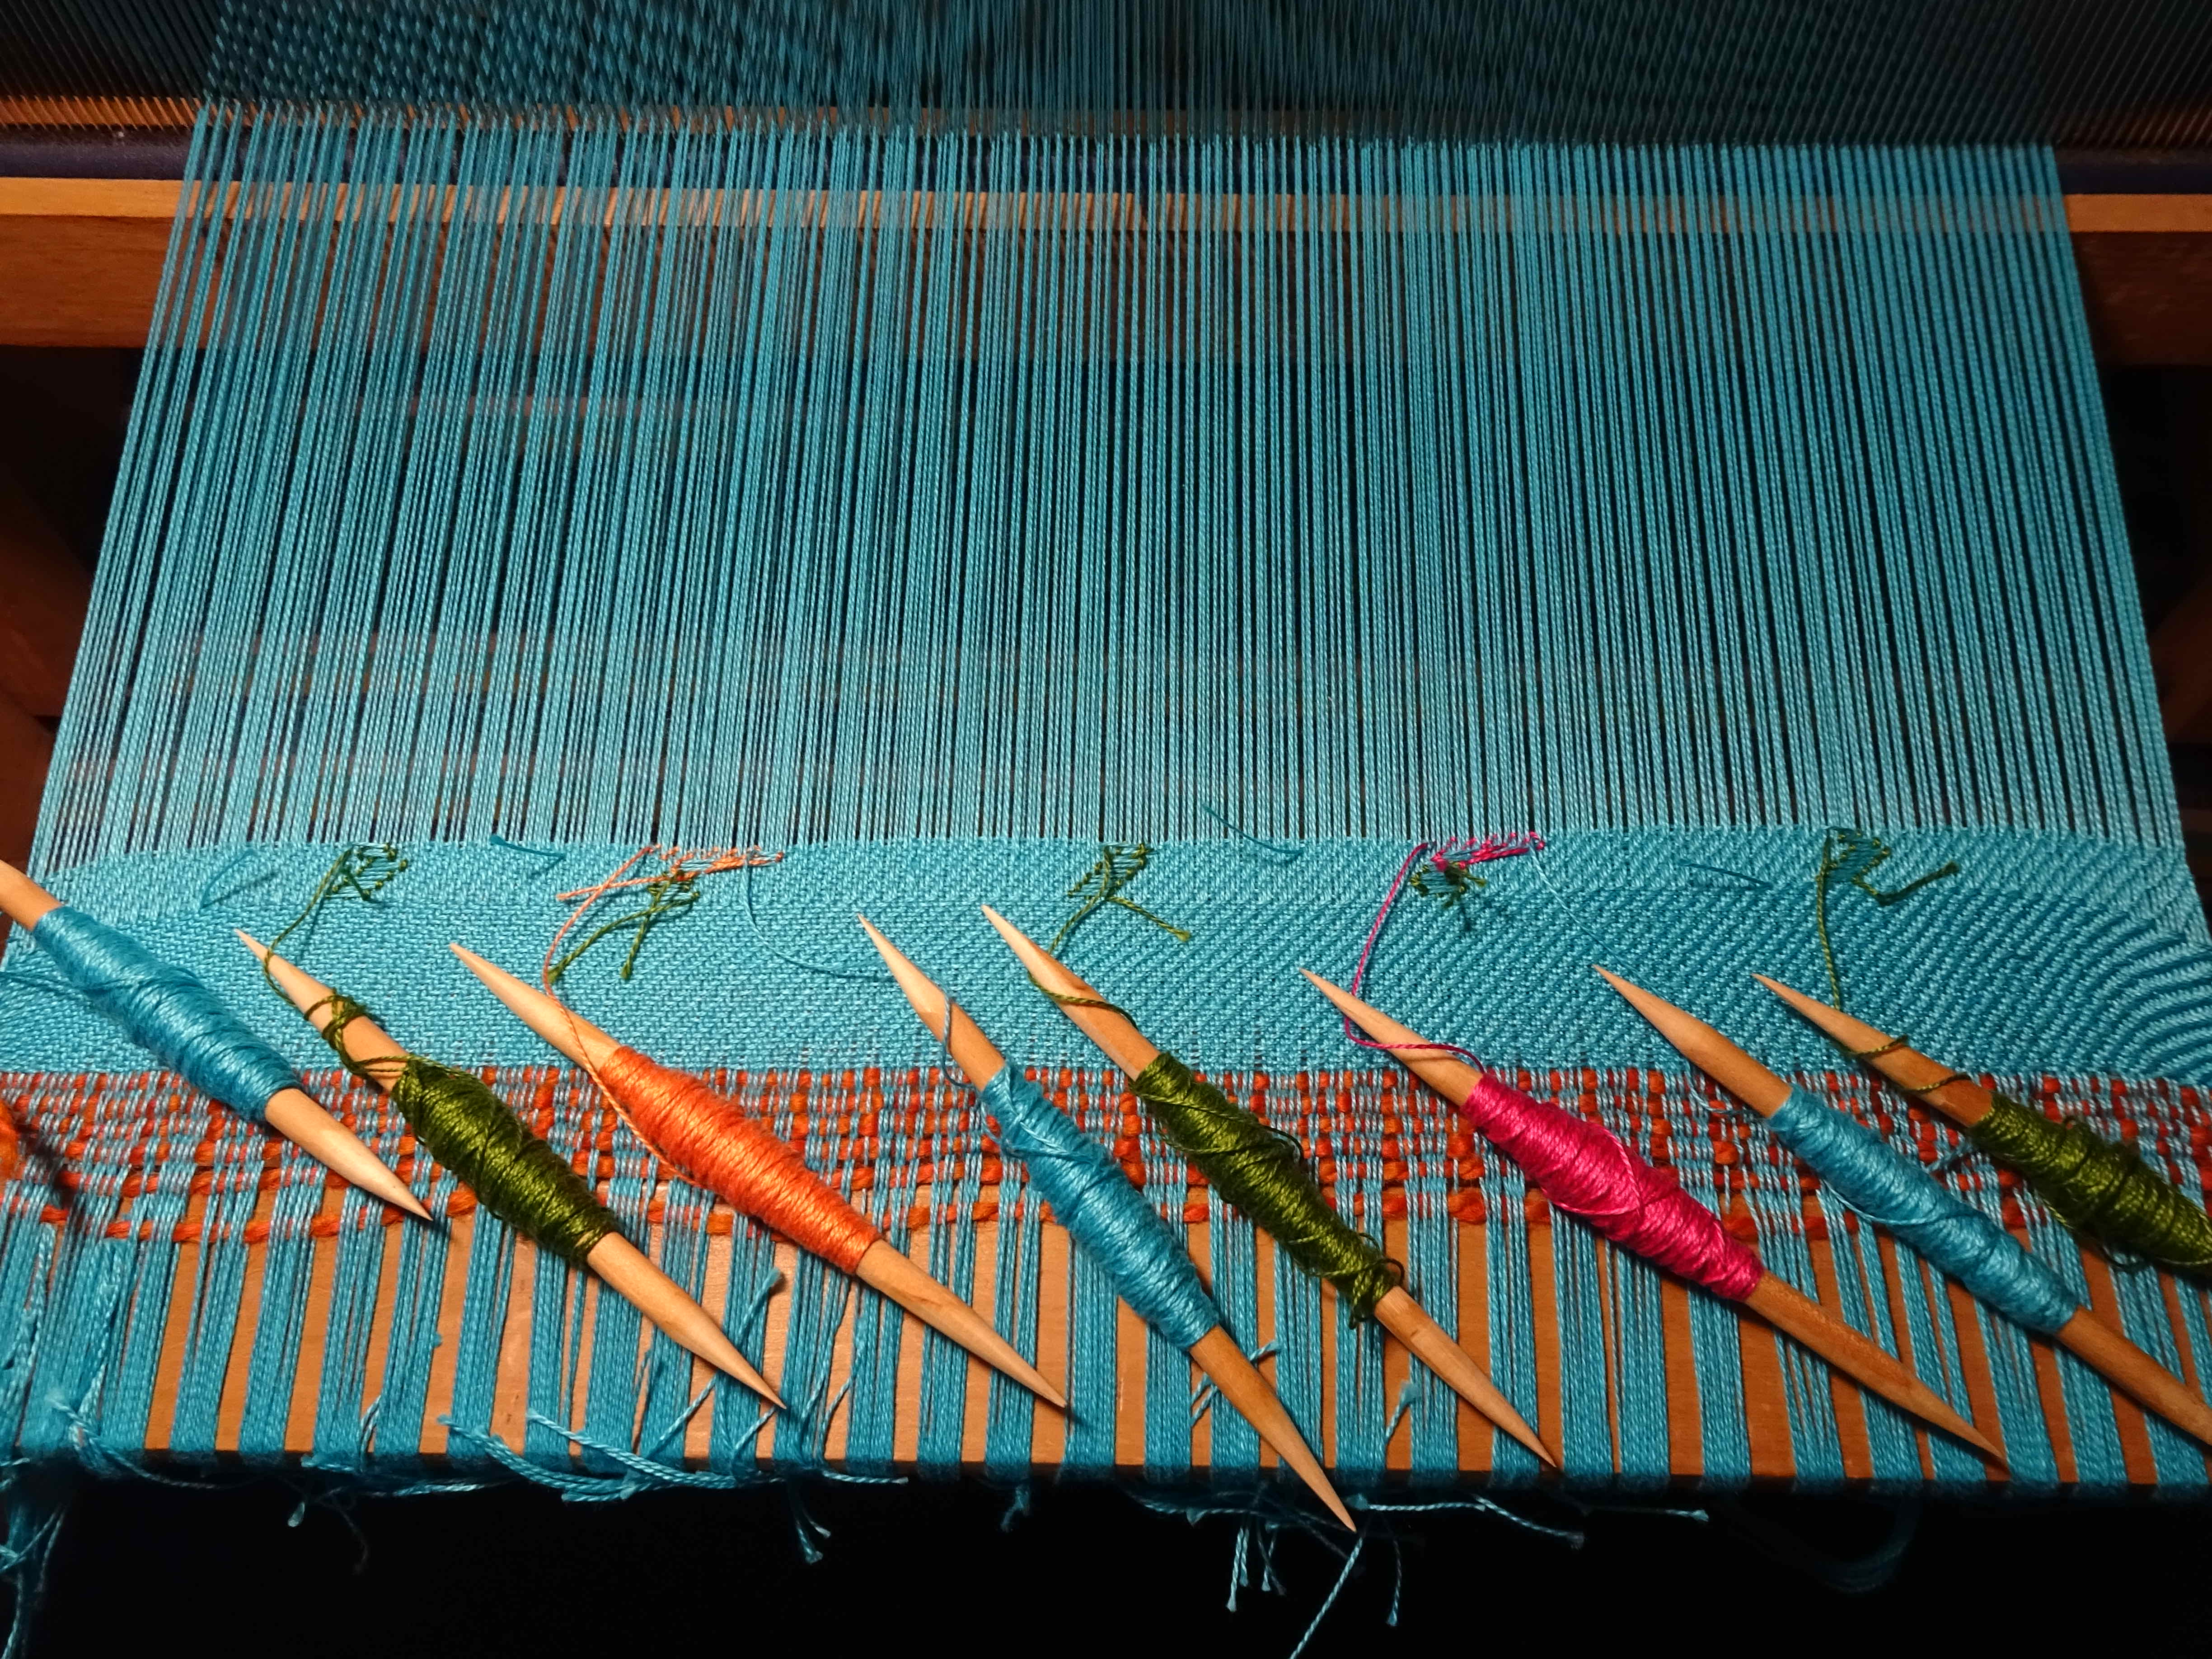
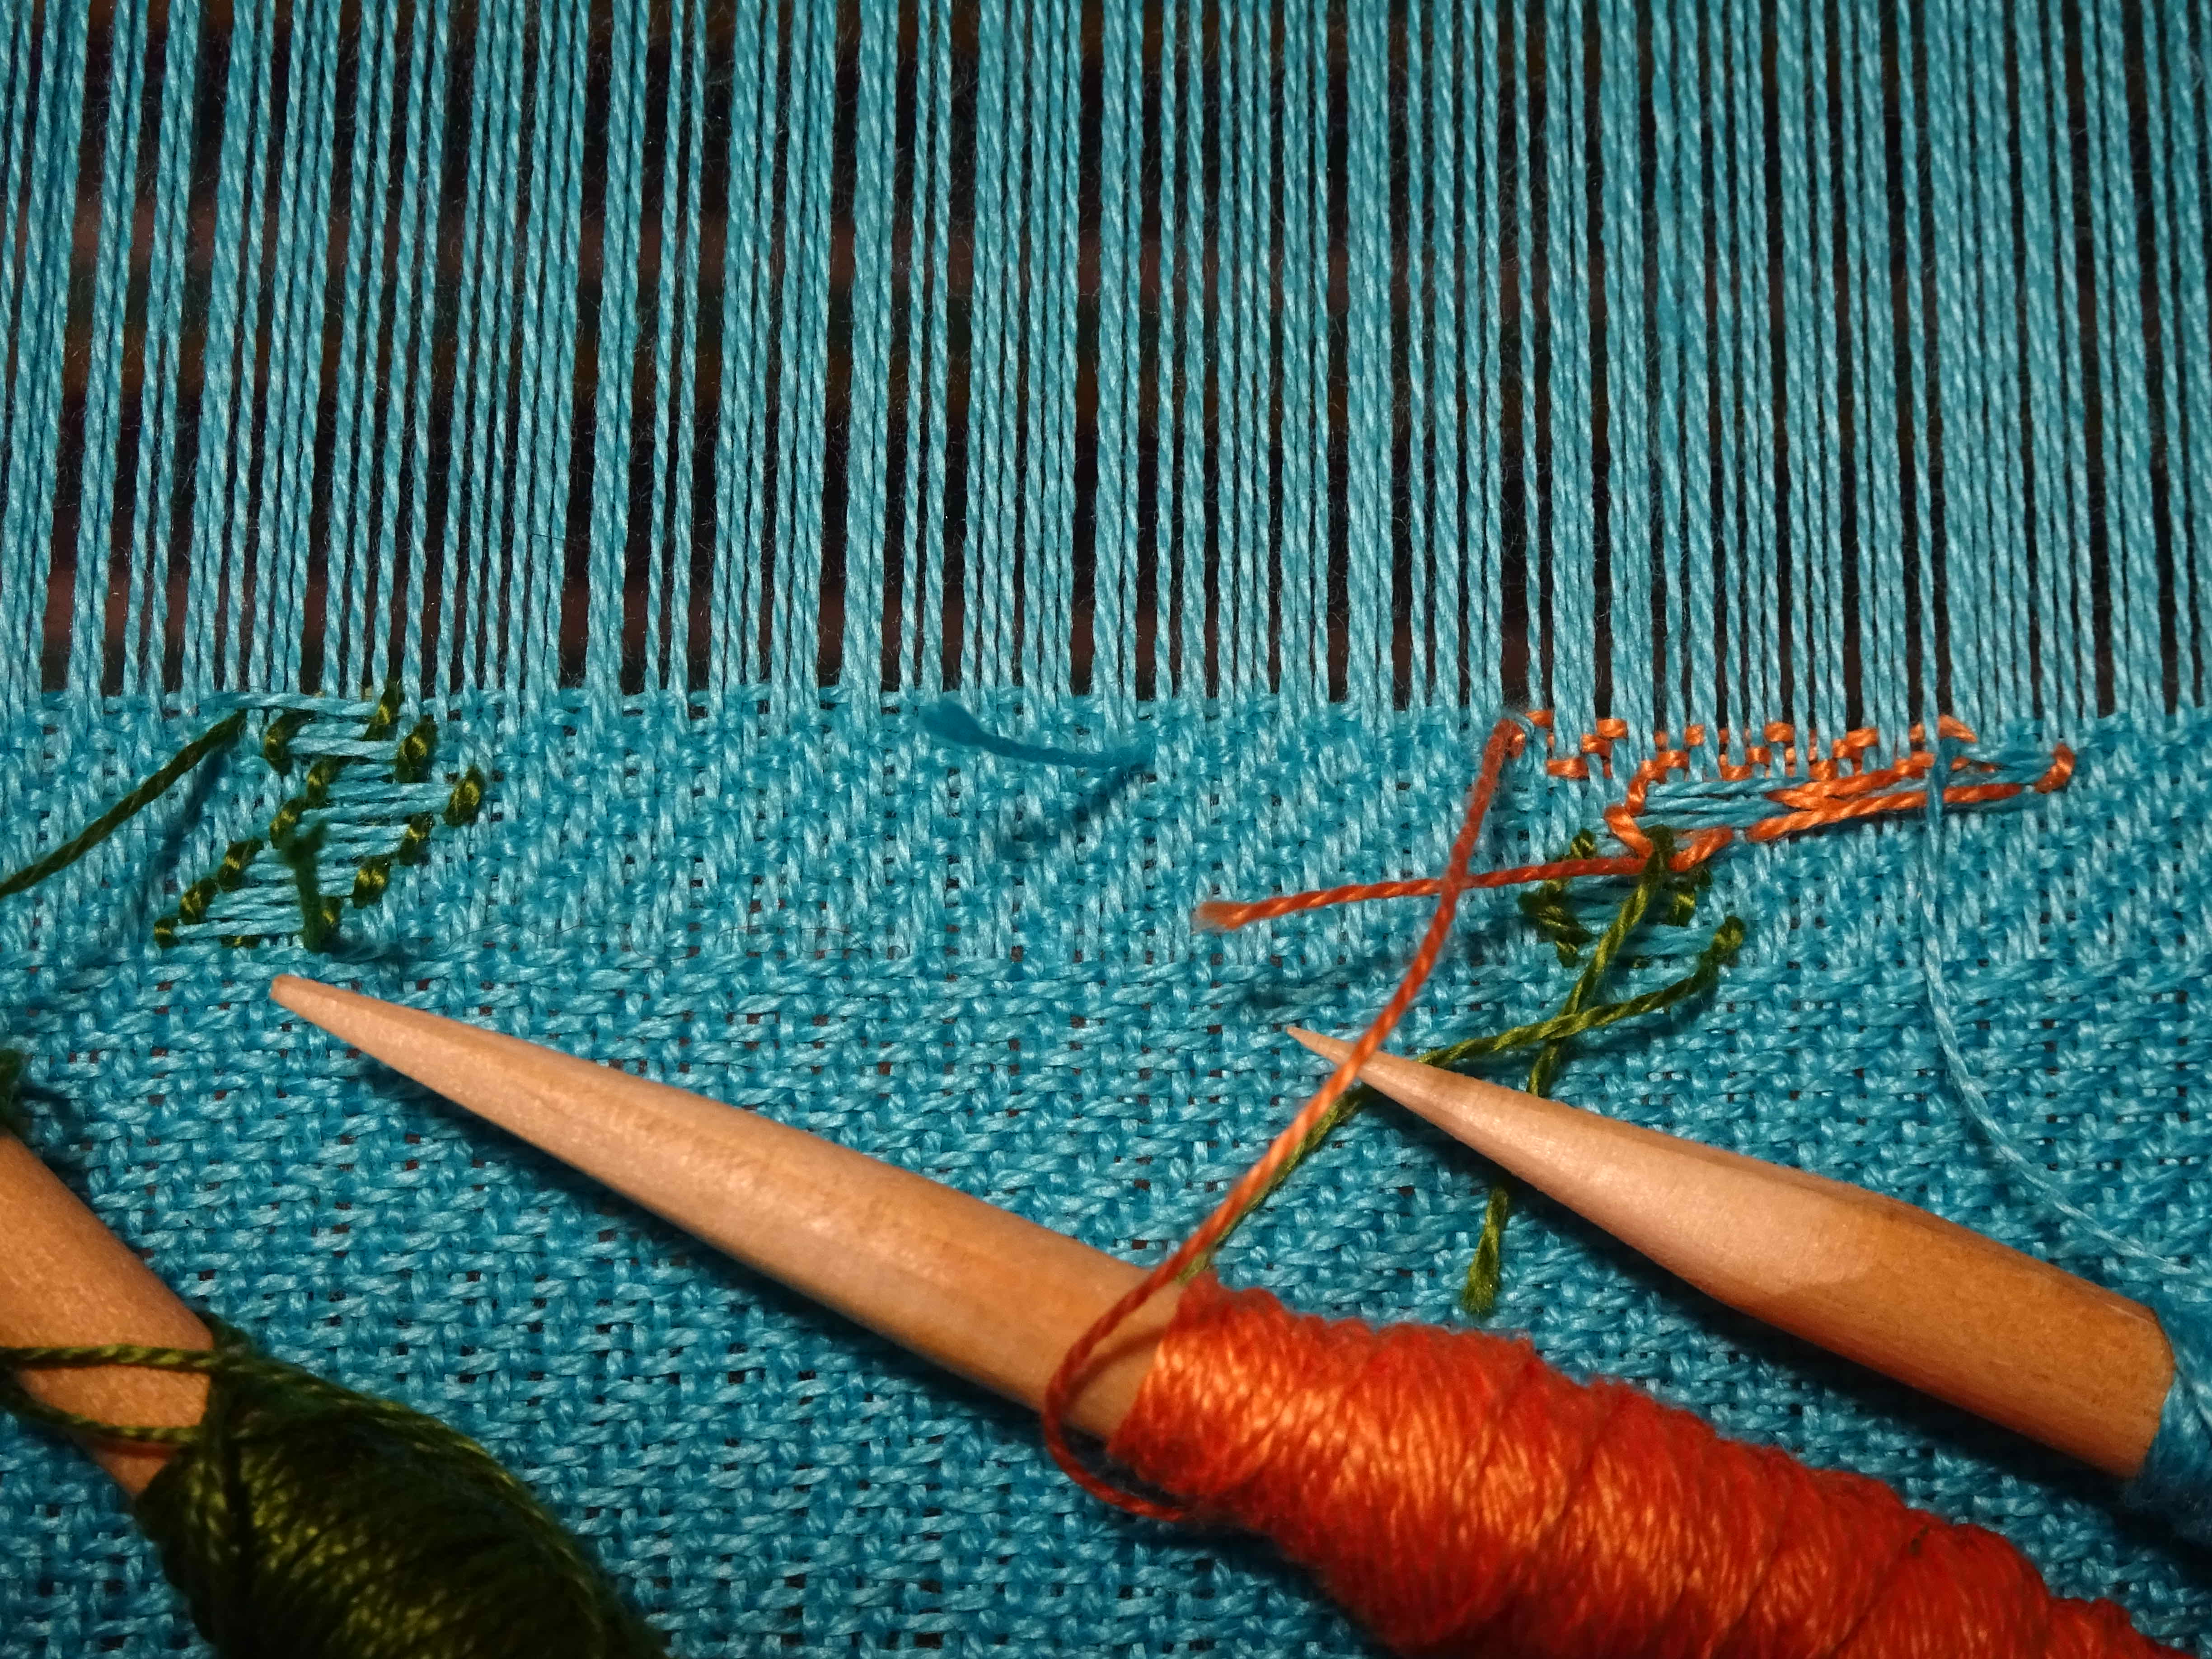
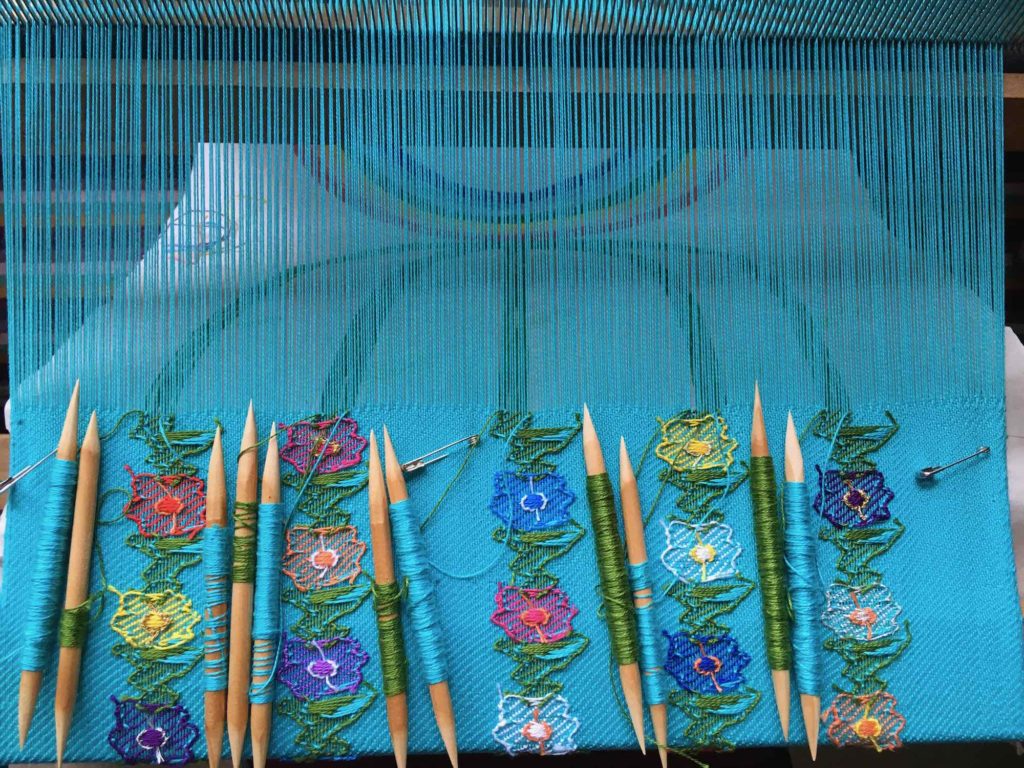
14 July – Wove another 8 rows of pattern. This took about 45 minutes! So I have 3 columns of vine and 2 where a flower has begun. In the photos below, you can see the change from the 1/3 twill to the 3/1 twill as well as the threads being carried across the back of the fabric. I think it’s going well so far!
1 August 2019 – Update
I think I’ve woven 160 rows now – it takes me about 5 minutes to weave a single row. I’m quite pleased with the design so far.
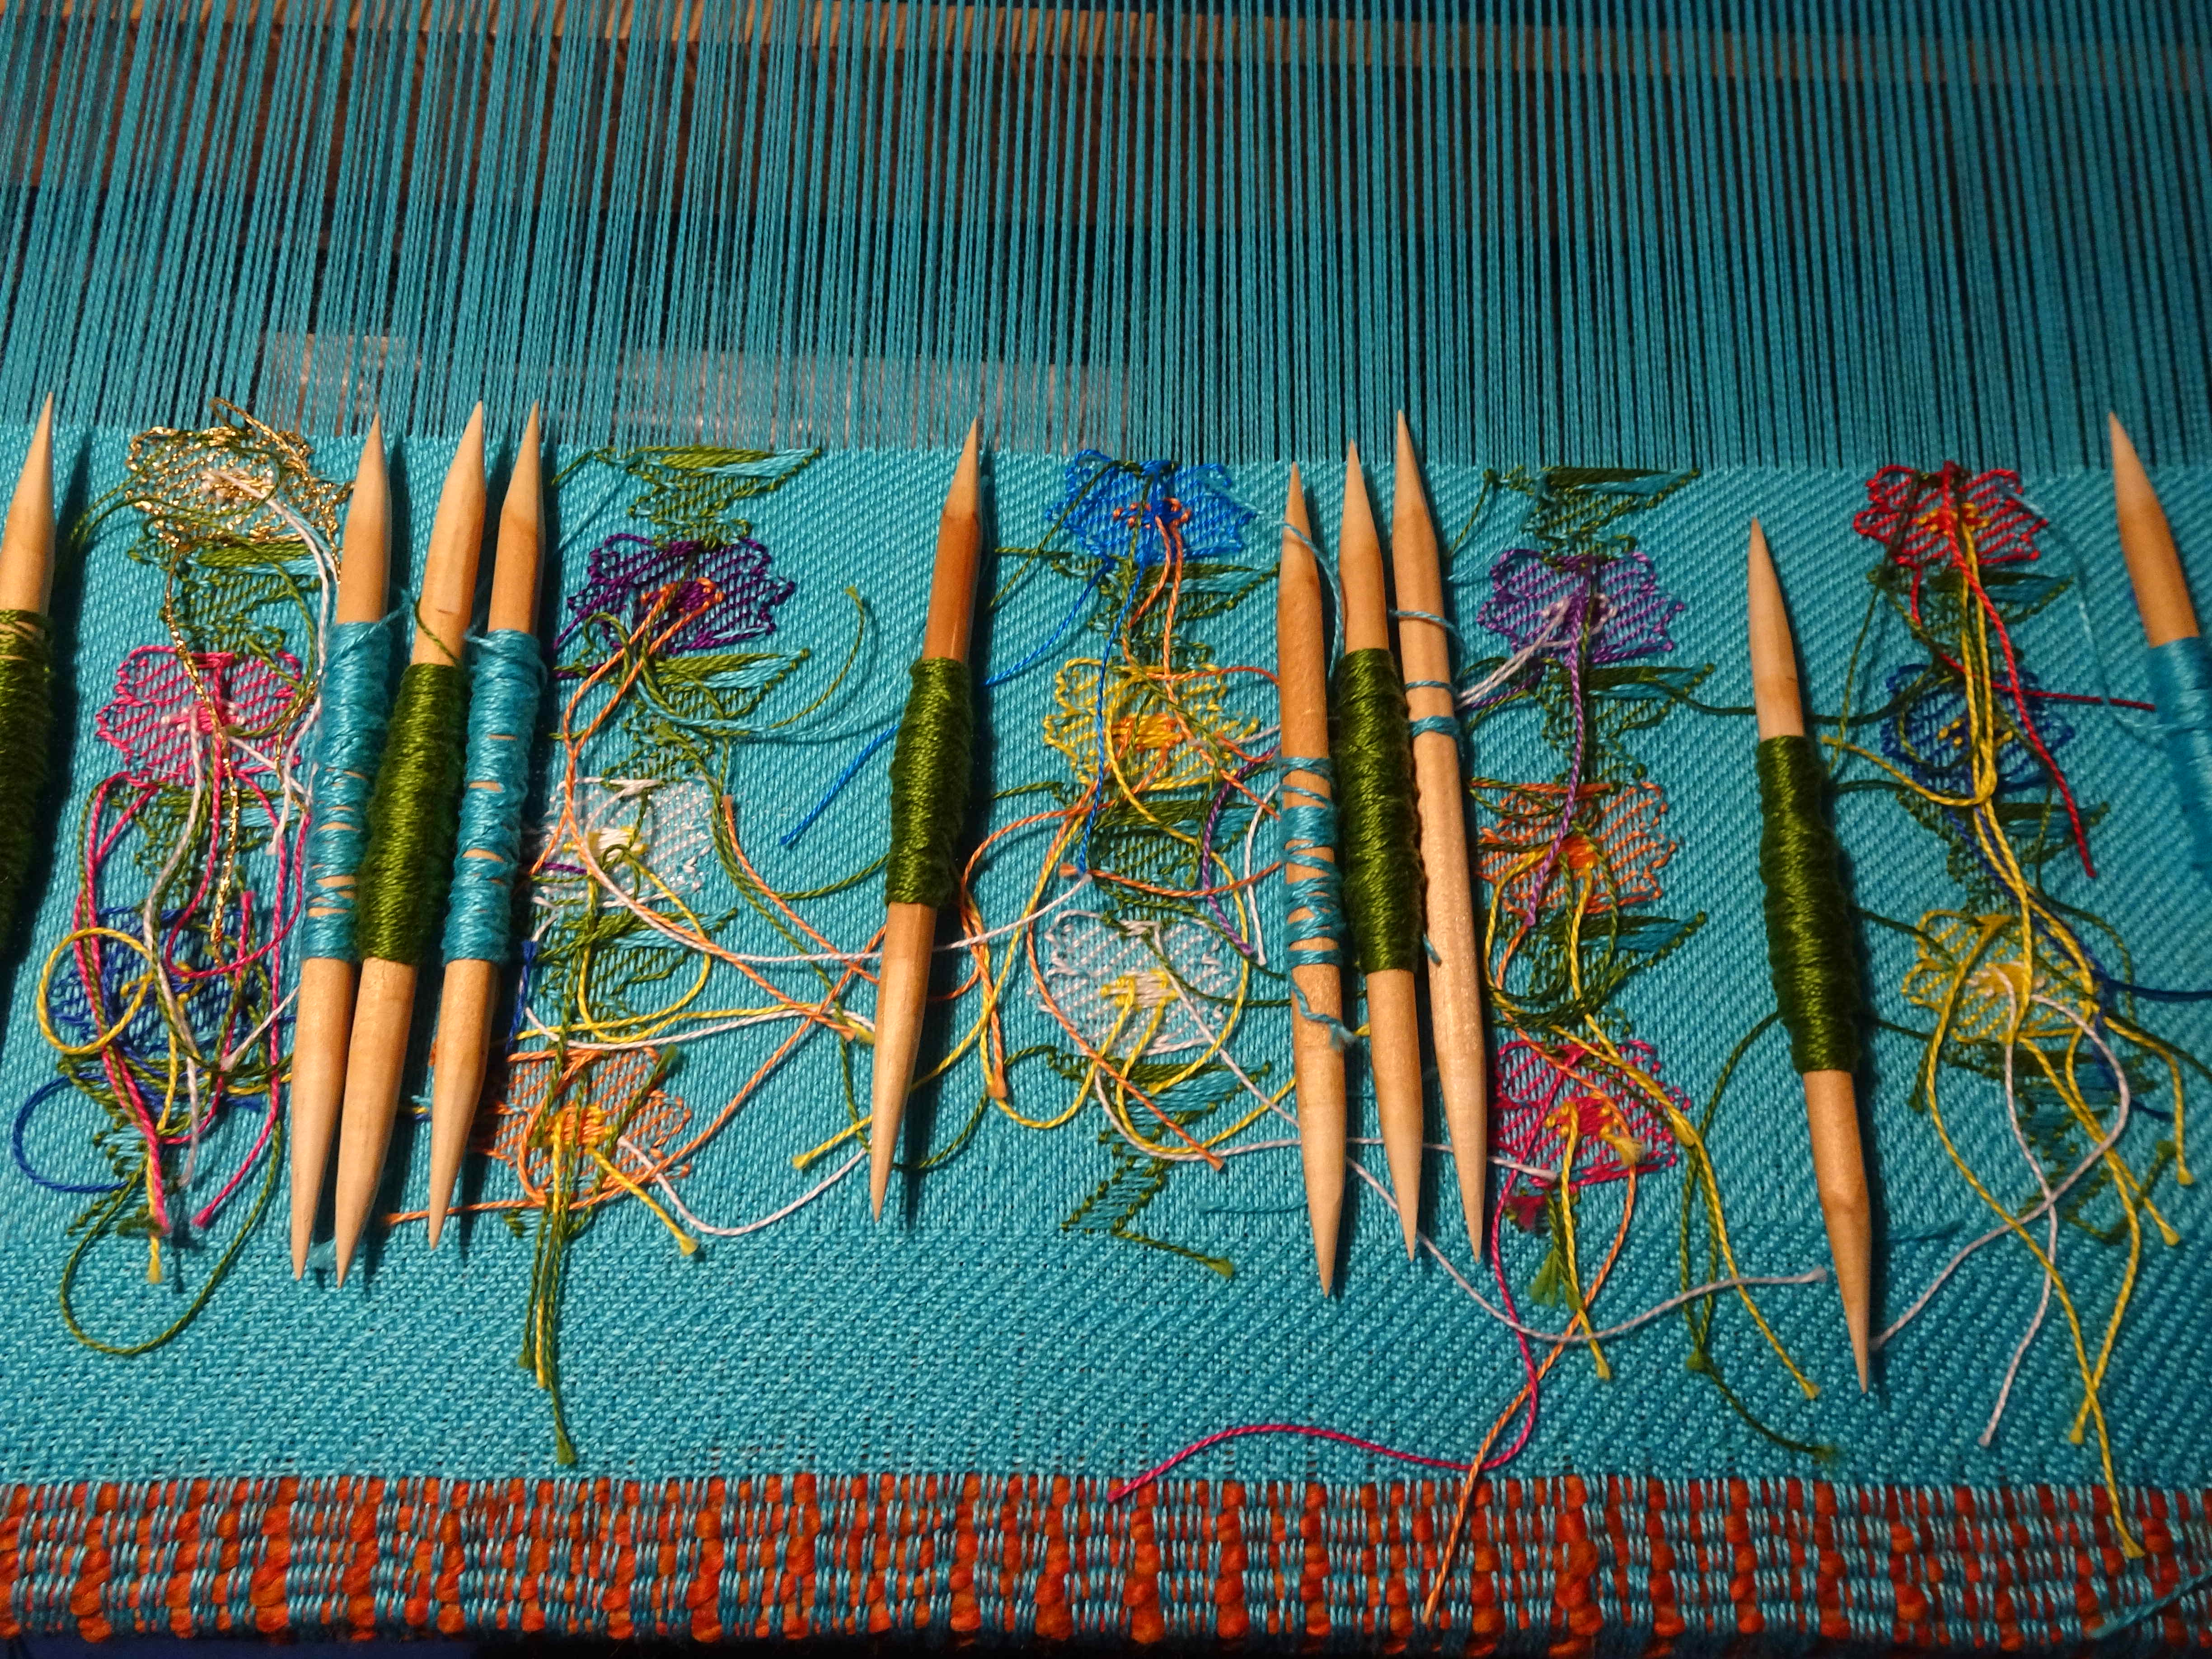
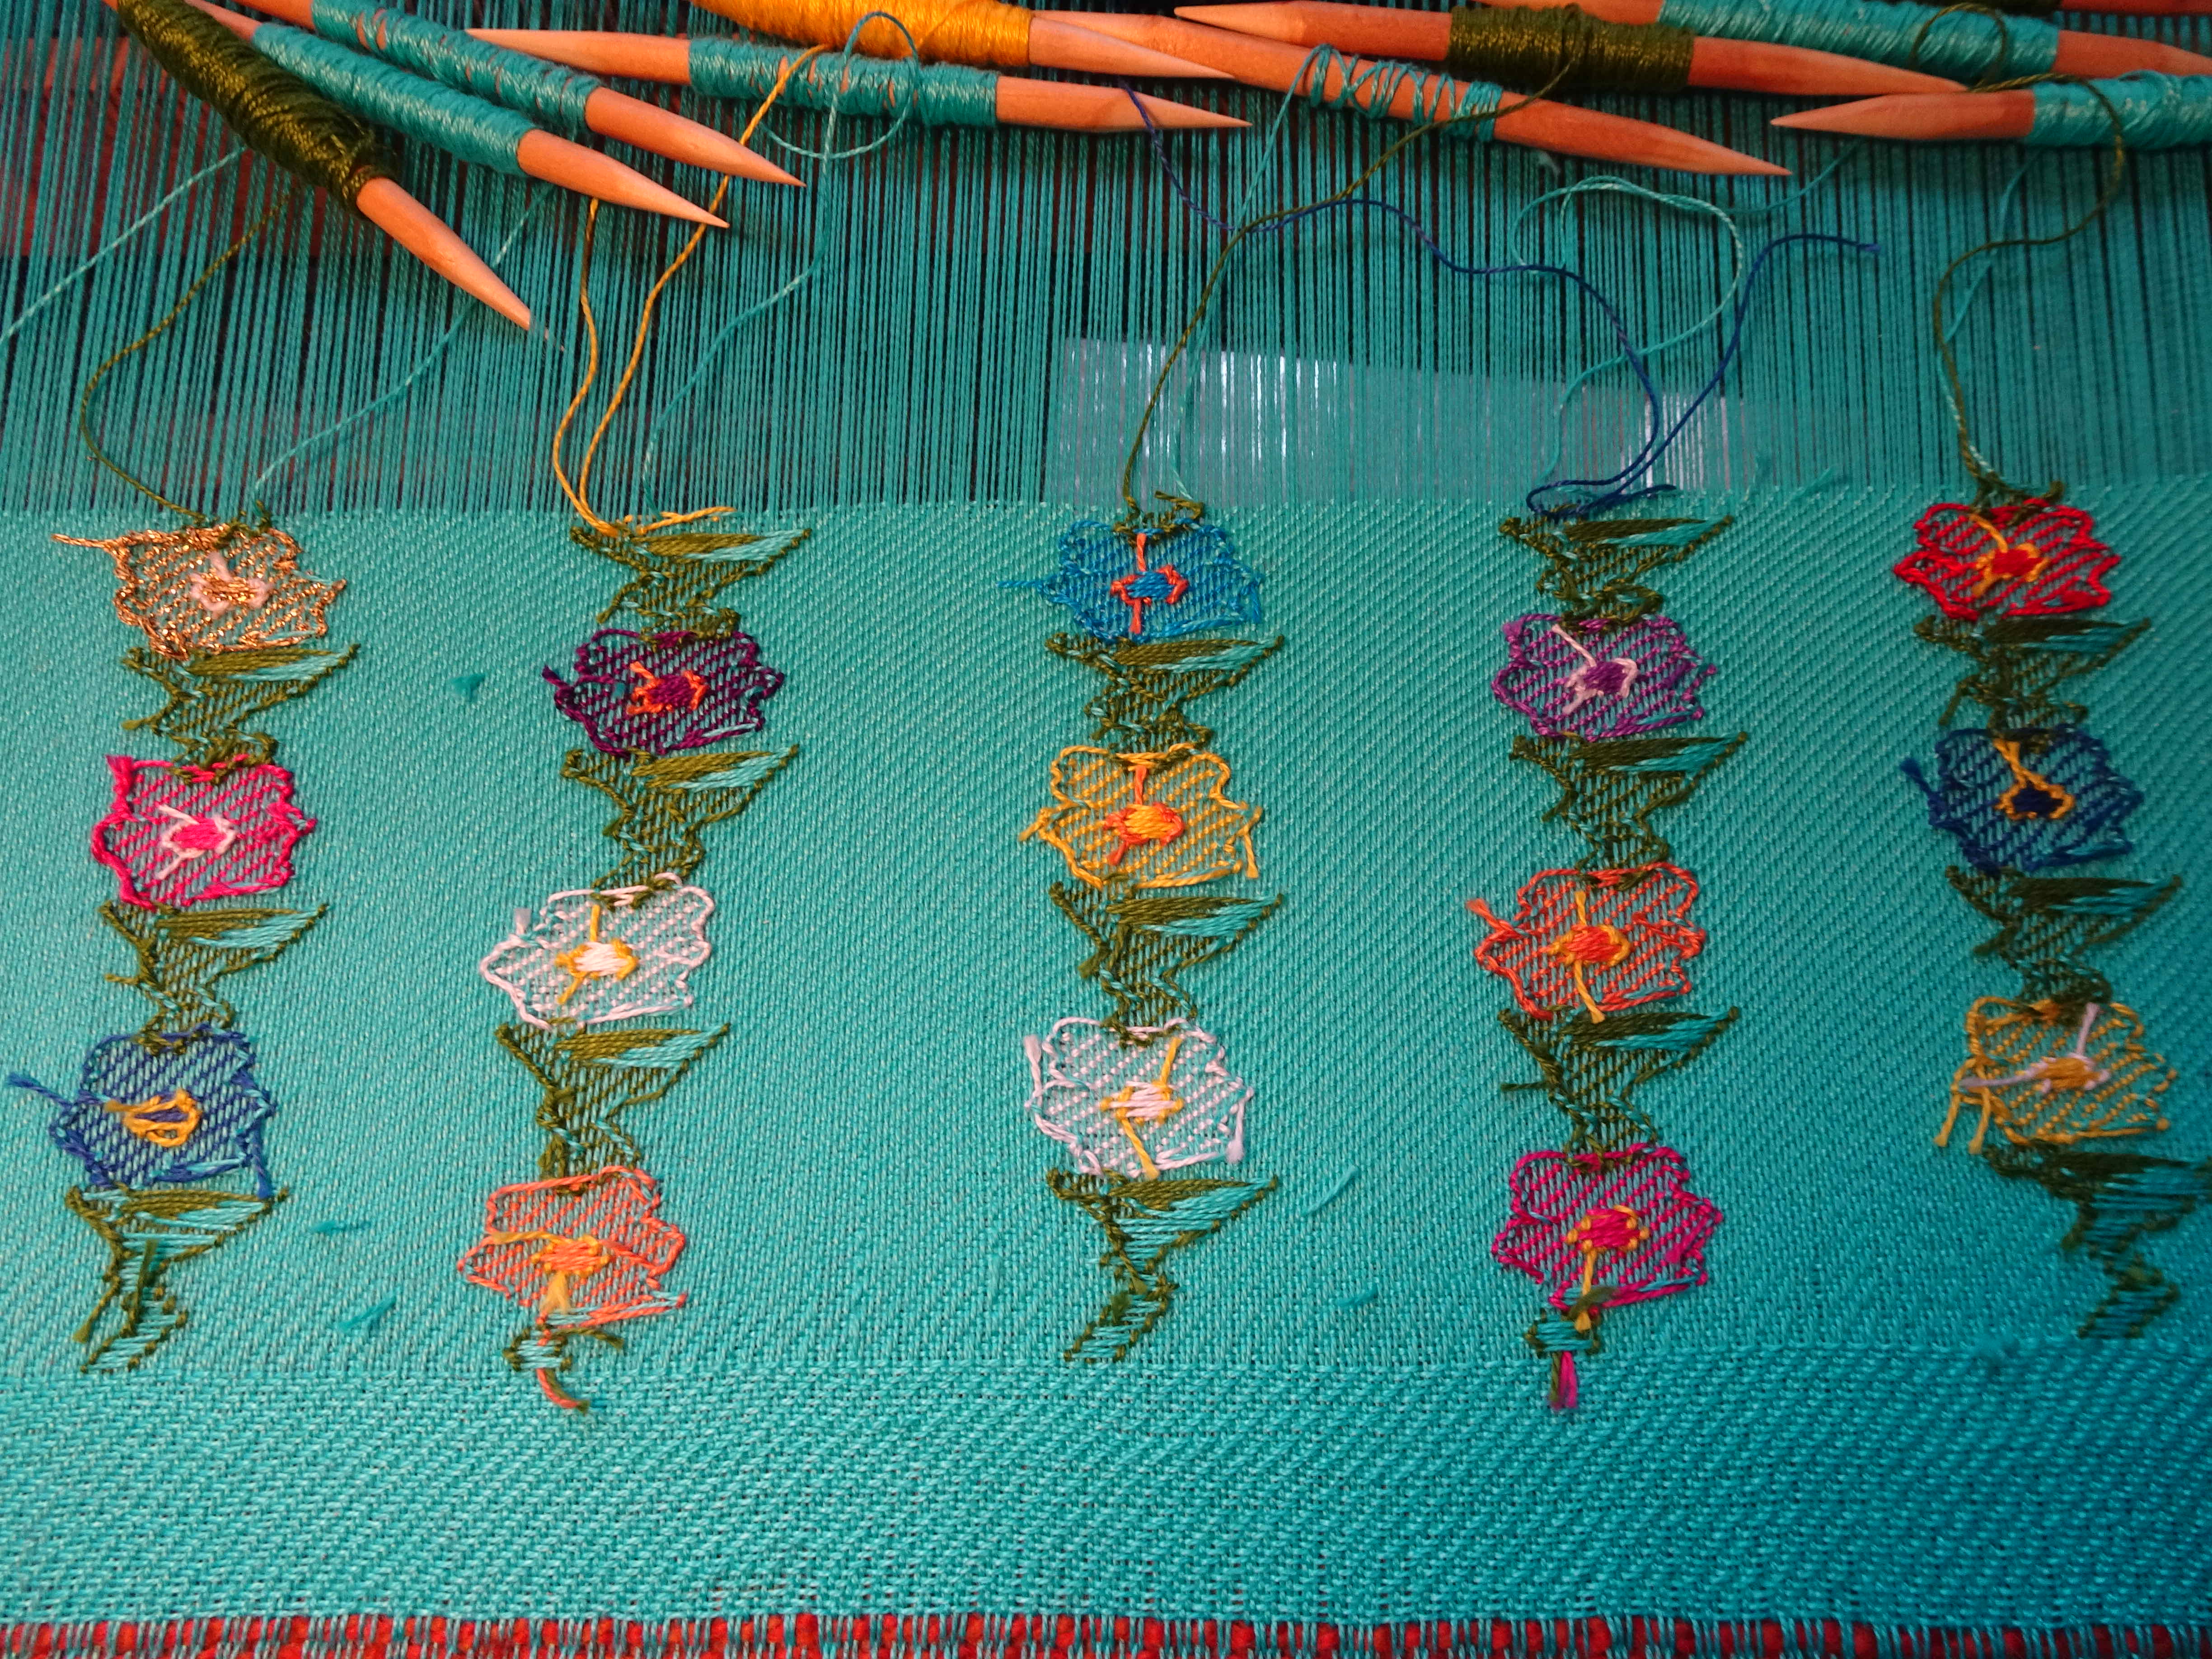
I’ve added 5 more colours for flowers – that means 10 flower colours in total. The new ones are embroidery threads (DMC Pearl no 8 balls). The yarn looks about the same size as the 10/2 cotton I’m currently using. I now have 2 shades of purple (colour numbers 208 & 550), bright red (666), bright blue (995) and some gold and silver I found in a box of yarn leftovers. I’ve also decided to use the orange and gold in the flower centres, that gives me 4 colours for centres. You can see the work so far in the three photos below.

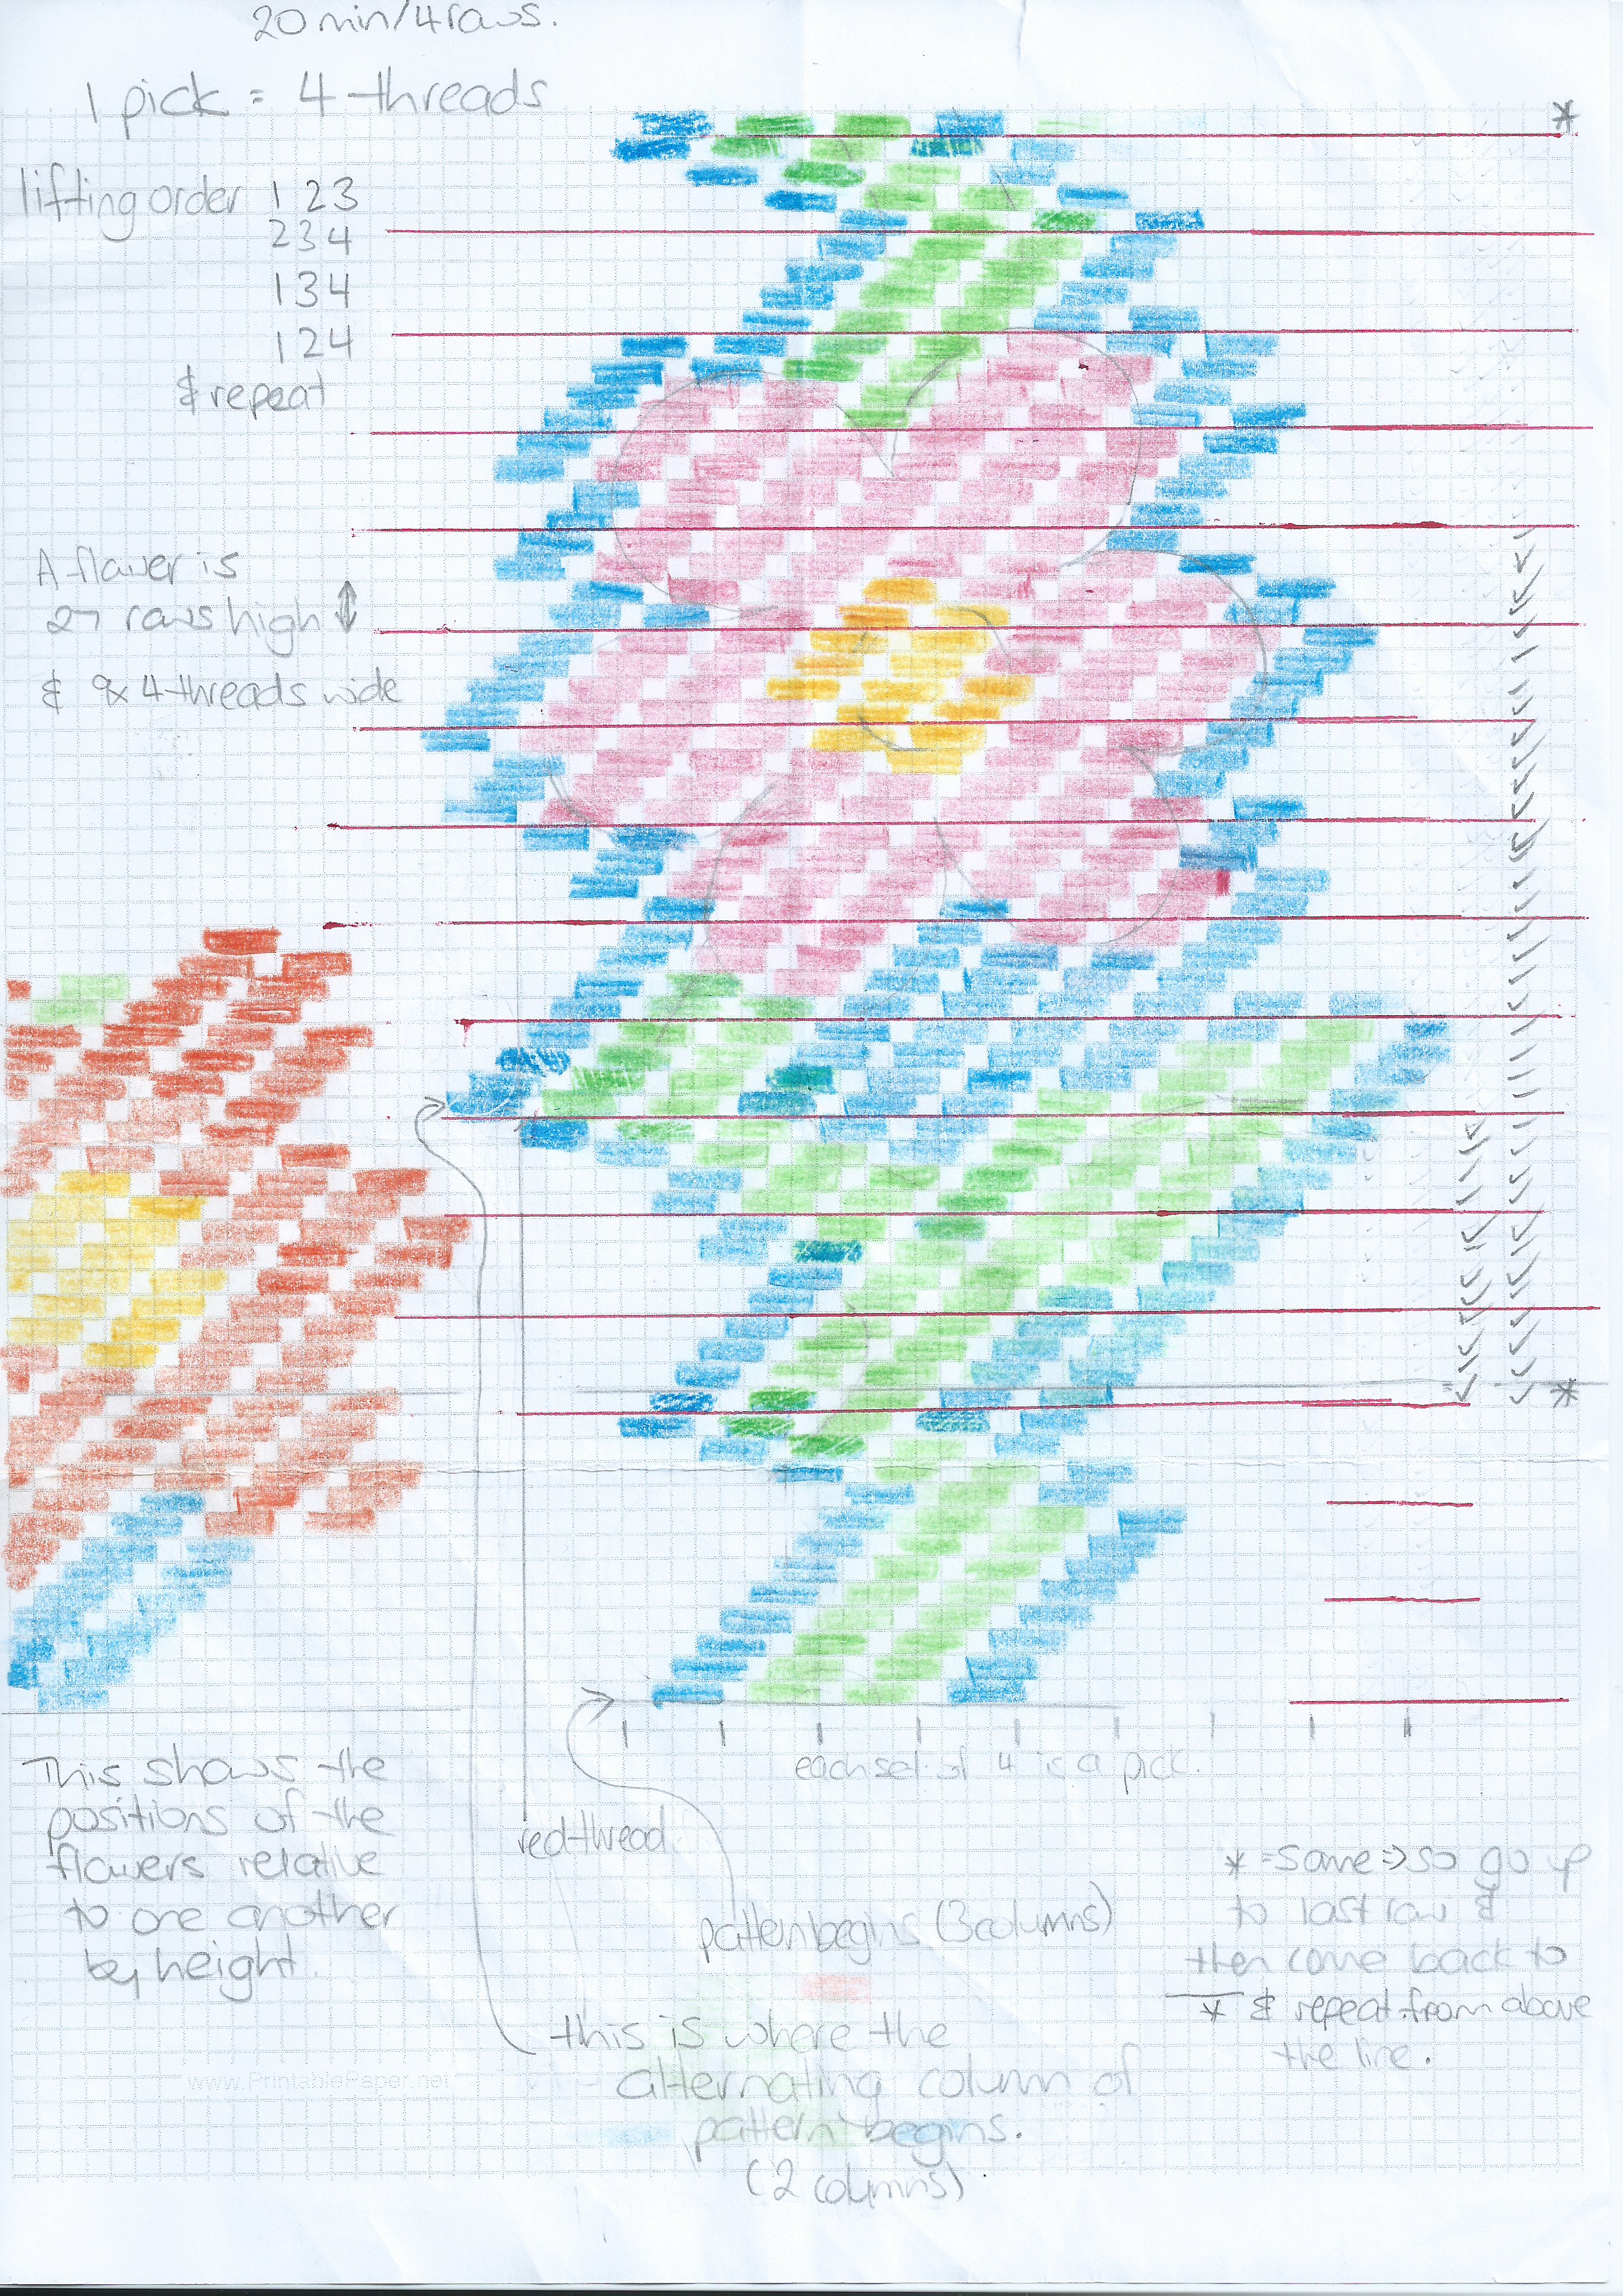
As I’ve worked, I’ve made several very small alterations to the vine pattern. I’ve included the updated pattern below. The main change was to add a green pick wherever there was a single green.
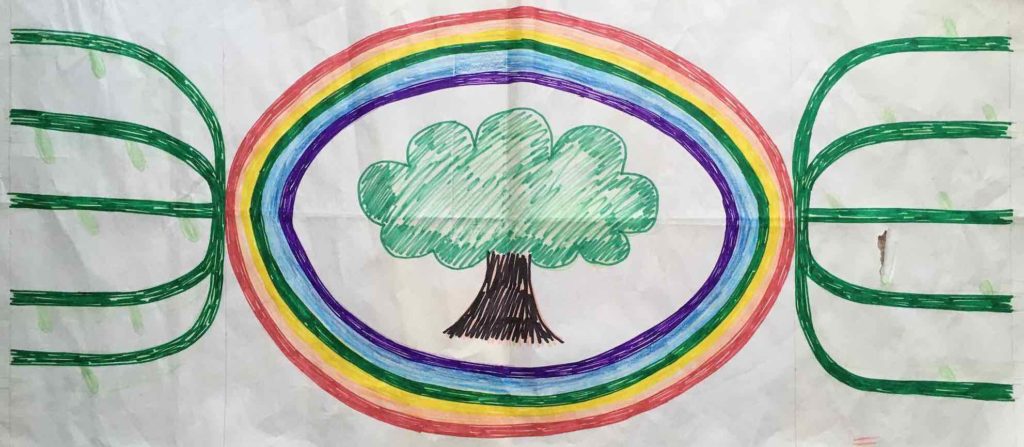
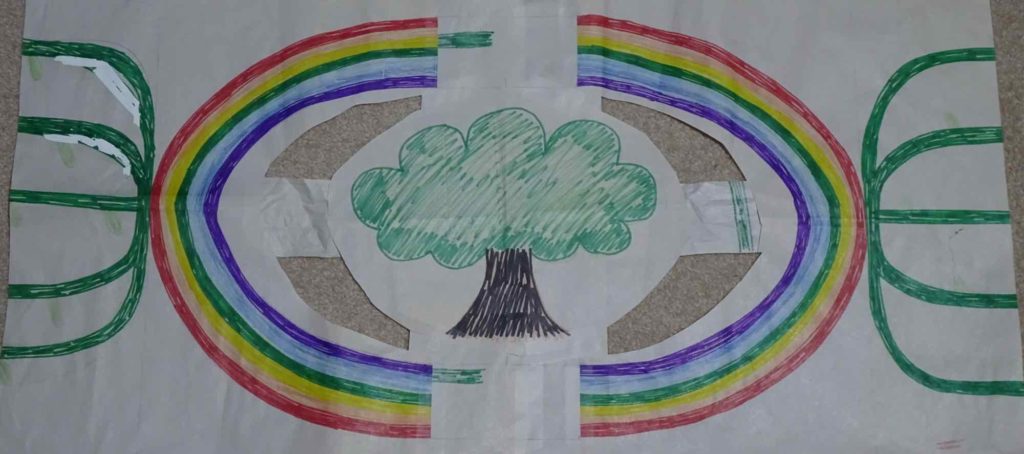
I’ve also been thinking about the overall design to be woven on the scarf. I don’t really want to weave flowers for the entire 2m length of the work. The idea below came to me in the middle of the night about 1 week ago.
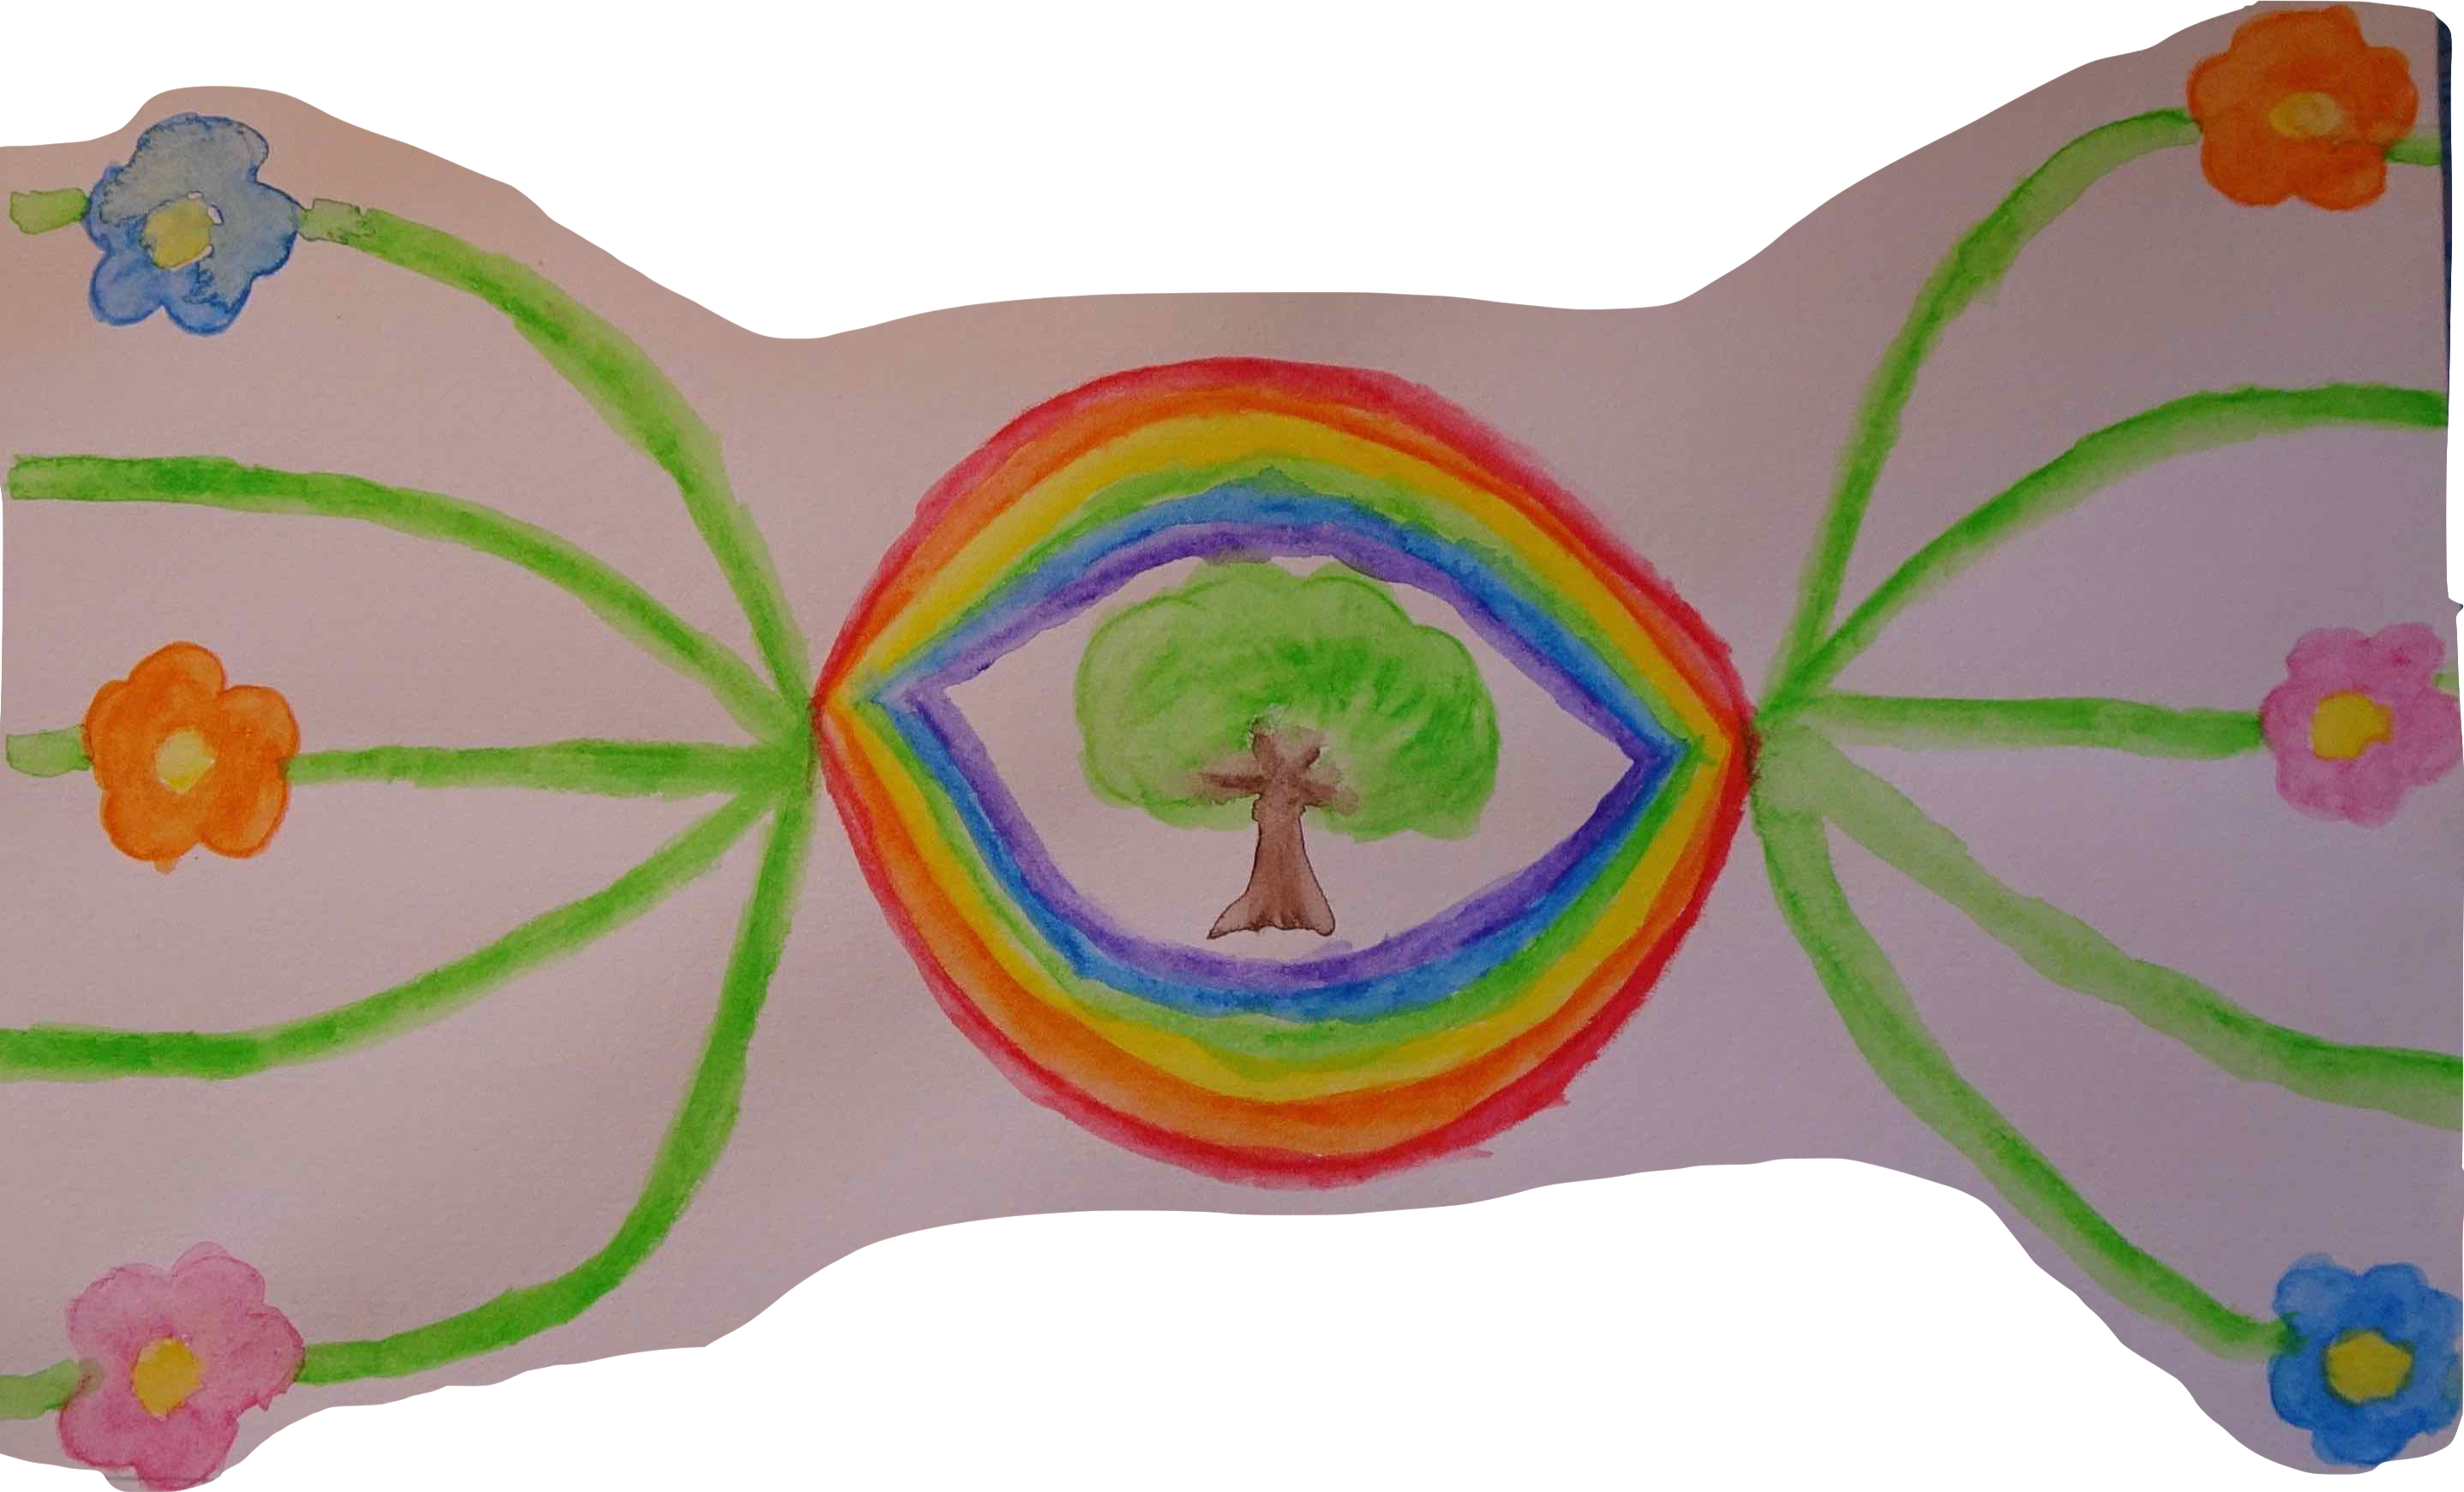
Since then, I’ve worked out the dimensions I’d like to give to each section of the scarf (see below). I’ll have to draw out patterns for the converging vine and central sections of the work. I’ll only have to do one end of vine and half of the central section, as I’ll simply reverse these for the other end. Once I get to the end of the flower section (65cm of weaving), I’ll end at the top of a flower and the top side of the leaf ; for that last leaf I won’t weave the leaf, just the vine. I’ve also realised that when I do the flower/vine section at the far end, I will have to turn the pattern upside down to have the vine/leaves running in the correct direction.

3cm 1/3 twill, 62cm flowers, 15cm vine, 40cm central, 15cm vine, 62cm flowers, 3cm 1/3 twill
The next update will show the patterns for the other sections and an update of where I’m up too.
17 September 2019 – Update
Well, I haven’t drawn up the patterns for the centre sections, but I have done a lot more weaving – 35cm of flowers, 38cm total. The flowers are now rolling onto the front roller. I can now see the front of the fabric as well as the back!
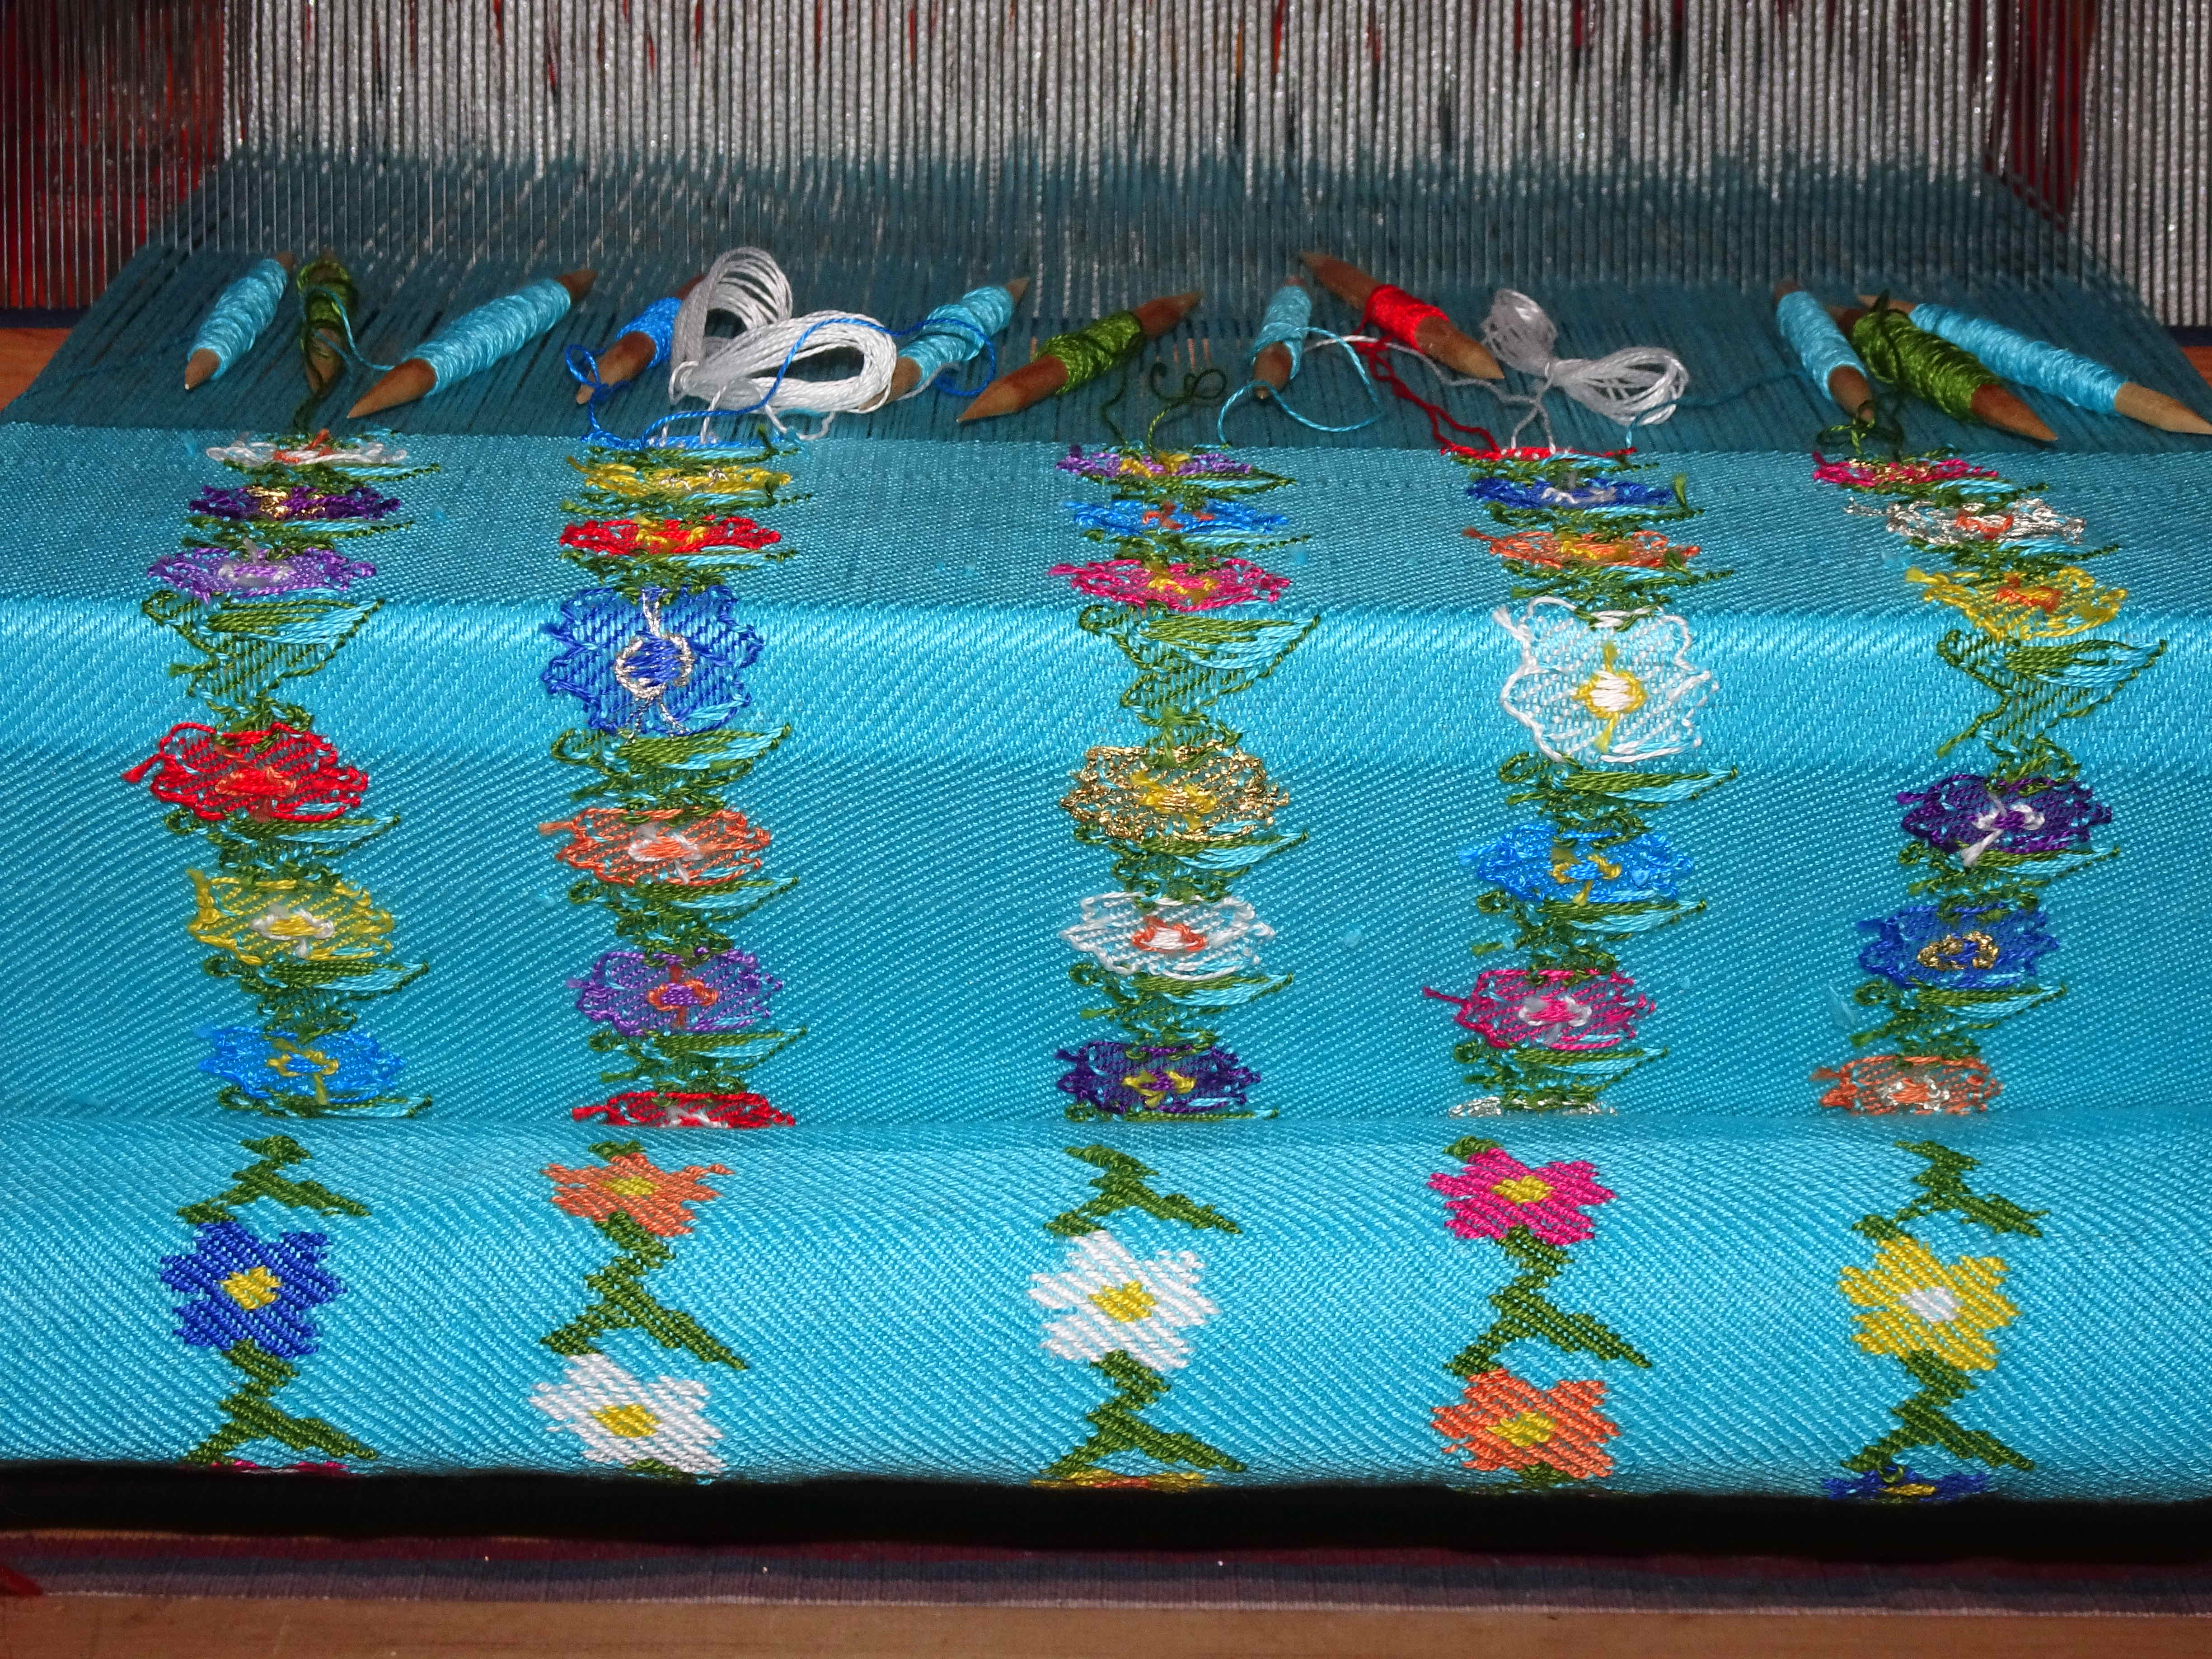
I had a problem with the tension of the warp on the right side – it was much looser than that of the left. I fixed this by folding the end of the bubble wrap on the front roller over on itself so that half of the width was double thickness. I rerolled the warp onto the front roller and the extra thickness of bubble wrap solved the tension problem.
31 December 2019 – Update
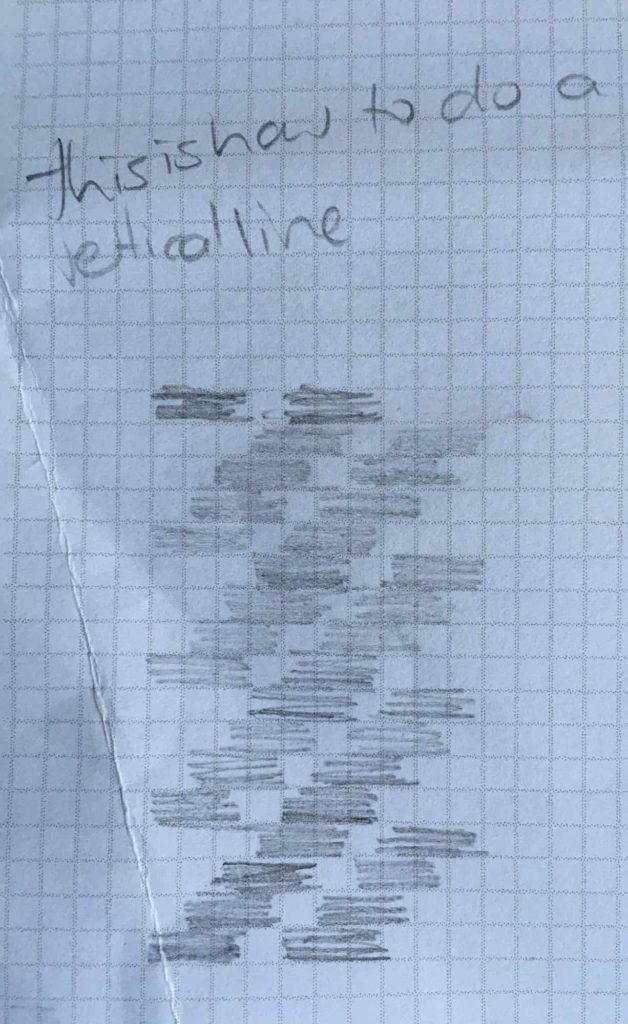
I’ve finished the 62cm of flowers on the first end – I took some time off this project in order to create the scarves in project 8. I’ve also drawn up the pattern for the central section using coloured pencils and freehand sketching – I measured the length of each portion and the distance between “vines”. The idea is that this pattern will be placed under the weaving so that I can look through the weaving to see approximately what I should be doing. I worked out how to weave a “straight” line using a twill lifting sequence – I need this for the “vine” portions of the work.
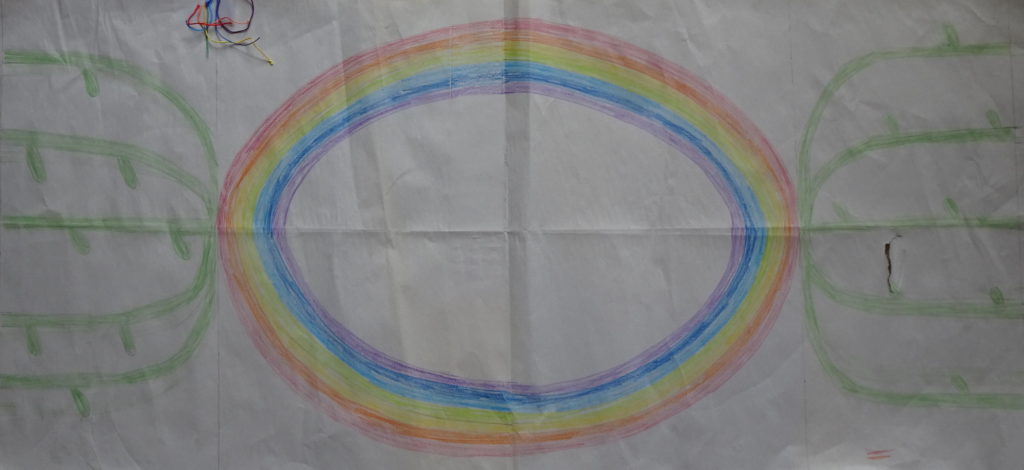
I placed the template under the weaving, but wasn’t able to see the coloured pencil clearly, so I coloured over the pencil with marker pens. I have pinned the template under the weaving using 3 safety pins and am able to see it very clearly. I think that, rather than hiding the template into the fabric as I wind the warp on, I will shift the template as required when the warp is wound on.
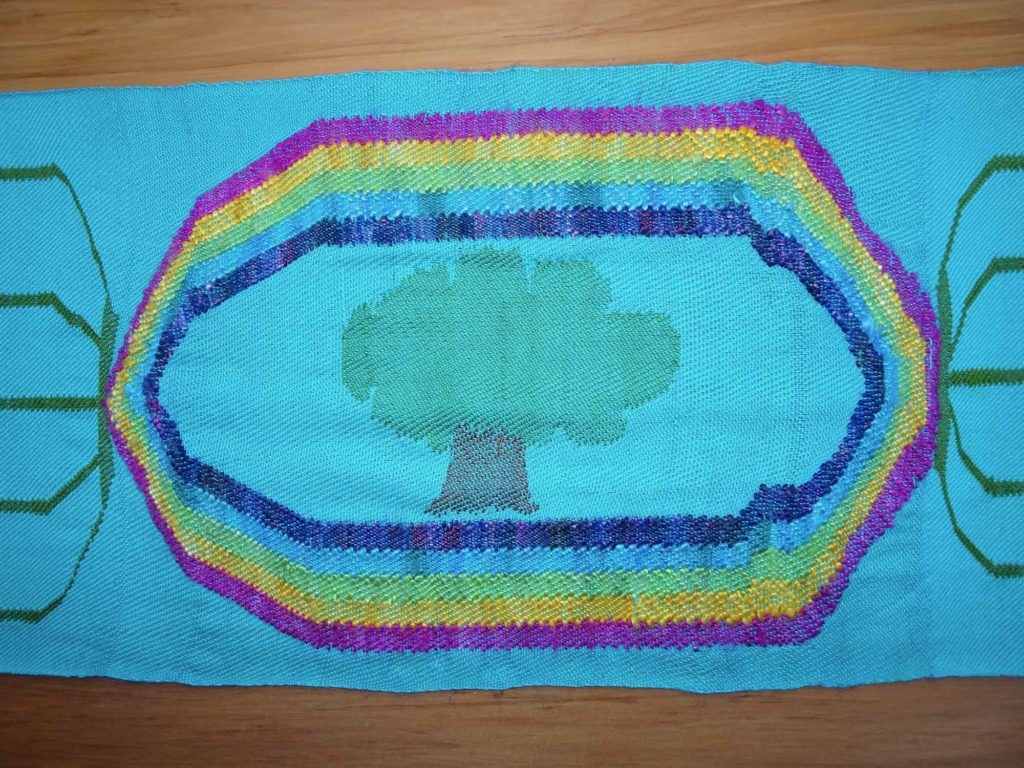
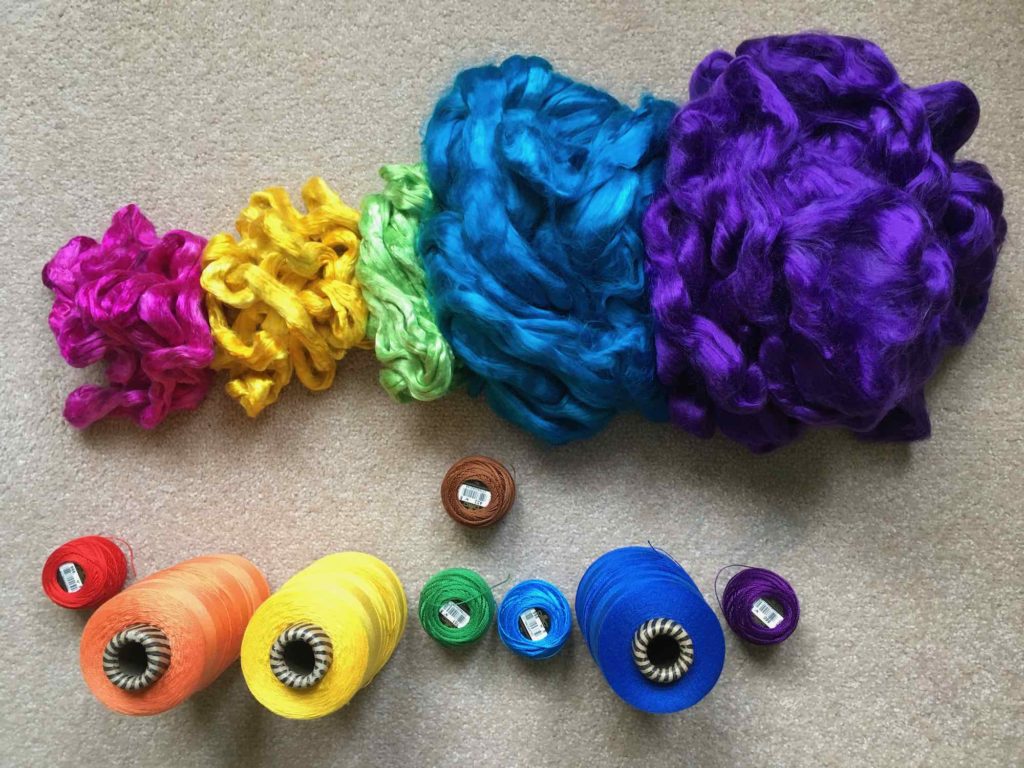
I’m not sure yet whether I will use cotton thread for the rainbow section of the centre, or raw silk and bamboo top – I’m leaning toward the gorgeous “fluff”. The colours of each are below. The tree in the centre will be the green and brown yarn pictured below.
25 January 2020 – Update
As I was weaving the straight section of the vines, I realised that 15cm of vine would be too much. So I altered the central section pattern to have 10cm of vine and 50cm of rainbow.
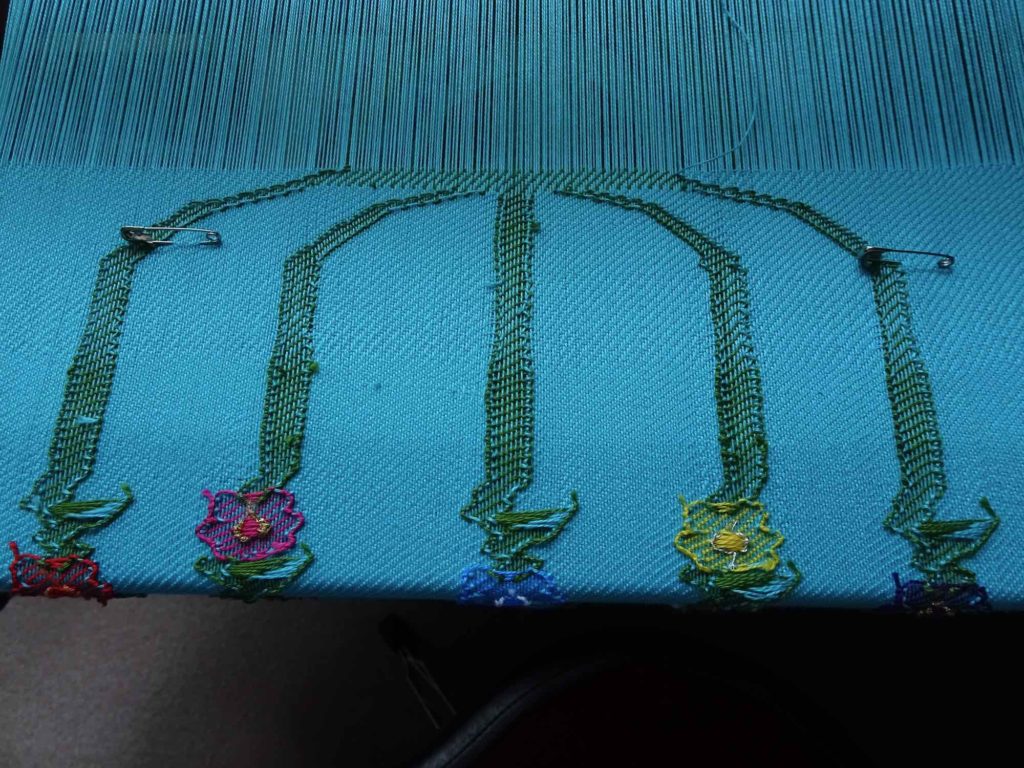
In the 10cm vine section, I wove 6cm of straight vine, 3cm of curve and 1cm of flat top. The curves were woven as shown below. The flat top continued the inward curve at the ends.

1 February 2020 – Update
I decided to use hand-dyed silk fluff for the rainbow section.
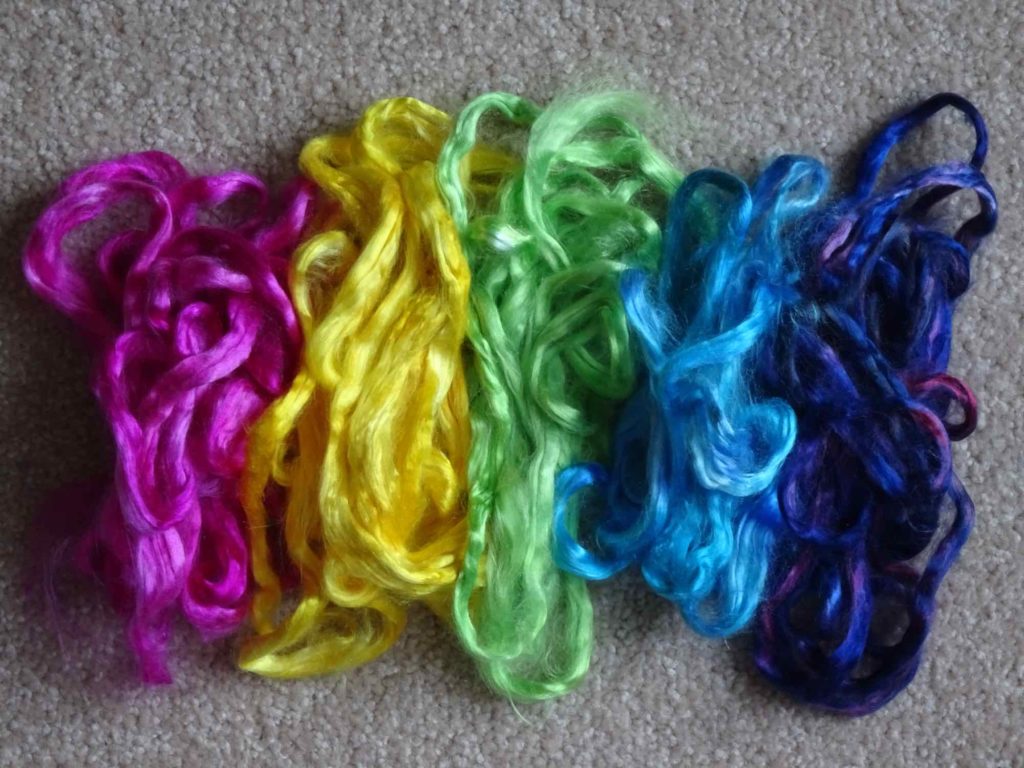
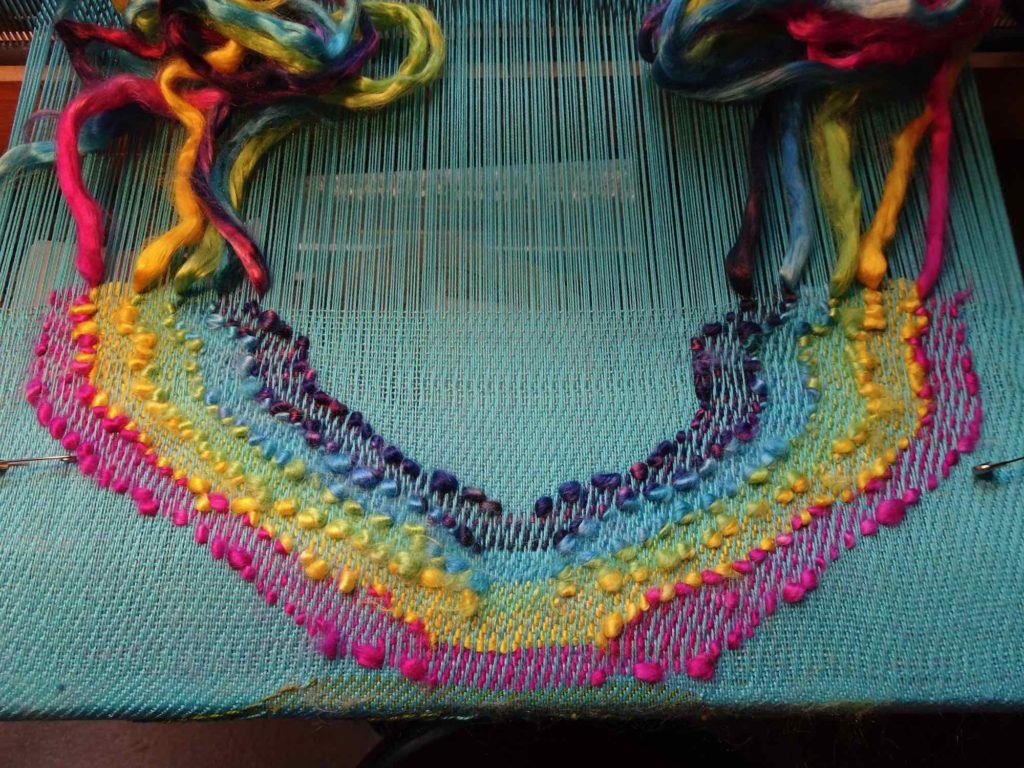
The next big question was – how should I add this lovely fibre? After a little trial and unpicking, I decided to add it as a supplementary weft. There were a few hiccups along the way, but I have now woven 11cm of the rainbow section – in a single week! It is certainly faster to weave this part of the pattern than it was for the flower section. After the first few days, I discovered that was weaving a different number of threads for the colours – pink, yellow and green were 5 x 4 threads, while blue and purple were 6 x 4 threads – I reduced them all to 5 x 4 threads. I found it was easier to have all of the fluff threads working in the same direction on each side of the rainbow, so changed them to be this way. Once I was weaving the straight section of the rainbow (today), I decided that 5 x 4 threads of each colour was too wide, so for in each of the next 5 rows of weaving I reduced a colour down to 4 x 4 threads. They look much better now. All of these changes mean that the rainbow is a little wonky so far, but I think it will be better in the long run and it will be part of the overall quirkiness of the finished handwoven item!!
20 April 2020 – Update
I’ve just noticed that I didn’t write an update when I had started or finished the central tree section….
3 Feb – started the central tree and finished it on 18 Feb. The tree was woven using DMC No 8 embroidery thread – colour 701 for the leaves and colour 433 for the trunk.
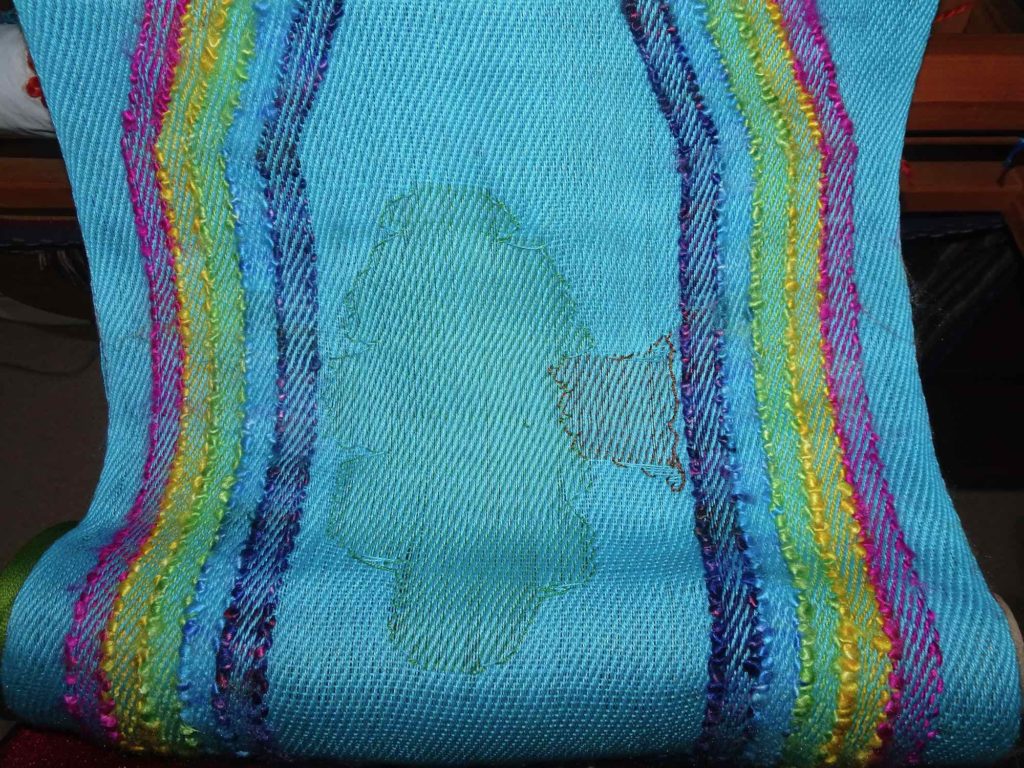
5 March – Finished the rainbow fluff section.
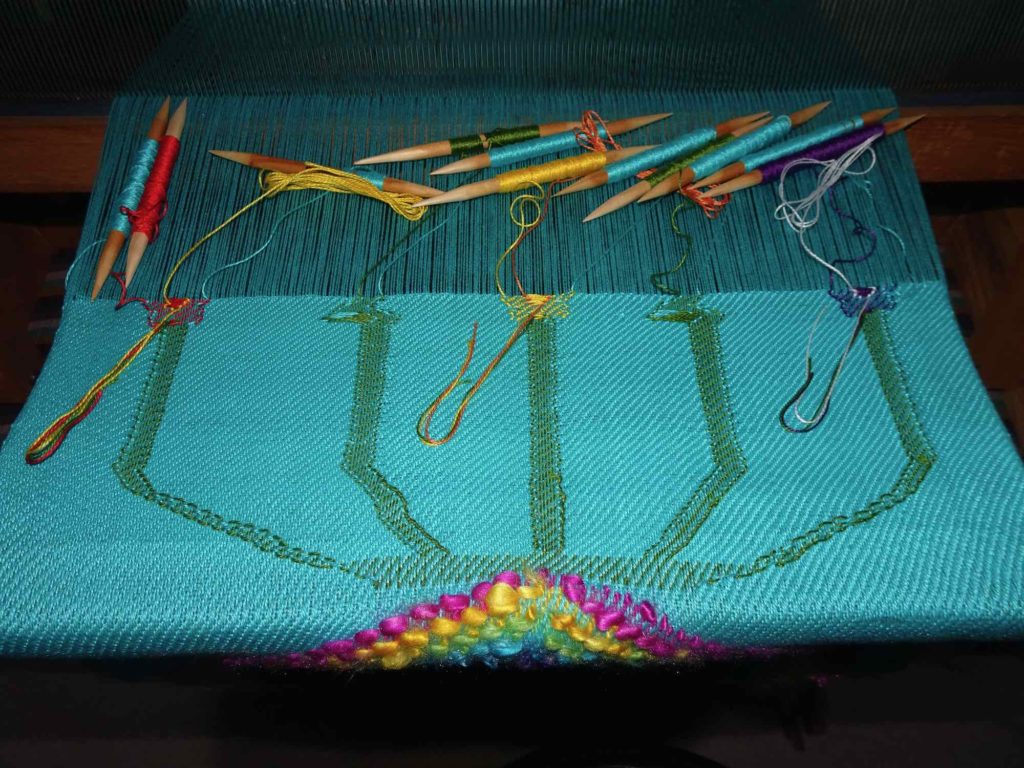
13 March – Began the curving vines section using the reverse of the pattern I used at the other end. On 2 April I finished the steep curve section of vines and began the more shallow curve for vines 1 & 5. Along the way, I realised that I had made many mistakes, however, most of these are very small. The major error I have made with the curving vines is that vines 1 & 5 are only 2 sets of 3 wide, they should have been 3 sets of 3 to compensate for the angle. So the outside vines in this steep section will be quite narrow. I completed the curves on 2 April.
7 April – Started all vines going in a straight line. I wanted to have the vine section – curves and straight – to be 10cm in length. I finished the vine section on 14 April.
16 April – Began the flower/vine section.
17 June 2020 – Update
1 June – Wound the warp on to the point where the back apron rod was sitting on top of the back beam. I could tell that the flower section on this half of the fabric would be shorter than that of the other half. This is probably because the pattern I used for the centre section came un-pinned from the fabric. I need to get a fabric marker pen that washes off so that I can draw the pattern directly onto the warp threads.
16 June – Finished weaving the flower section.
– Removed all stick bobbins and wove the final 3cm of twill with reverse shaft lifting order ie lift 4, then 1, then 2, then 3 and repeat until 3cm has been completed. I used a stick shuttle to hold the blue thread as the boat shuttle was too thick for the shed opening remaining – I wove as far as I could to get this half of the flower section as long as possible. I still put an empty stick shuttle through the open shed and turned it on it’s side to open the shed as widely as possible.
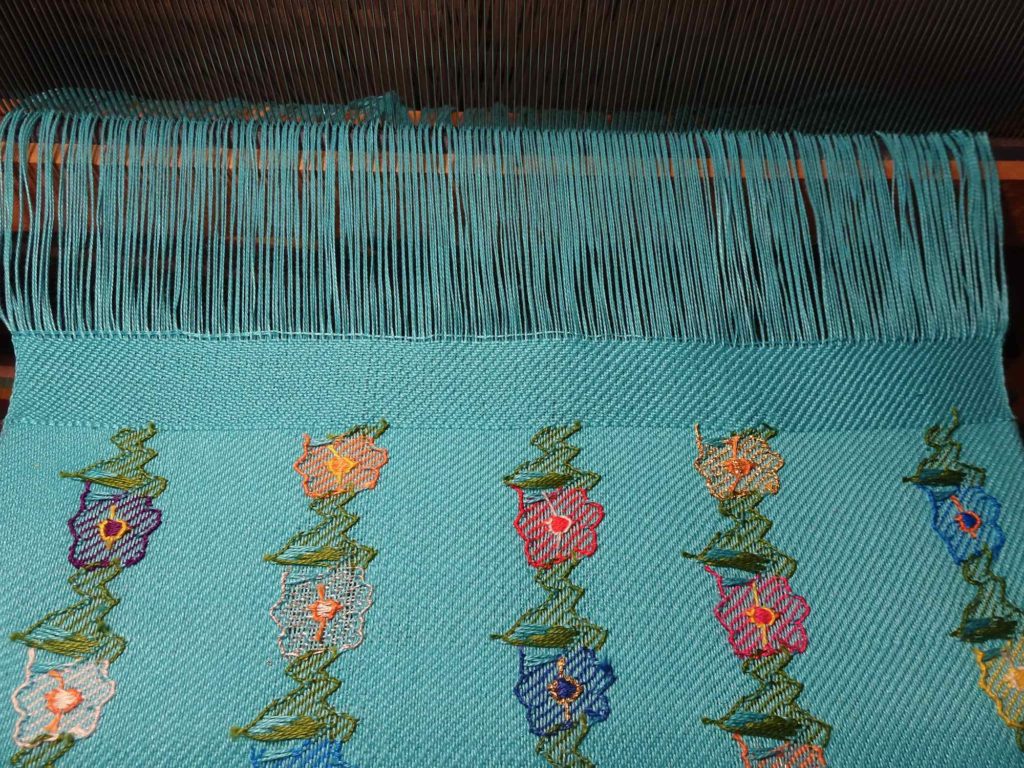
– Cut the warp from the back apron rod and tied reef knots – 4 threads per knot – at the back end of the fabric. I started tying the knots at the left-side of the fabric. As I neared the centre, I noticed that the last couple of weft threads were starting to pull quite tight and were drawing the right-hand side of the fabric in. So I began knotting from the right-side. This helped the draw-in problem, but I still ended up with a small pucker in the centre.
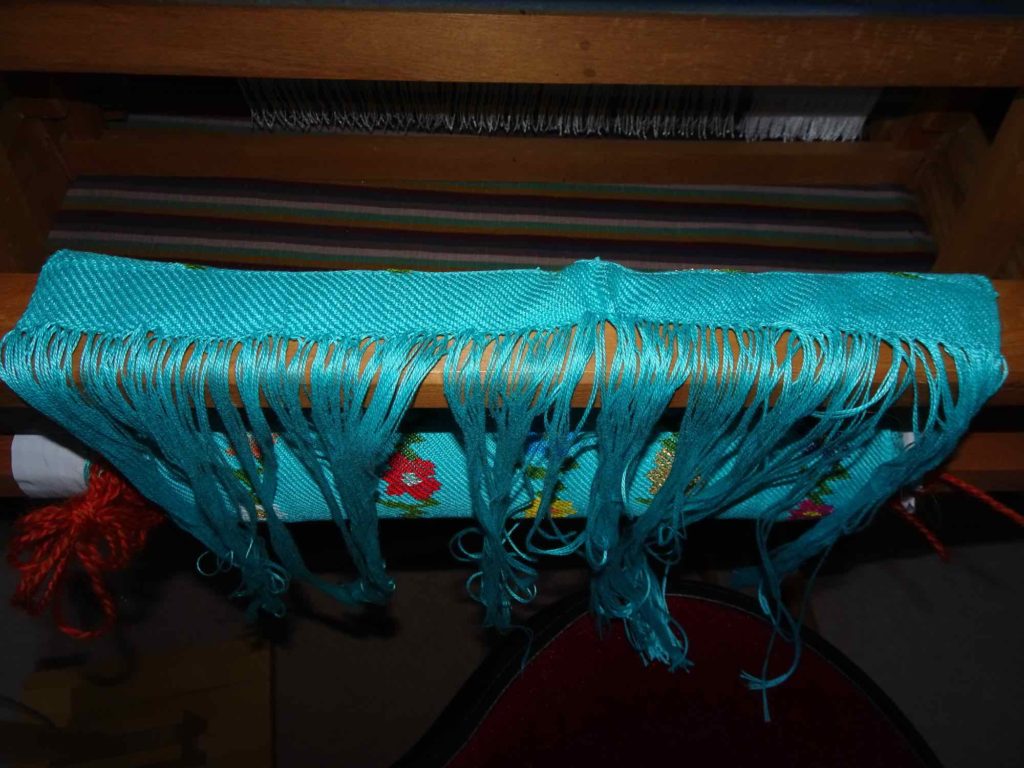
17 June – Unwound the fabric from the front roller.
– Discovered a weft thread running across several warp threads in the central rainbow section. I cut the thread and wove a new section of thread in using a darning needle to correct this – I overlapped the ends as is if I were changing bobbins.
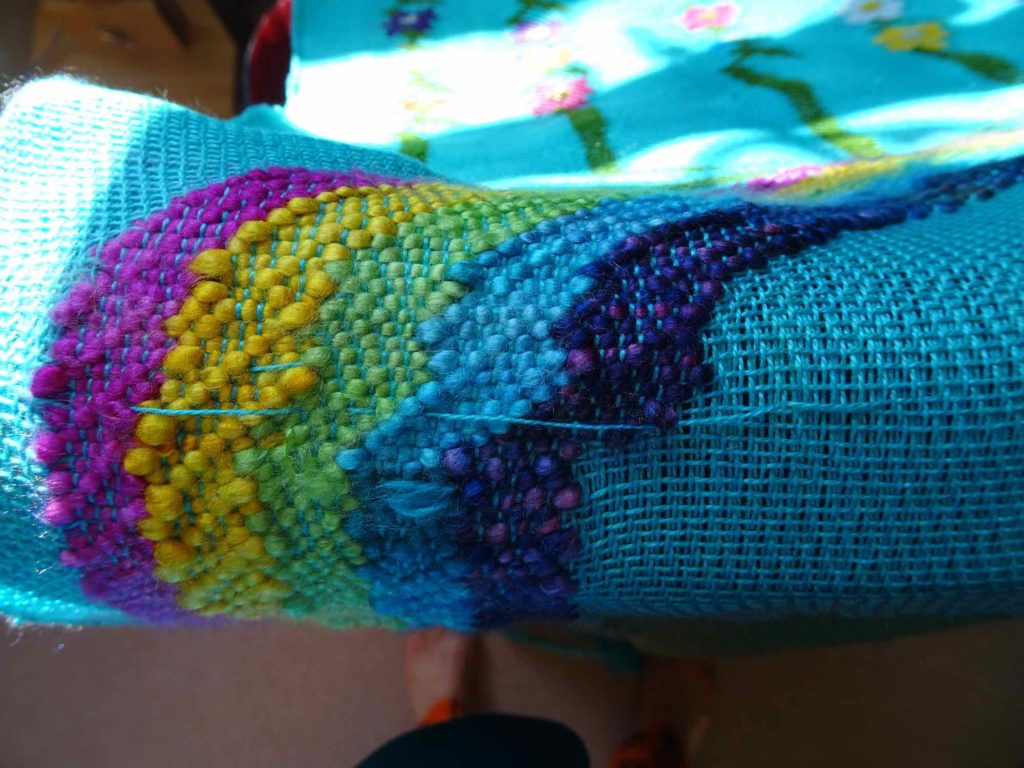
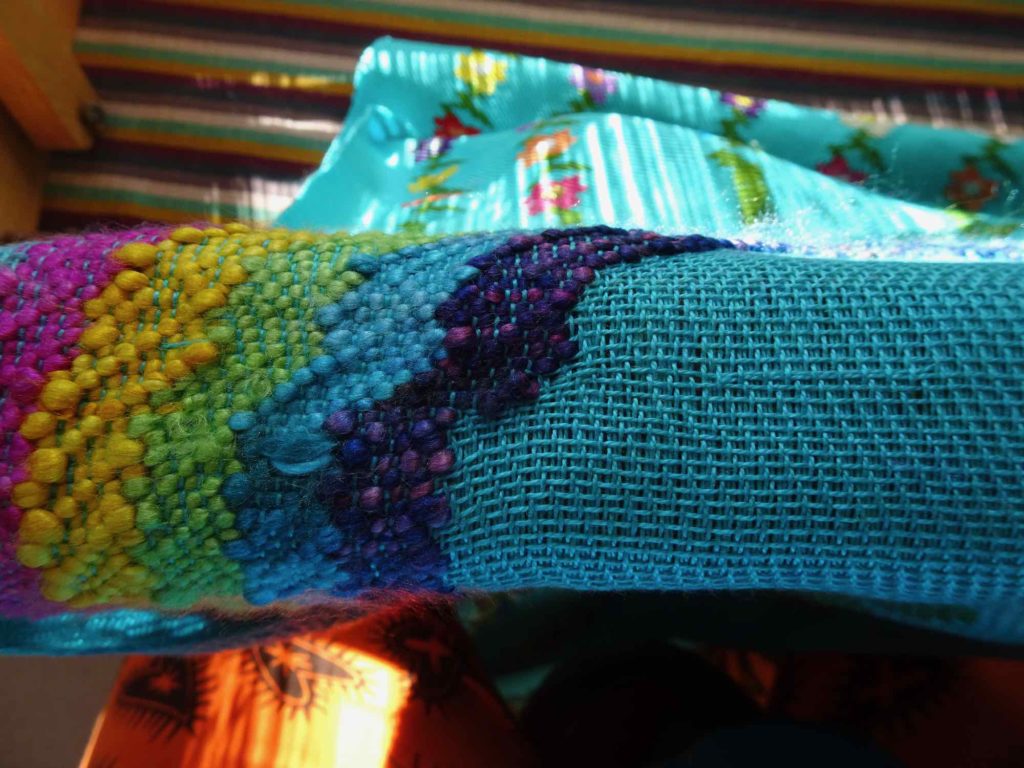
– Knotted the warp threads at the front end of the fabric. I untied the warps from the front apron rod as I was ready to tie the finishing knots and worked from the centre out to each edge to avoid the draw-in/pucker problem encountered at the back beam end of the fabric.
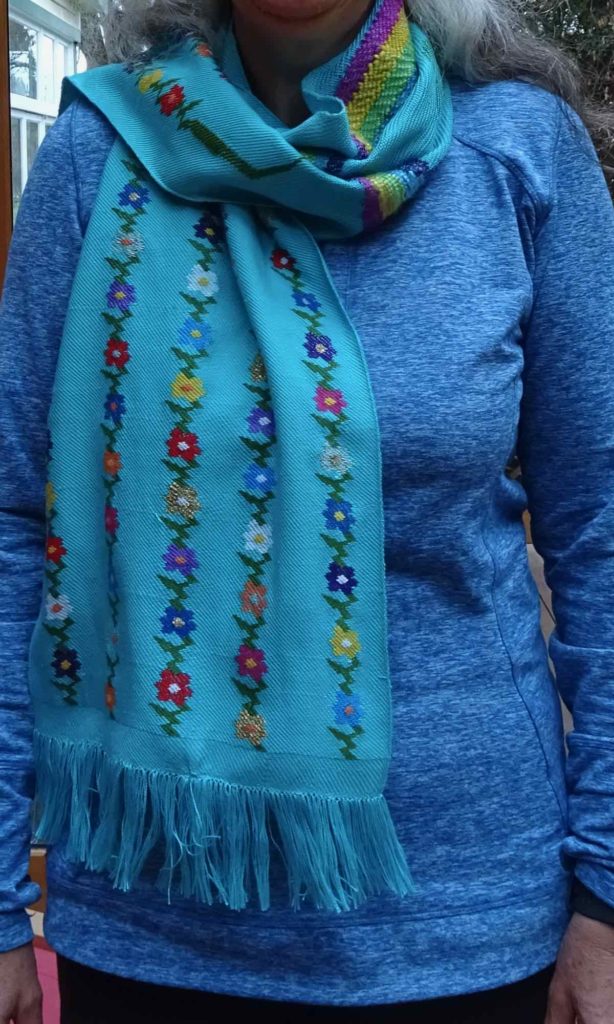
– Dimensions: 33cm wide at front beam end (longer flower half), 32cm at back beam end; 173cm long on tree top side, 176cm on tree trunk side.
– Washed the fabric on a delicate cycle with warm water and a medium spin speed. Laid it flat to dry overnight.

18 June 2020 – FINISHED
– Ironed the dry fabric
– Used a piece of packing tape to hold the excess fringe threads in a straight line so that I could trim them to 7.5cm.
– Dimensions: 32.5cm wide at front beam end (longer flower half), 31.5cm at back beam end; 165cm long on tree top side, 164cm on tree trunk side
– Dimensions measured at centre of fabric: flower section front beam end 56cm, flower section back beam end 41cm, vines front beam end 9cm, vines back beam end 8.5cm, central section 43.5cm.
– Trimmed loose ends in background blue of fabric where bobbins were changed.


