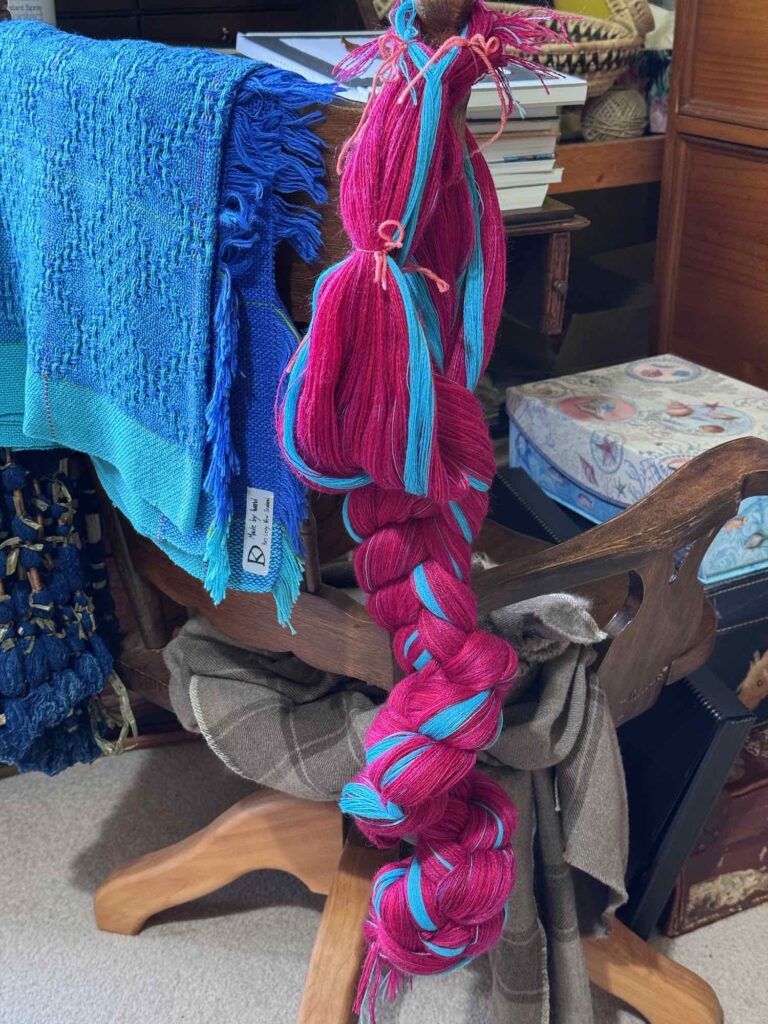
As always, the first step in a project (after the design and planning) is the preparation of the warp.
This begins with the winding of the warp (detailed in my previous entry) and continues with the dressing of the loom.
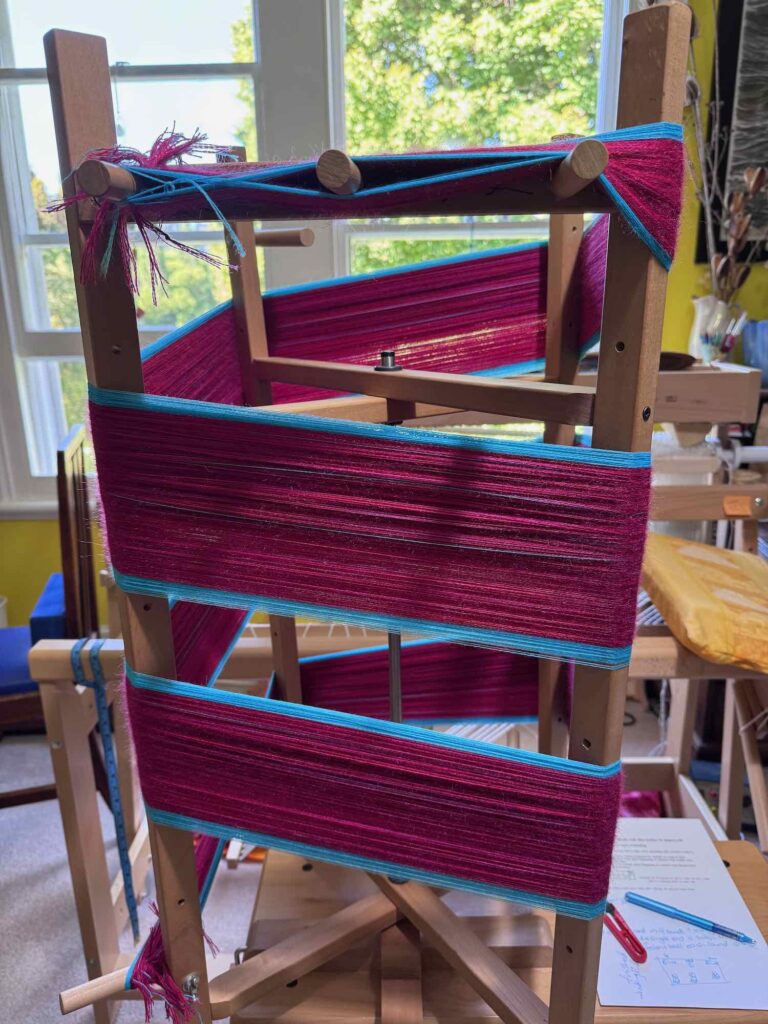
Dressing the loom:
1) Insert the apron rod at the end of the warp, taking care to go through the loop of the first and last warp wraps
2) Insert the lease sticks through the cross
3) Spread the warp in the raddle. I have a slot every 0.5cm, 841 ends and an loom width of 70cm. This means 6 ends per slot and I have threads mainly in groups of 4; so I did 4, 8, 4, 8… per slot and every now and then a group of 6. these were threaded from the centre to the left and then from the centre to the right. Raddle caps were slid across as I worked to prevent the ends coming out of the slots.
4) Tie the apron rod to the apron stick with 3 loops of texsolv cord
5) Pull the warp chain out, flick it a bit to separate threads and weight the end with a suitable book
6) Wind the warp onto the warp roller; insert warp sticks every round of the roller.
7) When the end of the warp reaches the raddle, cut the ends of the threads, drop the threads down between the heddles and the lease sticks
8) Thread the heddles; be sure to tie the ends into bundles as I progress from right to left to ensure that the ends don’t slip out of the heddles already threaded
9) Remove lease sticks
10) Sley the reed (in this case 3 ends per dent in a 10dpi reed ie 30 ends per inch); again, tie the ends into bundles
11) Tie ends to the front apron rod, check that the tension is even across the warp
12) Tie up the treadles
13) Depress treadles and check that the threading is correct
14) Weave header rows to spread the warp threads evenly across the width of the warp

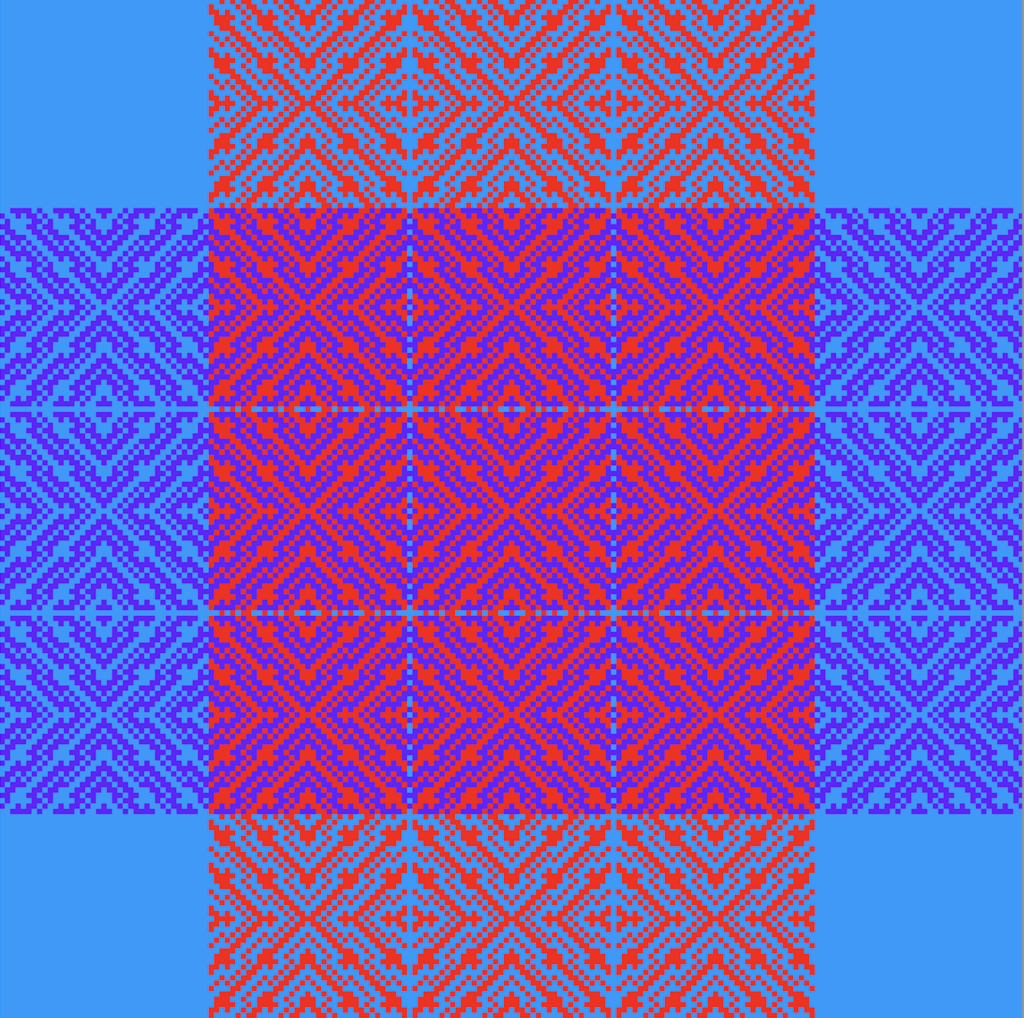
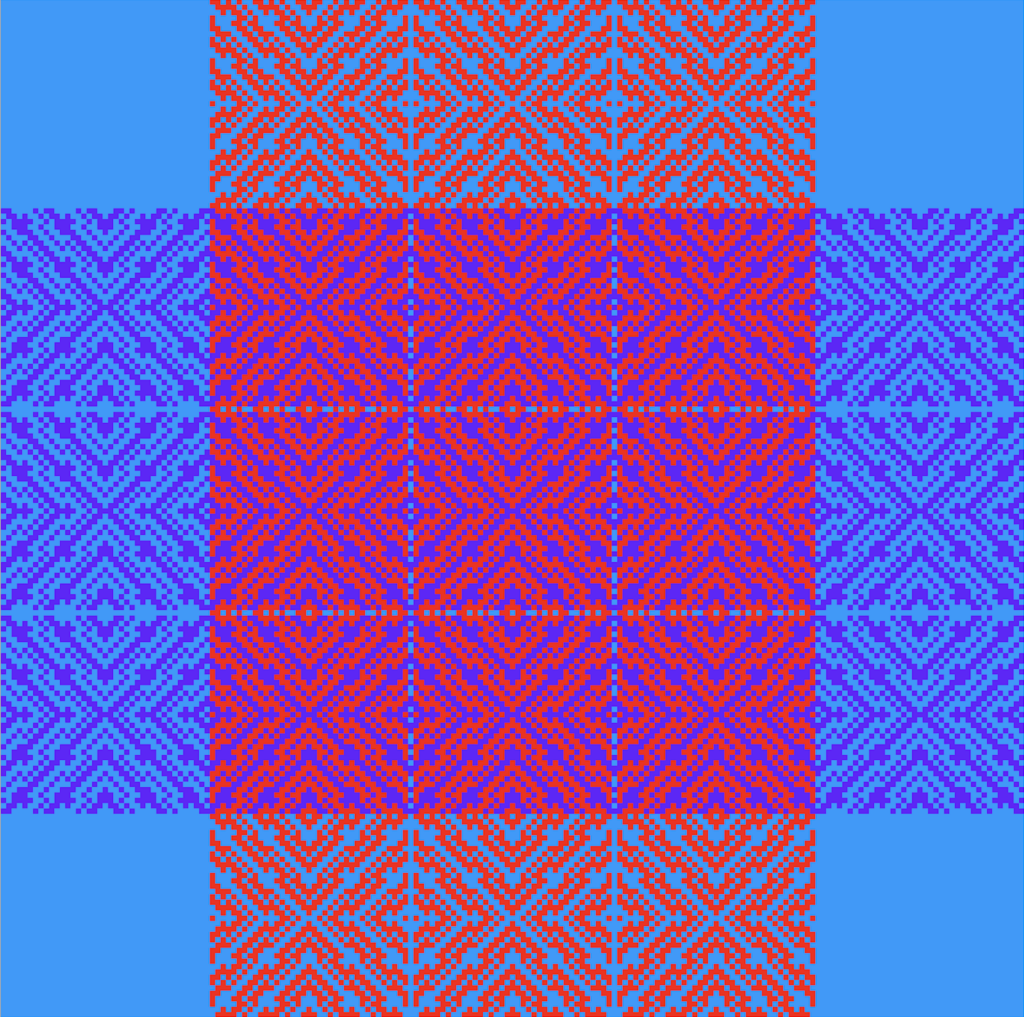
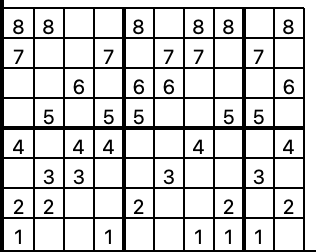
As I was tying up the treadles, I realised that I was repeating several shaft tie-ups. I went back to the computer and played with alternative tie-up ideas and decided to use the one pictured below. I will still have a maximum float length of 4.

Of course, the new tie-up will alter the fabric produced. This is the new design: