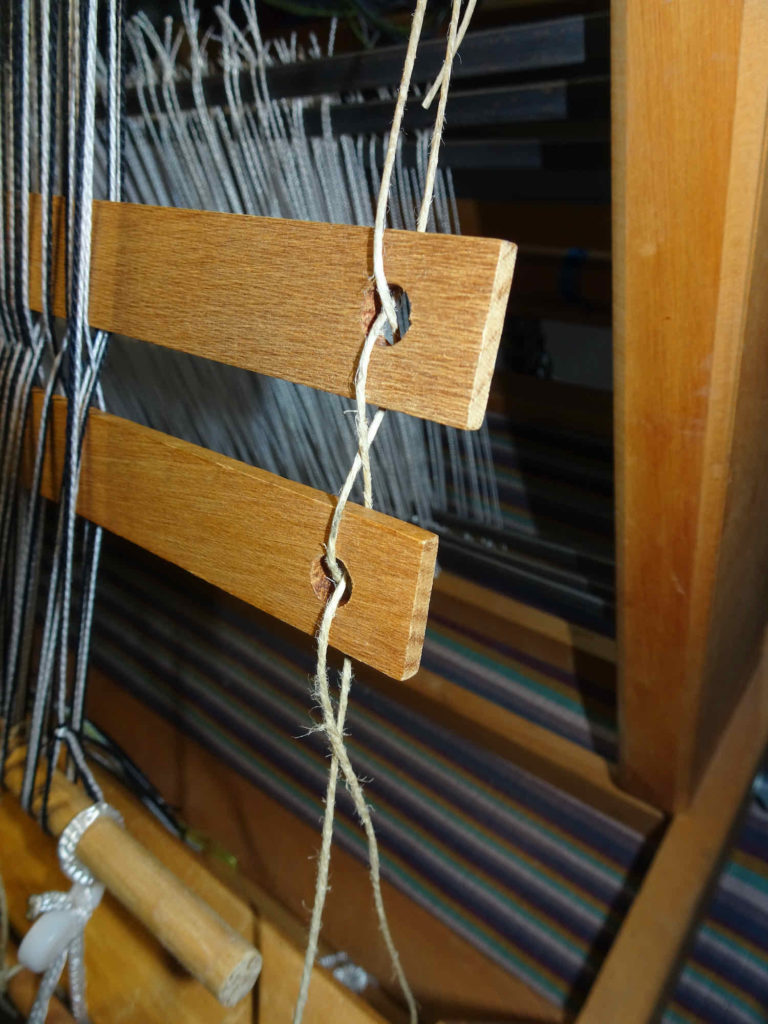
Before I started working with the warp, I replaced the cords holding the back and front apron rods to the back and front beam with lengths of texsolv cord pinned at the apron rod end using a texsolv endpin. These endpins should lie flat in the same plane as the apron rod when winding the warp onto the roller. The cord that I had been using was rather slippery and so the knots did not stay tight, the texsolv cord will fix this.
I wound the warp onto the back beam using the back-to-front method shown by Jane Stafford on her weaving guild videos in Season 1. This is the same method as that that I’ve used in my early weaving projects, but with some very nice tips:
1) Use clamps to hold the raddle at the top of the castle.
2) Thread a warp rod through the end loop of the cross and lash this to the apron rod when all warps threads distributed across the raddle – this prevents the rod from bending when tension is placed on the warp.
3) She has a very neat way of tying the lease sticks between the castle and back beam that allows the lease sticks to move freely, but which prevents them from riding up over one another.
4) When distributing the warp threads across the raddle, the unused portion of the warp bundle lies on a sheet of paper on top of the raddle nails to prevent the threads getting hooked on to the nails.
5) When winding the warp threads into the warping mill, I used multiple threads in my hand each round. These pass through the cross as a single unit. When distributing the warp threads across the raddle, these end bundles must be kept together. This means that rather than an even 16epi across the raddle, some slots have 9 and the next 6, some 10 and the next 5. Basically, whatever is needed so the the bunches aren’t split but that the warps are spread reasonably evenly across the desired width of the fabric.
Spreading the warp across the raddle in this way lets the warp threads spread across the warp rod as you go.
6) When winding the warp onto the back beam, tension in the warp is maintained using a stack of books that slide across the floor with the warp.
Tying of lease sticks between castle and back beam 
Paper to prevent warp from catching on raddle nails 
Warp rod lashed to apron rod before winding begins 
Winding the warp using a book to maintain tension
Once all of the warp threads were spread out, I tied a length of string across the top of the saddle nails to prevent the warps from moving out of their slots.
I then moved to the front of the loom, unchained the warp to a place where the threads were undisturbed and gave the warp a tug and flick to pull the threads up tight onto the warp rod. I placed 3 books onto the unchained warp and began to wind. I placed wooden sticks and then cardboard strips into the warp as it was rolled on to the back beam to separate the layers of threads.
After many turns of the back beam, the warp tension increased and I broke a warp thread. I should have stopped to see what the problem was, but I only stopped when I heard the “pop” of the thread breaking. I found the broken thread and tied in a short piece of the same thread to keep the broken ends together. I discovered that the broken thread had been separated from its multiple thread bundle in the raddle, so I fixed that problem. I also decided to remove 2 of the 3 books providing the tension and had no further issues with winding the warp.
When I came to the end of the warp under the book, I removed the book and continued to wind carefully – I moved to the front of the loom each round of the back beam and tugged the warp threads to maintain some tension.
Once I had finished winding, I found that the warp threads were almost the same length across the width of the warp. I cut the ends so that they were the same length when the ends were at the top of the castle. I then removed the raddle and dropped the cut ends down between the heddles and the lease sticks in preparation for threading the heddles.

Warp fully wound – you can see the uneven-ness of the warp lengths