I had already decided that I would weave a huck lace pattern (see “Huck Lace Weaving Patterns” by Tom Knisley); by using the heddle threading on p6, I will be able to use any of the weaving patterns in the book. I think that I want to have a plain border around all four sides of each cloth, and will use a lifting pattern of 1,3 & 2,4 to achieve this.
So on to dressing the loom – a very long process which I worked on for several days. I used the front to back method as described by Deborah Chandler in her book “Learning to weave”. First, I put the 16dpi reed on the beater, then I laid out all of my warp chains on the floor. I decided to do a “random” mixture of cream and grey warp stripes, so I threaded the loom as follows: 40 cream, 20 grey, 10 cream, 10 grey, 10 cream, 20 grey, 10 cream, 10 grey, 10 cream, 10 grey, 10 cream, 22 grey, 38 cream. This is 4 fewer cream threads than I had wound using the warping mill. I decided that as the threading pattern is in sets of 10 that it would be better to have the warp threads in sets of 10 also, so I removed 4 of the cream warp ends.
As I had the warp threads in many small bundles (6 cream – 1 x 40, 4 x 20, 1 x 12 – and 4 grey – 3 x 20, 1 x 12), I sleyed the reed using my hand to hold the cross rather than lease sticks. This meant that I was able to take breaks from threading whenever I reached the end of a bundle without having to worry about losing my place and causing a tangle.
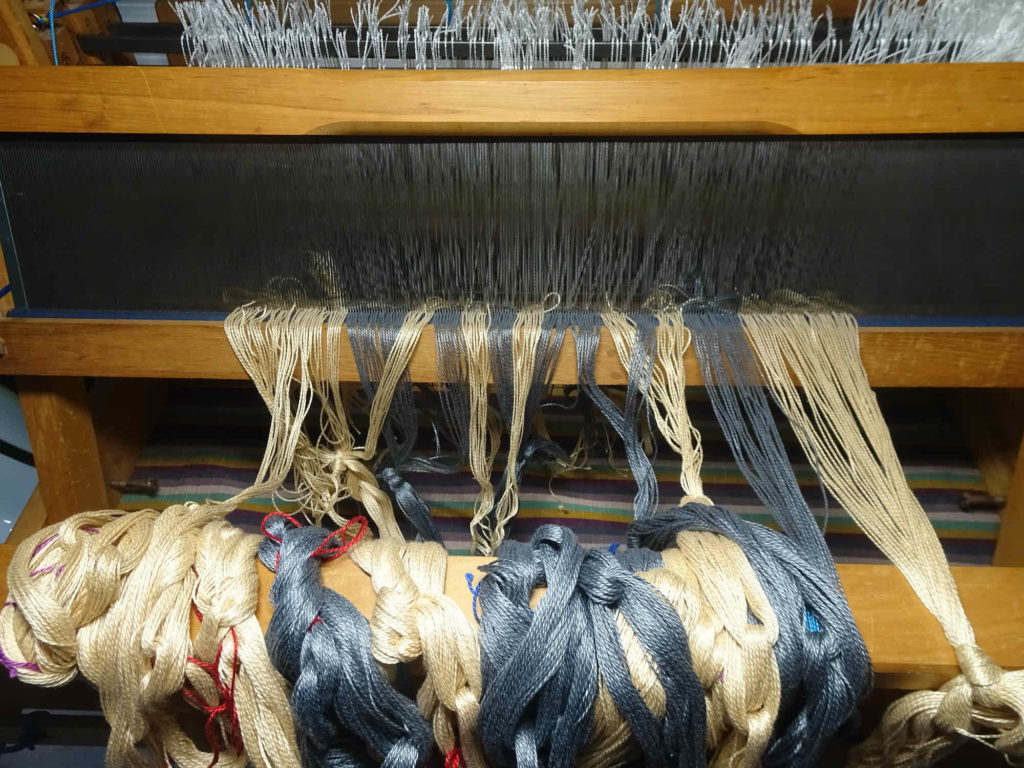
Sleying the reed
I pulled the warp through the reed a little further in order to be able to thread the heddles. This meant that I had to undo some of the “chains” holding the warp threads together; unfortunately, I found that one of the grey bundles had a knot at the start of the chained section that I was unable to undo without removing the threads from the reed. So, at the risk of creating a tangle, I removed the 20 threads causing the problem from the reed (in 2 sets of 10), undid the knot and rethreaded the reed.
Once I was ready to thread the heddles, I turned the loom around so that I could work from the back, laid the beater against the castle, raised all 4 shafts, lowered my seat, pushed the heddles to theft and began threading in groups of 10 threads (1,4,1,4,1,2,3,2,3,2 and repeat).
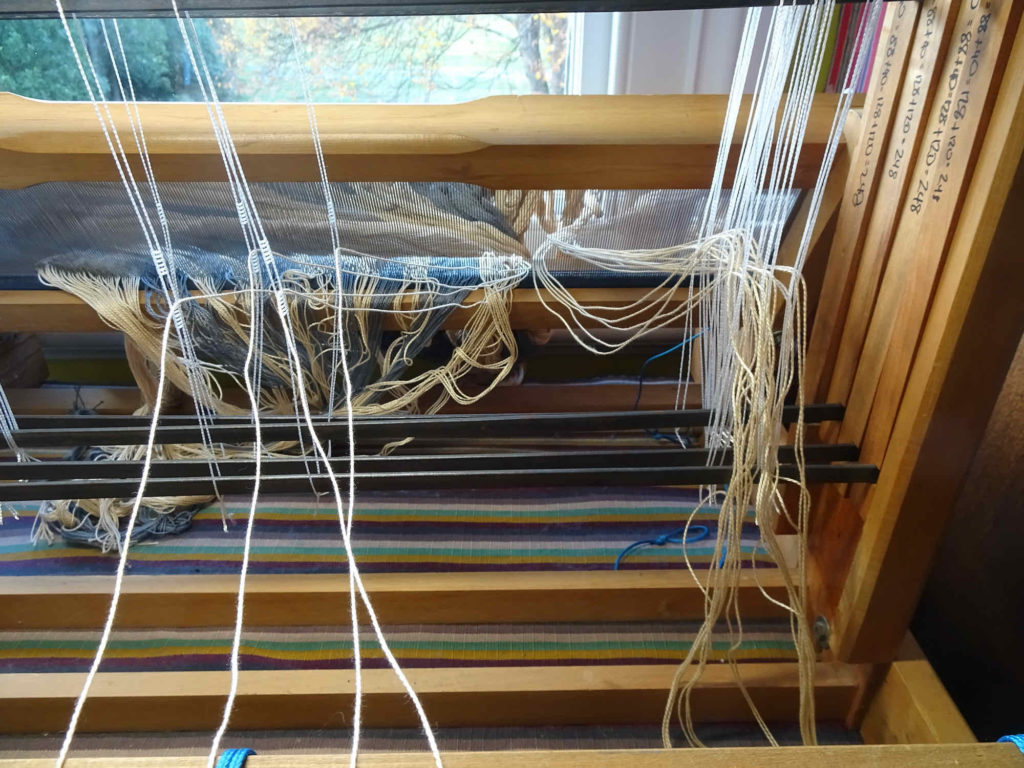
Threading heddles 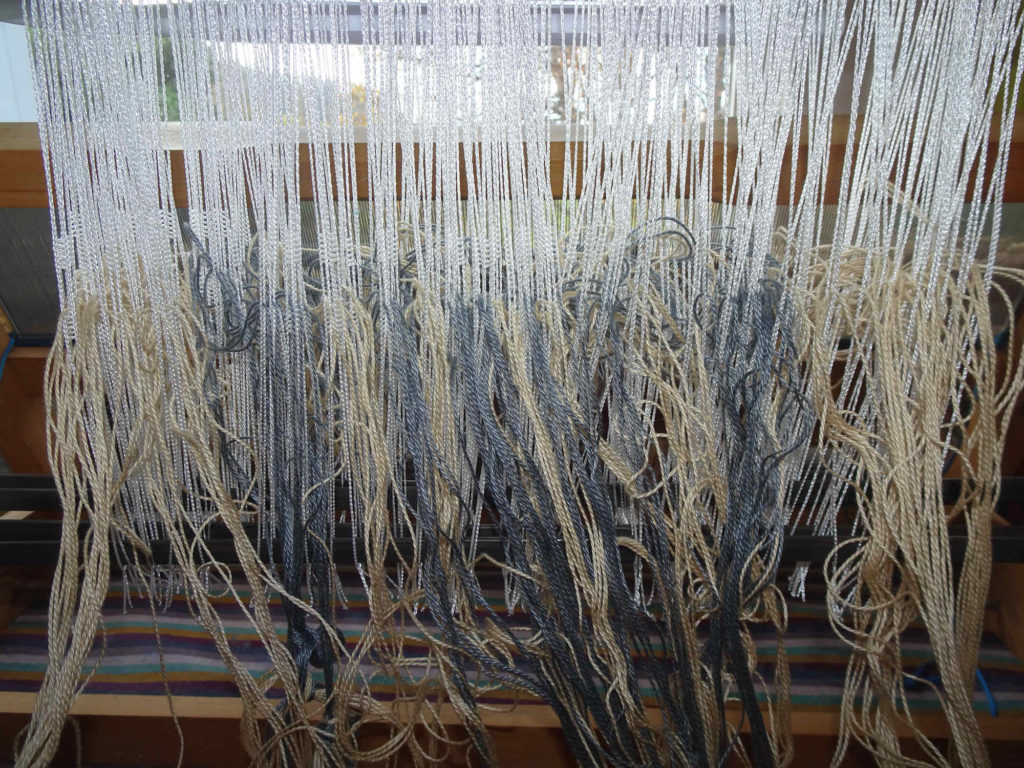
Heddles all threaded
Next, I tied the warps on the back apron rod using the overhand knot method. I turned the loom around again and wound about half of the warp length onto the back roller. Approximately every round, I inserted a wooden or cardboard stick as a warp separator to keep the thread layers apart. Every 3-4 rounds, I pulled the threads tight at the front of the loom.
The grey warps that I had to remove from the reed in order to undo the knot in the warp chain did create a bit of a tangle, but I was able to finger-comb this along the warp length each time the threads pulled the beater back against the castle.
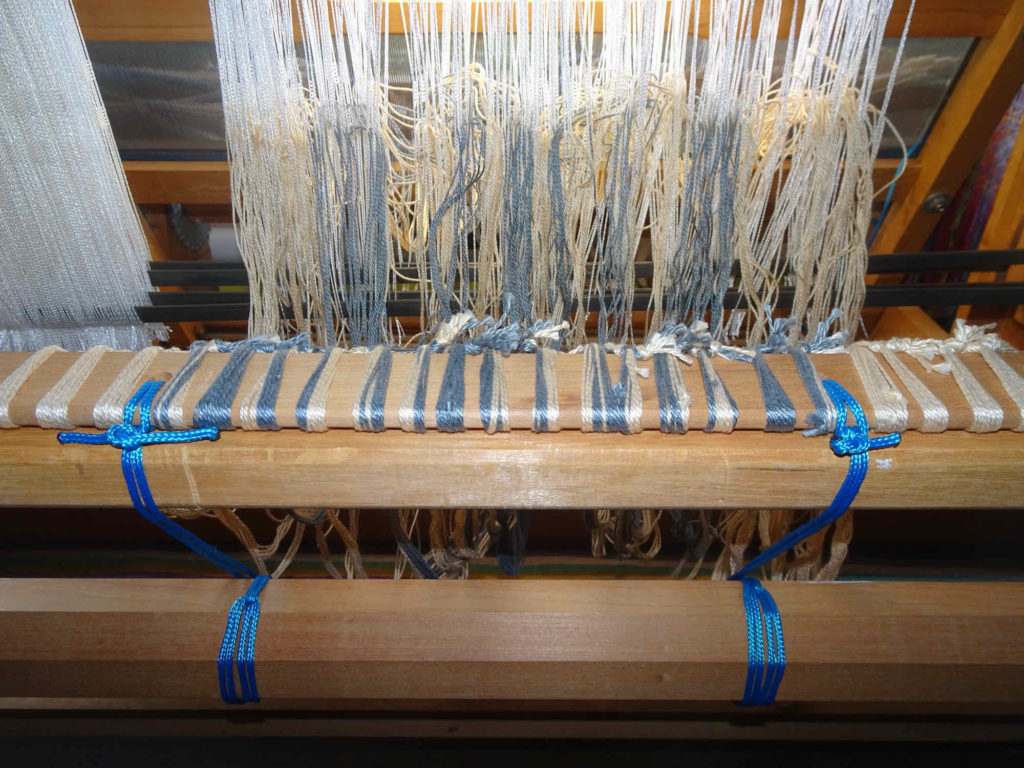
Warps tied to the back beam 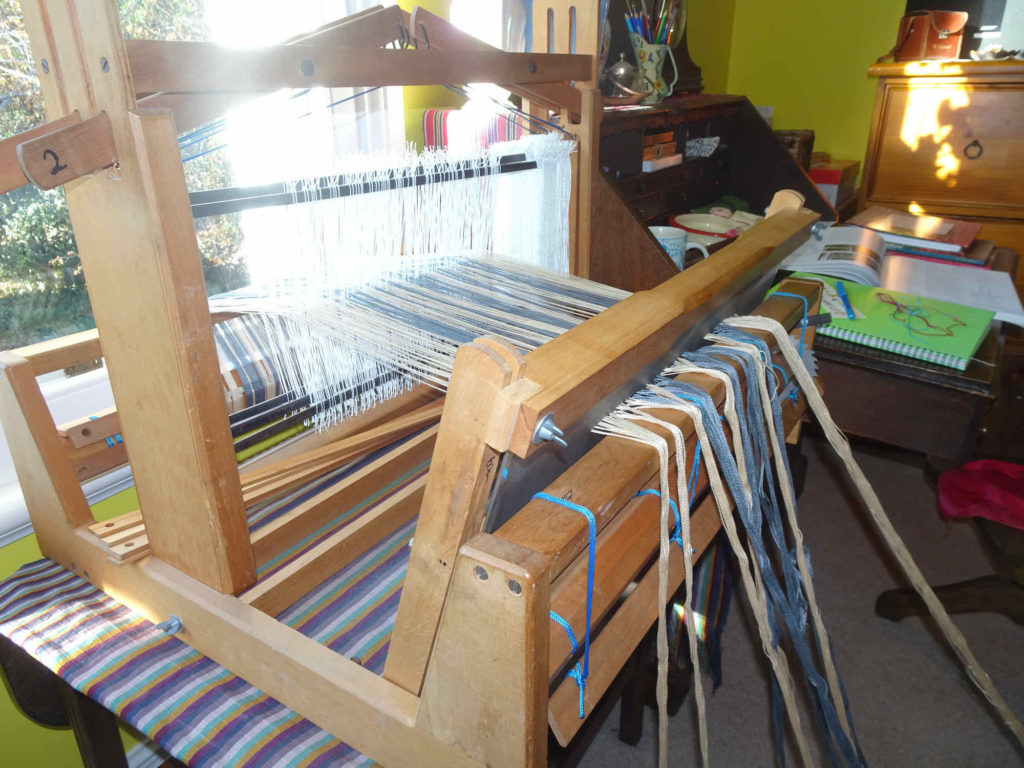
Winding warps 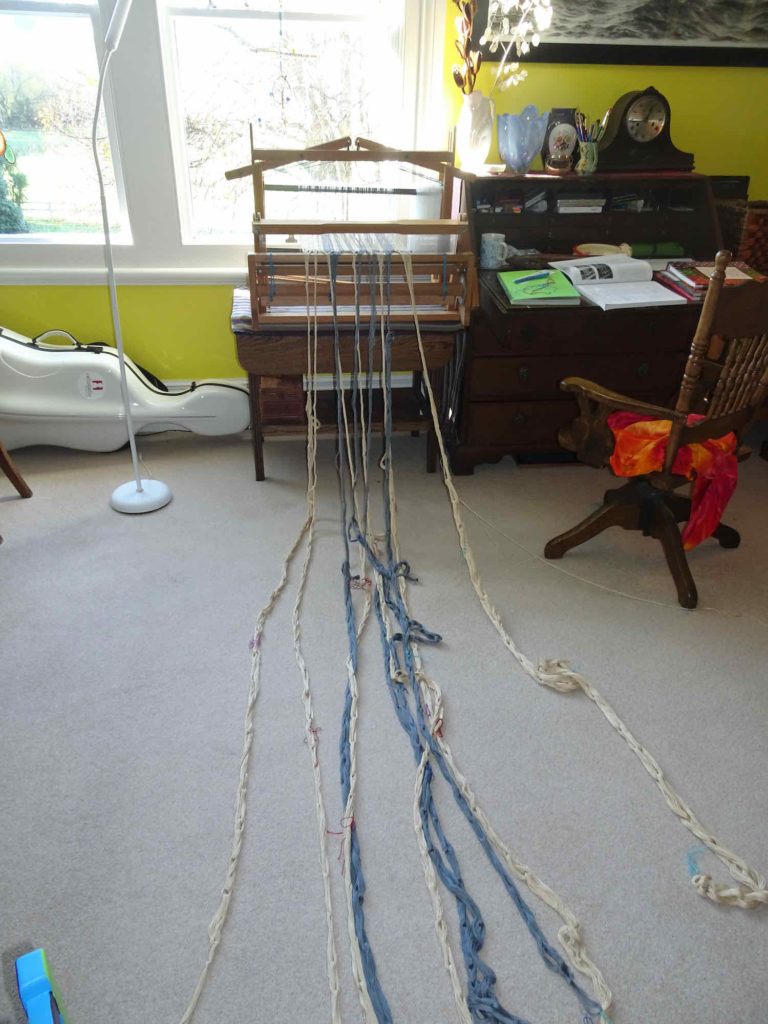
LONG warp chains 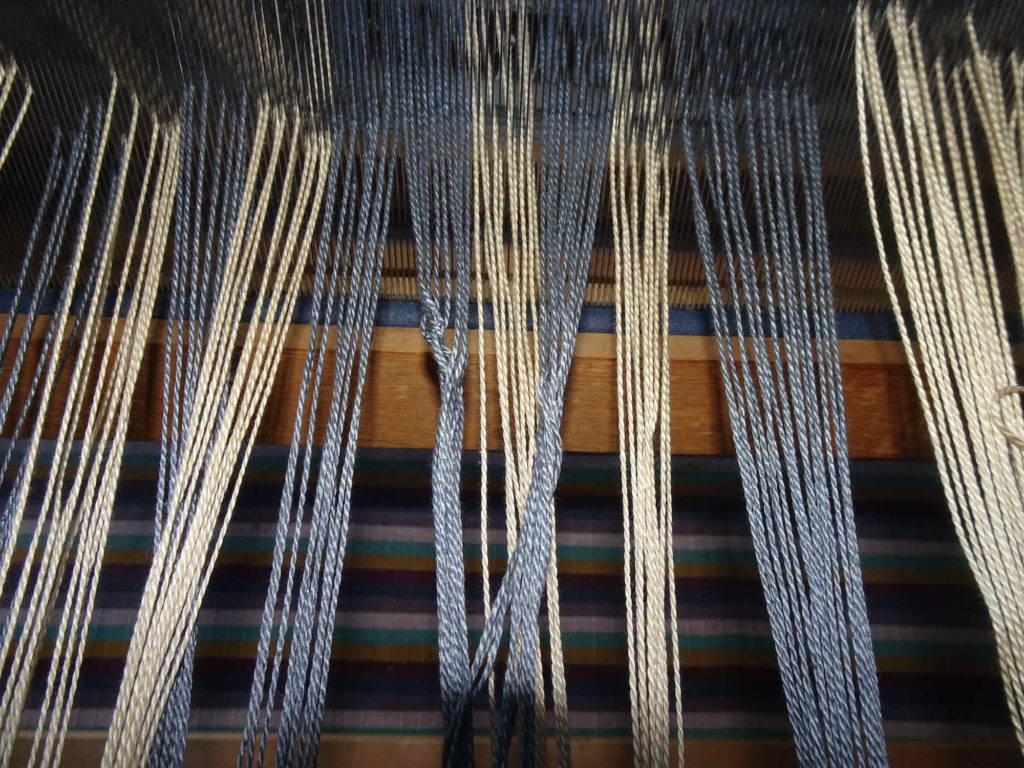
The tangling of the re-sleyed warp threads
Once the entire warp had been wound on to the back beam, I tied the threads onto the front apron rod using a surgeon’s knot in bundles of 10 threads. I worked into the centre of the rod by alternating knots on the left and right sides.
Interestingly, some warp thread bundles had longer threads than others. After all ends were tied to the front apron rod, I adjusted the tensions so that they were about even and trimmed the ends to a similar length so that the longer threads wouldn’t get in the way while weaving.. The final step was to raise and lower each shaft to check that the heddles had been correctly threaded and that no threads were crossed. It all looked good! So now I’m ready to weave the header rows!!
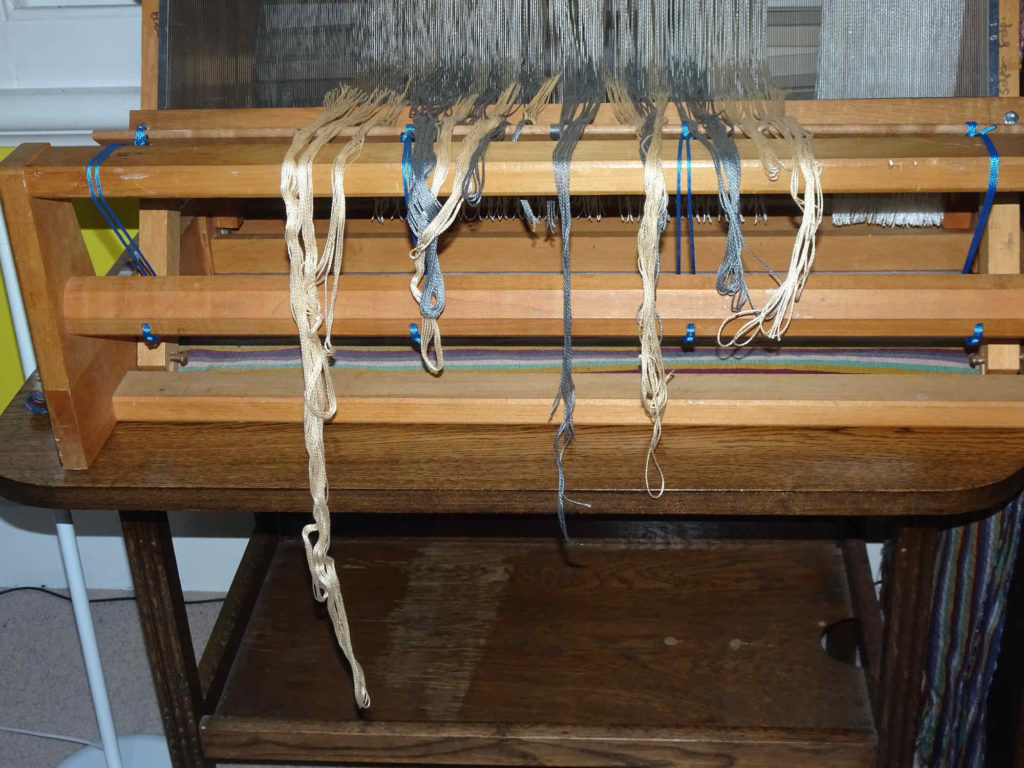
Bundles of warp threads ready to tie onto front apron rod 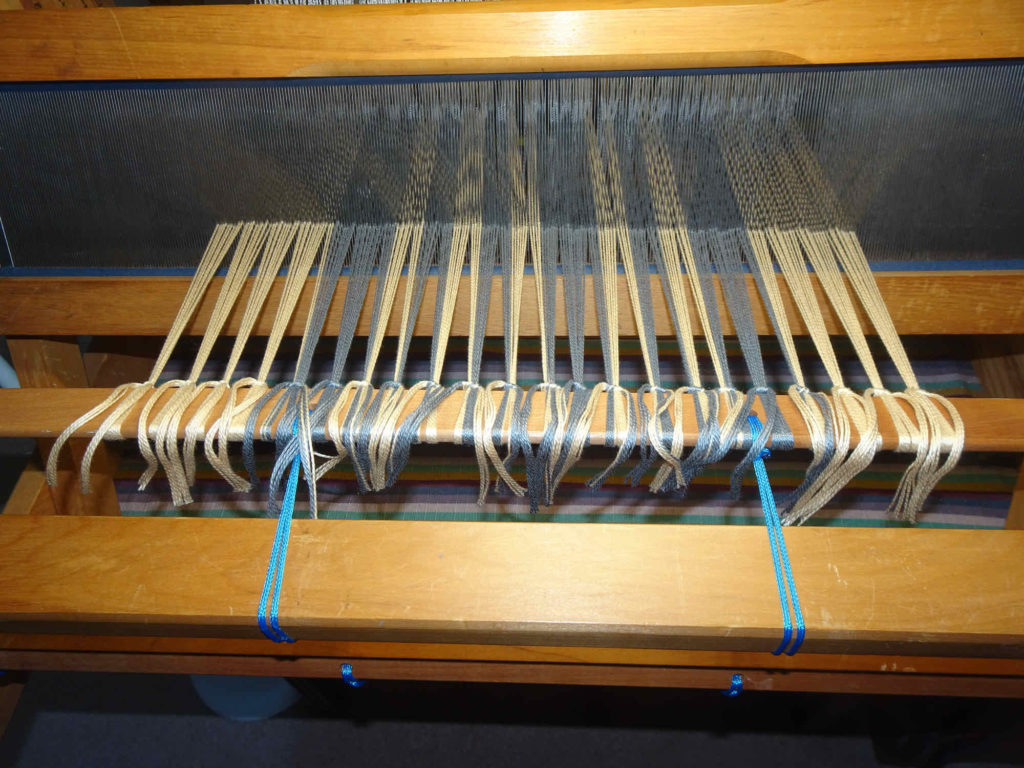
All ends tied onto front apron rod and trimmed